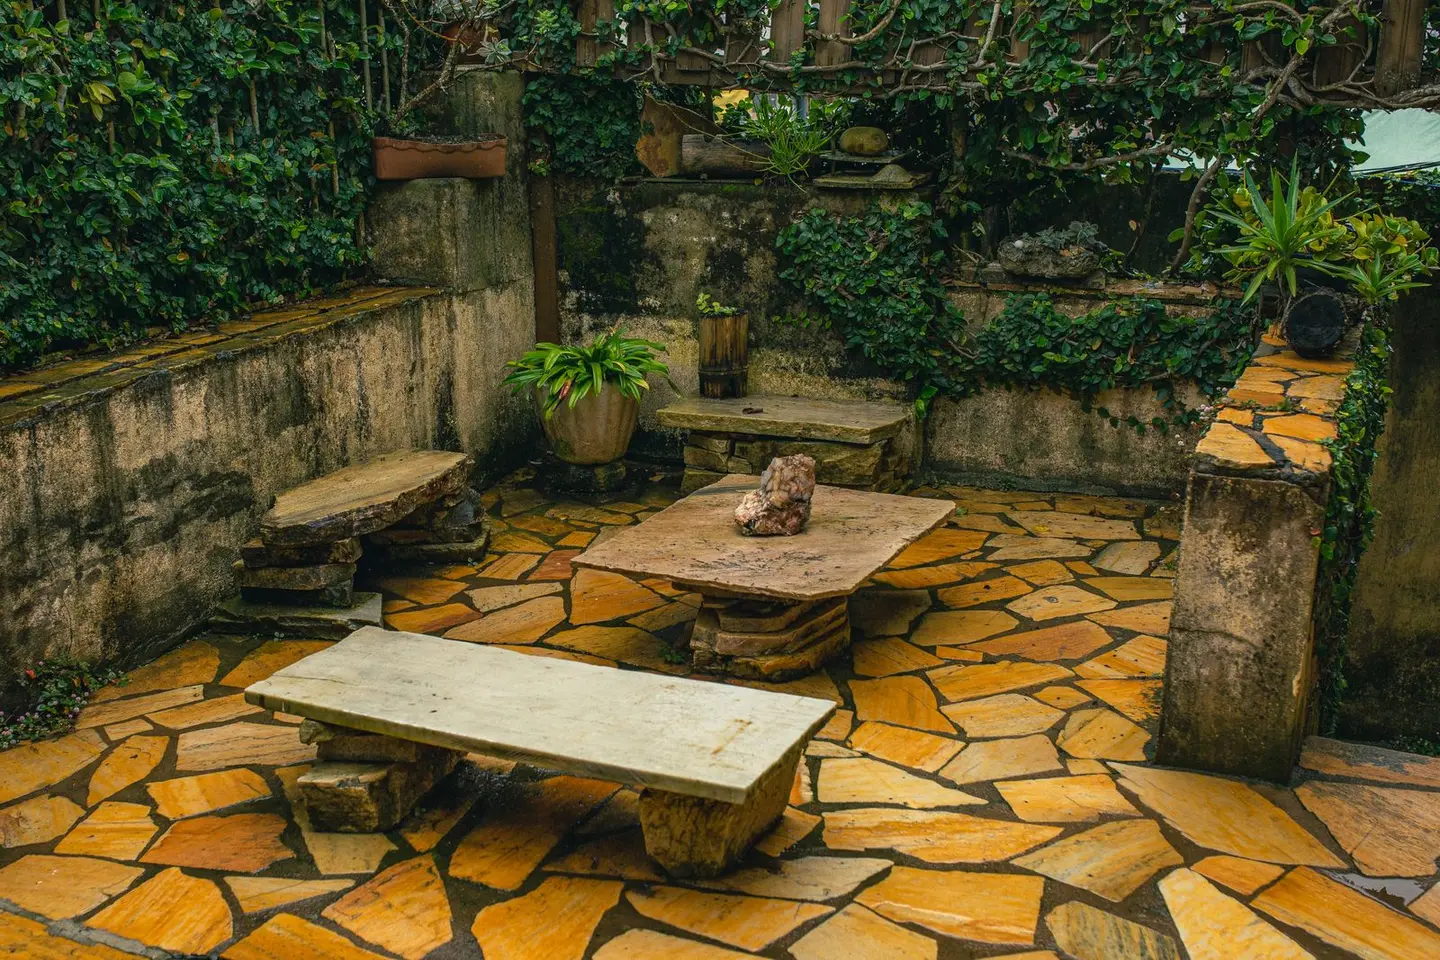
Laying a patio is one of the most achievable DIY garden projects, but it is also one of the most frequently done badly. Sunken slabs, cracked pointing, and puddles that sit on the surface for days after rain are almost always caused by the same three mistakes: inadequate sub-base, no drainage fall, or bridging the damp-proof course (DPC) of the house wall. Get the groundworks right and the surface will last 20 years with minimal maintenance.
A competent DIYer working alone on a 20m² patio can expect to spend two to three weekends on the project. Hiring a landscaping contractor for the same area typically takes two to three working days.
Tools and Materials
Tools you will need:
- Spade and/or mini-digger (hire: £100–£180/day)
- Plate compactor (vibrating plate, hire: £50–£80/day)
- Wheelbarrow
- Builder’s line and pegs
- Tape measure and spirit level (1.8m or longer)
- Rubber mallet
- Bolster chisel and club hammer (for cutting slabs)
- Angle grinder with diamond blade (safer for cuts: hire £25–£40/day)
- Pointing trowel and margin trowel
- Mixing board or electric cement mixer (hire: £35–£50/day)
- Safety glasses, gloves, and dust mask (P3 rated when cutting)
- Knee pads
Materials per m² of finished patio:
| Material | Quantity per m² | Approximate Cost (2026) |
|---|---|---|
| MOT Type 1 sub-base (100mm layer) | ~0.12 tonnes | £8–£14 (bulk bag) |
| Sharp sand (mortar bed, 40mm) | ~0.07 tonnes | £5–£9 |
| Portland cement (for mortar) | ~6 kg | £2–£4 |
| Patio slabs (natural sandstone 600×600×22mm) | 3 slabs approx. | £18–£50 |
| Patio slabs (porcelain, 600×600×20mm) | 3 slabs approx. | £25–£70 |
| Patio slabs (concrete, 450×450mm) | 5 slabs approx. | £8–£18 |
| Jointing compound (polymeric) | 1–2 kg | £2–£5 |
Waste allowance: add 10% to slab quantities for cuts and breakages. Add 15% for complex patterns or layouts with diagonal cuts.
Step 1: Mark Out and Excavate
Mark the patio area with pegs and builder’s line. Check the line is square using the 3-4-5 method: measure 3 units along one edge, 4 units along the adjacent edge, the diagonal should be exactly 5 units. Scale this up (e.g., 900mm, 1,200mm, 1,500mm) for accuracy over larger areas.
Calculate the total excavation depth:
- 100mm compacted MOT Type 1 sub-base
- 40mm sharp sand mortar bed
- Slab thickness (typically 20–50mm depending on type)
- Total: typically 180–200mm below finished level
The finished surface must be at least 150mm below the DPC of any adjoining house wall. The DPC is usually visible as a thin band of engineering brick, slate, or a physical membrane near the base of the outer leaf, typically 150mm above ground level. Bridging the DPC is a common cause of rising damp and is contrary to Building Regulations (Approved Document C).1
Excavate to depth and remove all vegetation. Do not simply bury turf, organic material decomposes and causes uneven settlement.
Step 2: Lay and Compact the Sub-Base
The sub-base is the most important part of the build. MOT Type 1 (crushed limestone or recycled concrete aggregate, maximum particle size 40mm) compacts to a dense, stable load-bearing layer. Do not substitute building sand or topsoil, they compress under load and cause slabs to sink.
Pour Type 1 to a loose depth of approximately 130–140mm (it will compact to around 100mm). Rake level, then compact with a plate compactor in overlapping passes. Compact a second time after damping lightly with water, this helps the aggregate bind. The surface should feel solid and not move underfoot.
For areas where heavy vehicles will occasionally mount the patio (a side access, for example), increase the sub-base to 150mm compacted.
Step 3: Set Your Falls and String Lines
A patio must drain. The minimum gradient away from the house is 1:80 (12.5mm drop per metre run). For a 3m deep patio, the outer edge should be 37.5mm lower than the edge adjacent to the house. This gradient is almost invisible to the eye but is sufficient to move water off the surface.
Set your datum (reference level) at the house wall, typically the DPC line minus 150mm. Run builder’s lines across the patio at the finished height, accounting for the drainage fall. These lines guide both the sand bed and final slab heights.
If the patio meets the edge of a lawn or planted border, the outer edge can drain freely. If it is enclosed by a wall, fence, or step, you must either continue the fall to a drainage point or install a linear drain channel at the lowest edge.
Step 4: Mix and Lay the Mortar Bed
The standard mix for a patio mortar bed is 5 parts sharp sand to 1 part Portland cement by volume, this is a semi-dry mix, meaning it holds shape when squeezed but does not slump. It should not be runny. A wetter mix makes levelling easier but reduces strength and increases the risk of slabs sinking during installation.
A full mortar bed is the correct method for patio slabs. Do not use five dabs (one in each corner and one in the centre). Five-dab bedding leaves voids beneath the slab that allow it to flex, crack, and rock underfoot over time. Lay the mortar across the full slab footprint, approximately 40mm deep, raked to the required fall.
For porcelain slabs, a slurry primer (a cement/water/SBR adhesive mix) applied to the back of the slab before laying improves adhesion significantly. Porcelain is non-porous and does not bond as reliably as natural stone to a plain mortar bed.
Step 5: Lay the Slabs
Lower each slab onto the mortar bed and tap firmly with a rubber mallet. Check level and fall with your spirit level against the string lines. Use spacers (5–10mm tile spacers or scraps of ply) to maintain consistent joint width.
Work from a fixed corner outward. Do not kneel on freshly laid slabs, lay boards to spread your weight if you need to reach forward. Allow 24 hours before walking on the surface and 48 hours before loading it. When cutting, score the line first with an angle grinder before cutting through fully; wear eye protection and a P3 dust mask as cutting stone generates silica dust (COSHH Regulations apply).
Step 6: Jointing and Pointing
Allow the mortar bed to cure for a minimum of 48 hours before pointing joints. Pointing too early risks disturbing the slabs.
Dry polymeric jointing compound is the easiest and most durable option for DIYers. Brush the dry compound into the joints with a soft brush, compact it with a pointing tool, remove excess from the slab surface, then activate with a fine mist of water. Polymeric jointing sets hard, is flexible, inhibits weed growth, and does not require the precision of traditional mortar pointing. Cost: £15–£35 per 15kg bag, covering approximately 5–8m².
Traditional mortar pointing (a 3:1 sharp sand:cement mix) is cheaper but harder to execute neatly on large areas. It must be worked into joints firmly without smearing the slab surface. Remove all smears with a damp sponge before the mortar sets, dried mortar stains are very difficult to remove from natural stone.
Costs: DIY vs Hired Labour
| Scenario | Cost per m² | Basis |
|---|---|---|
| DIY, concrete slabs, basic sub-base | £40–£65 | Materials only, basic concrete flags |
| DIY, natural sandstone, MOT sub-base | £65–£110 | Materials only, mid-range stone |
| DIY, porcelain slabs, full spec | £90–£150 | Materials only, premium porcelain |
| Landscaper, concrete slabs | £80–£120 | Supply and lay, concrete flags |
| Landscaper, natural sandstone | £120–£180 | Supply and lay, mid-range stone |
| Landscaper, porcelain, full spec | £150–£250 | Supply, lay, full preparation |
Prices exclude skip hire (£200–£350 for a 4-yard skip), which is almost always necessary for excavated material. Groundworks can generate 1.5–2 tonnes of spoil per 10m² at 200mm excavation depth.
Common Mistakes to Avoid
Bridging the DPC. The finished surface must sit at least 150mm below the DPC. Raising ground level against the house wall causes rising damp and can void buildings insurance.
Skimping on the sub-base. A 50mm sub-base over clay will fail within a few years. On clay, increase to 150mm Type 1 and add a weed-suppressing membrane beneath it (not between sub-base and mortar, that breaks the bond).
No drainage fall. A flat patio or one falling towards the house is a damp risk. Check your fall at every stage with a long spirit level.
Five-dab bedding. Voids beneath slabs cause rocking, flexing, and cracking under load. A full bed is always correct and is the standard under BS 7533-102:2025, which replaced the withdrawn BS 7533-4.2
Pointing too early. Allow the mortar bed at least 48 hours before pointing, disturbed joints crack. Surface drainage to foul sewer is also prohibited; keep surface water and foul drainage separate (Building Regulations Approved Document H).3
Planning Permission
Most ground-level patios do not need planning permission within a dwelling’s curtilage. However, laying a hard surface in the front garden has its own permitted development right, Class F of Schedule 2 Part 1 of the GPDO, and it is conditional: an area of more than 5 m² between the house and a highway is permitted only if the surface is porous, or if the run-off is directed to a porous or permeable area within the curtilage. Above 5 m² and impermeable with nowhere for the water to go, it needs planning permission. Use a permeable jointing compound and ensure runoff drains to soft landscaping to stay within permitted development rights. Conservation areas and listed buildings have stricter rules, check with your local planning authority before starting.4
The rules in this note are those that apply in England. Scotland, Wales and Northern Ireland have their own building standards and permitted development rights.
References (4)
Figures in this note were checked against the sources below on 14 September 2026. Superscript numbers in the text point to them. Every source the site cites, by topic.
- 1technicalvery strongMinistry of Housing, Communities and Local Government.RN-NPO8FJThe statutory figures behind a damp diagnosis, and the numbers to quote when a note explains why ground levels or a bridged damp proof course cause rising damp. Paragraph 5.2 requires that in an external wall the damp-proof course should be at least 150mm above the level of the adjoining ground (Diagram 8) unless part of the building protects the wall, and that in an external cavity wall the cavity should be taken down at least 225mm below the level of the lowest damp-proof course, or a damp-proof tray provided (Diagram 9a). For suspended timber ground floors it requires a ventilated air space of at least 75mm from the ground covering to the underside of any wall-plates and at least 150mm to the underside of the suspended timber floor or insulation, with ventilation openings on two opposing external walls of not less than 1,500mm2 per metre run of external wall or 500mm2 per square metre of floor area, whichever is greater; for suspended concrete floors the clear ventilated space is at least 150mm with the same opening sizes. Section 2.39 onwards covers radon, referring to BRE Report BR 211 for protective measures. The 2013 edition was published on 3 September 2013 with changes in effect from 1 October 2013.
- 2technicalstrongBSI (British Standards Institution), a standard.RN-BBWVOCSTATUS: CURRENT, and it is the standard that replaced most of the old BS 7533 parts. BS 7533-102:2025 was published 31 March 2025 and gives the code of practice for installing modular paving units of clay, concrete and natural stone, covering bound and unbound surface constructions for paved areas under pedestrian and vehicular loading, all layers from formation upwards (sub base, base, bedding and surface), and recommendations for maintenance and reinstatement. It excludes aircraft pavements, port areas and heavy industrial settings. Its companion BS 7533-101:2021 covers structural design. Because the series was restructured into the 101/102 numbering in 2021 and 2025, a note citing BS 7533-3, -4, -7 or -9 for laying block paving or flags is almost certainly citing a withdrawn part. Catalogue page confirms number, title, date, status and scope.
- 3technicalvery strongMinistry of Housing, Communities and Local Government.RN-SM6TRWThe statutory source for soakaway design and the discharge hierarchy every garden drainage note should state. Requirement H3(3) lists the order of priority for rainwater discharge: (a) an adequate soakaway or other adequate infiltration system, or where not reasonably practicable (b) a watercourse, or where not reasonably practicable (c) a sewer. Paragraph 3.25 bars infiltration devices within 5 metres of a building or road, in ground where the water table reaches the bottom of the device at any time of year, too close to other drainage fields or soakaways, or where contamination could pollute groundwater. Paragraph 3.26: soakaways serving less than 100 square metres are generally square or circular pits filled with rubble or lined with dry-jointed masonry or perforated ring units. Paragraph 3.27: design to a return period of once in ten years, and for small soakaways serving 25 square metres or less a design rainfall of 10mm in 5 minutes may be assumed as the worst case. Paragraph 3.28 requires percolation tests to derive the infiltration rate, and paragraph 3.30 sends larger soakaways to BS EN 752-4 or BRE Digest 365 Soakaway design. Paragraphs 2.10 to 2.12 cover pervious paving over a granular storage reservoir and warn against its use where sediment or oil spillage would block the pores. For foul drainage, paragraph 2.33 sets a minimum 75mm internal diameter, or 100mm for a WC, and Table 6 gives minimum gradients of 1 in 40 for 75mm and 100mm at peak flows under 1 litre per second.
- 4technicalvery strongThe National Archives, legislation.RN-OWGIY3Schedule 2 Part 1 of the GPDO 2015, development within the curtilage of a dwellinghouse. This is permitted development itself: Class A enlargement and alteration, with the limits and conditions, through the classes covering roof alterations, porches, outbuildings and hard surfaces. Every statement about what can be built without planning permission traces to this Part, and the exclusions at the start of each class are where most projects actually fall out.
-
Approved Document C, Site preparation and resistance to contaminants and moisture, 2004 edition incorporating 2010 and 2013 amendments, Ministry of Housing, Communities and Local Government, accessed 14 September 2026. assets.publishing.service.gov.uk
-
BS 7533-102:2025 Pavements constructed with clay, concrete or natural stone paving units. Installation of pavements using modular paving units. Code of practice, BSI, accessed 7 September 2026. knowledge.bsigroup.com
-
Approved Document H, Drainage and waste disposal, 2002 edition incorporating 2010 and 2015 amendments, Ministry of Housing, Communities and Local Government, accessed 14 September 2026. assets.publishing.service.gov.uk
-
The Town and Country Planning (General Permitted Development) (England) Order 2015, Schedule 2, Part 1, The National Archives, accessed 14 September 2026. legislation.gov.uk