Plastering a wall yourself is one of the more rewarding DIY projects, but also one of the hardest to master on a first attempt. The technique is unforgiving: once the plaster starts to set, you have a narrow window to work it smooth. With the right preparation, the correct materials for your substrate, and an understanding of what “green” plaster looks like, a beginner can achieve a finish good enough to paint without hiring in a tradesperson.
This guide covers a two-coat system, a backing (base) coat followed by a finish coat, which is the correct approach for most UK walls that have been stripped back to brick, blockwork, or bare plasterboard. Skim-only over existing sound plaster is simpler and follows the same finish-coat steps.
Tools and Materials Checklist
Get everything together before you start. Once you mix plaster you cannot leave it to hunt for a trowel.
Tools:
- Plasterer’s hawk (300 × 300 mm)
- 480 mm stainless steel finishing trowel
- 450 mm feather-edge rule (or a longer aluminium straight-edge)
- Mixing bucket (25-litre minimum)
- Corded drill with mixing paddle (600–750 W)
- Corner bead applicator or tin snips
- Bucket of clean water and a sponge
- Step ladder and good lighting (side-rake a work light to spot imperfections)
Materials (per 10 m² of wall):
- 3 × 25 kg bags Carlite Browning (or Thistle Bond-it for plasterboard)
- 1 × 25 kg bag Thistle Multi-Finish or Thistle Board Finish
- PVA bonding agent (Unibond or similar)
- Metal angle beads and 25 mm galvanised screws or staples
- Clean tap water
Preparing the Surface
Sound preparation determines 80% of the result.
- Remove all dust, grease and loose material. Wire-brush crumbling mortar joints on brick; scrape away any old wallpaper adhesive.
- Apply a PVA bonding coat diluted 1:5 (PVA:water) to brick, block, or any highly absorbent surface. Let it become tacky, roughly 30 minutes, before applying the backing coat. If the PVA fully dries, apply a second coat neat and plaster into it while it is still sticky.
- Fix angle beads to all external corners using a spirit level. Beads define the final thickness and give you a guide to rule off against.
- Check for services. Mark the position of any cables or pipes with a felt tip before plastering over them.
Mixing the Plaster
Always add plaster to water, not water to plaster.
- Fill the bucket with approximately 7 litres of clean cold water for a 25 kg bag.
- Add plaster steadily while mixing with the paddle drill on a low speed.
- Aim for a smooth, lump-free consistency like thick yoghurt.
- Clean the bucket and paddle immediately after use, hardened plaster accelerates the set of your next mix.
Do not add extra water once mixed. Retempering (rewetting) destroys the chemical set and results in weak, powdery plaster.
Applying the Backing Coat (Browning)
The backing coat builds thickness, typically 8–11 mm, and provides a mechanical key for the finish coat.
- Load the hawk and cut off a strip onto the trowel.
- Apply from the bottom up in firm, sweeping upward strokes. Keep the trowel at roughly 15° to the wall.
- Rule off horizontally with the straight-edge between angle beads to establish a flat plane. Fill any hollows and rule off again.
- Scratch the surface with a devilling float or comb scratcher before it fully sets (typically 45–90 minutes after application). These horizontal scratches provide the key.
- Allow to firm up, usually 2–4 hours depending on temperature and suction. The surface should feel hard to the touch but still slightly cool.
Applying the Finish Coat
This is the coat you see. Work quickly, finishing plaster typically has a working time of 40–60 minutes.
| Stage | Timing | Trowel Angle |
|---|---|---|
| First pass (apply) | 0–20 min | 10–15°, lay material on |
| Second pass (flatten) | 20–35 min | 5–10°, compress and level |
| Third pass (polish) | 35–50 min | 2–5°, tight to wall, use damp sponge ring |
| Final burnish | 50–60 min | 1–2°, close trowel, pull moisture |
- Apply a thin, even coat of finish plaster (2–3 mm) directly onto the dampened, scratched backing coat.
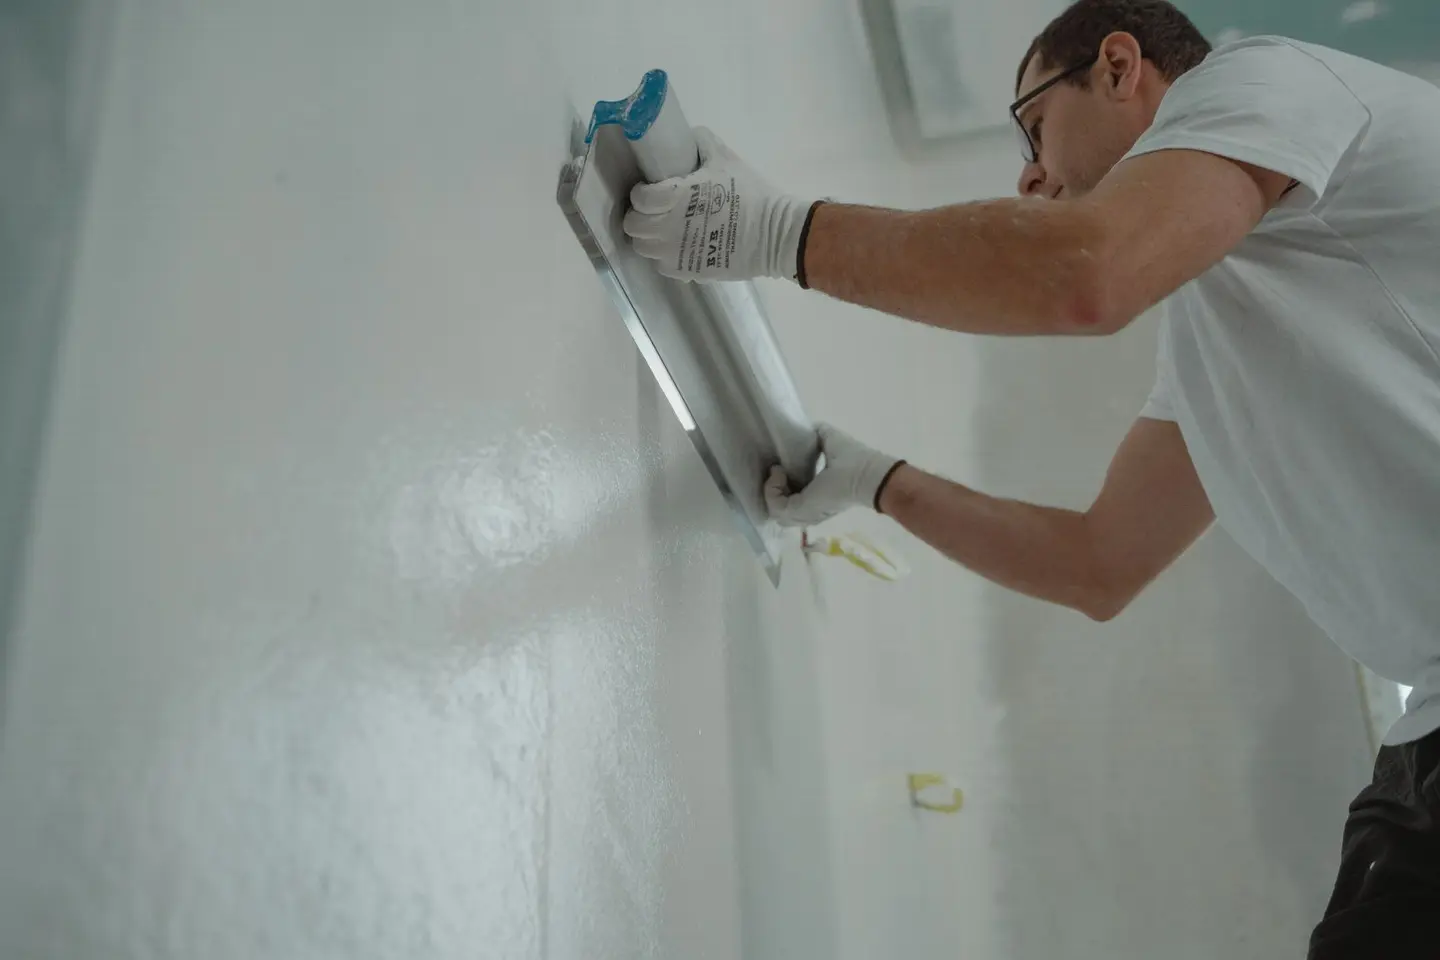
- Rule off with the straight-edge using a gentle figure-of-eight motion to remove ridges.
- As the plaster tightens (the sheen starts to leave it), make tighter trowel passes, slightly wetting the face of the trowel with a damp sponge.
- Do not over-trowel. Burnishing too early tears the surface; too late and it drags.
Drying, Curing and Painting
| Stage | Typical Time at 18°C | Notes |
|---|---|---|
| Touch-dry | 1–2 hours | Do not touch or knock |
| Through-dried (backing + finish) | 4–7 days | Colour changes from dark to uniform pale pink/cream |
| Ready for mist coat | 4–7 days minimum | Diluted emulsion (70/30 paint:water) seals the surface |
| Ready for full decoration | 10–14 days | Full moisture out |
Never apply heat to speed drying, it causes cracking and hollows. Keep the room at an ambient temperature between 5°C and 25°C.
Cost Breakdown
| Item | Typical Cost |
|---|---|
| Materials (per 10 m²) | £30–£55 |
| Hired plasterer (per m², labour only) | £8–£18 |
| Hired plasterer (per m², supply & fix) | £15–£28 |
| Re-skim a room (30 m², hired out) | £500–£900 |
London and South-East rates sit at the top of these ranges; Wales, the North and Midlands at the lower end.
Common Beginner Mistakes
- Mixing too stiff or too sloppy, both make trowelling harder. Test a small amount first.
- Skipping the PVA on high-suction brick walls, the backing coat dries too fast to work.
- Applying finish coat too thick, 2–3 mm is enough; thicker coats crack.
- Stopping mid-wall, wet edges blend; dry edges leave ridges.
- Painting too soon, new plaster is alkaline. A mist coat neutralises this and prevents paint from peeling.
When to Call a Professional
Plastering is a genuine skill. If your wall area exceeds 15 m², involves curved surfaces or archways, or the existing substrate is uneven by more than 12 mm, a competent tradesperson will produce a far better result more quickly. Under the Building Regulations Approved Document B, habitable room walls in new builds must meet flatness tolerances of ±3 mm under a 1.8 m straight-edge, worth bearing in mind if you’re plastering as part of a new build or conversion where a building control officer will inspect.1
A one-day plastering course (typically £150–£250) through a local college or specialist training centre can pay for itself on the very first room.
References (1)
Figures in this note were checked against the sources below on 14 September 2026. Superscript numbers in the text point to them. Every source the site cites, by topic.
- 1technicalvery strongMinistry of Housing, Communities and Local Government.RN-BUE914Approved Document B Volume 1, fire safety in dwellings, 2019 edition with the 2020, 2022 and 2025 amendments and the forthcoming 2026 and 2029 changes collated in. Covers means of warning and escape, internal fire spread through linings and structure, external fire spread and access for the fire service. This is the document behind escape window sizes, protected stairways, the 4.5 metre rule and the fire doors a loft conversion needs.
-
Approved Document B, Fire safety, Volume 1: Dwellings, 2019 edition incorporating 2020, 2022 and 2025 amendments, Ministry of Housing, Communities and Local Government, accessed 14 September 2026. assets.publishing.service.gov.uk