Wallpapering a room transforms a space far more dramatically than paint, but the margin for error is smaller. A slightly uneven first drop or poorly prepared wall will haunt every subsequent strip. Get the preparation and first hang right, and the rest follows naturally.
This guide covers the full process from wall prep to trimming the final strip, including how to handle pattern repeats, corners, and tricky obstacles.
How Much Wallpaper Do You Need?
Calculate the number of rolls before ordering. Under-ordering is frustrating; over-ordering less so, most suppliers will take back unused rolls from the same batch number.
| Room Perimeter (m) | Wall Height (m) | Rolls Needed (small repeat) | Rolls Needed (large repeat >60 cm) |
|---|---|---|---|
| 10 | 2.4 | 5 | 6–7 |
| 12 | 2.4 | 6 | 7–8 |
| 14 | 2.4 | 7 | 8–10 |
| 16 | 2.4 | 8 | 10–12 |
Standard UK wallpaper rolls are 10 m long × 530 mm wide. Add one extra roll per 3–4 rolls ordered as a safety margin. Always note the batch number: dye lots vary between batches and the difference is visible on the wall.
Tools and Materials
- Pasting table and paste brush (or a trough for ready-pasted papers)
- Seam roller and smoothing brush or plastic smoother
- Plumb bob or spirit level and pencil
- Sharp wallpaper scissors and a trimming knife with fresh blades
- Step ladder
- Wallpaper paste (check the paper manufacturer’s recommendation, heavyweight papers and vinyls need a different paste to standard papers)
- Size (diluted paste used to prime bare plaster)
- Sponge and bucket of clean water
Step 1: Prepare the Walls
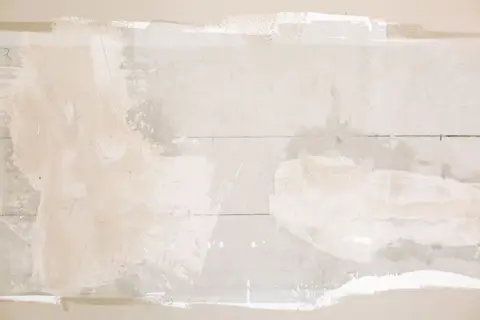
Good wallpapering is 50% surface preparation. Wallpaper will highlight every imperfection, cracks, old joins, uneven filler, far more than paint.
- Strip old paper fully. Use a steam stripper or spray-on stripper and a wide scraper. Double-layered paper often hides the worst surprises.
- Fill and sand holes, cracks, and joins with fine filler. Feather the edges and sand flush when dry.
- Apply size to bare plaster: dilute your wallpaper paste roughly 1:4 with water and brush over the entire wall. Size seals the surface so the paste doesn’t dry too fast and allows you to slide the paper into position.
- Allow the size to dry fully, usually 2–4 hours.
Step 2: Find Your Starting Point
Never assume a corner is perfectly plumb, they rarely are, especially in older properties. Always hang your first drop from a vertical line.
In a standard room, start alongside the main window wall so that misaligned joins, which are virtually unavoidable at the end of the room, fall in the least visible corner. Use a plumb bob or a long spirit level to draw a true vertical line at your first drop position.
If the paper has a large pattern, centre the dominant motif on the main focal wall (usually the chimney breast) and work outward in both directions.
Step 3: Cut and Paste Your Drops
- Measure the wall height, add 100 mm excess (50 mm top and bottom) for trimming, and cut your first strip.
- Check the pattern repeat before cutting subsequent strips, align the pattern at the joining edge before cutting.
- Paste evenly: brush from the centre outward to avoid paste on the face of the paper. Fold pasted side to pasted side (book the paper) and allow the paste to soak in for the time stated by the manufacturer, typically 3–5 minutes for standard papers, 8–10 minutes for heavy embossed papers. Under-soaking leads to bubbles; over-soaking makes the paper stretch and tear.
For paste-the-wall (non-woven) papers: paste the wall, not the paper. These papers are faster to hang and easier for beginners, they don’t stretch or need booking.
Step 4: Hang the First Drop
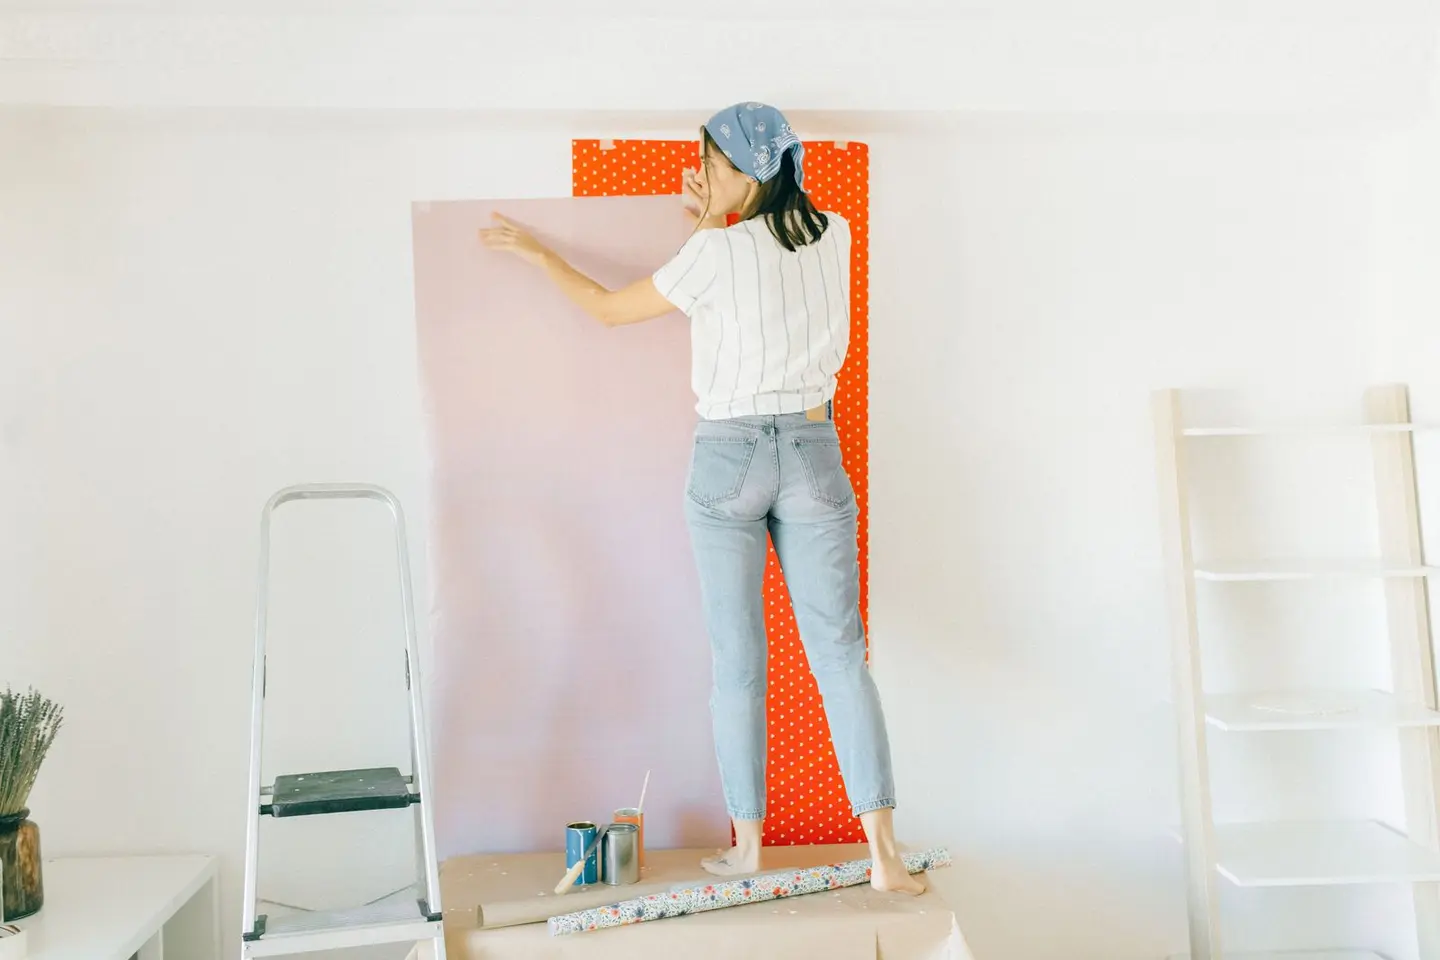
Unfold the top section and position it against your plumb line, leaving 50 mm of excess at the ceiling. Smooth from the top down with a smoothing brush or plastic smoother, working out any bubbles to the edges. Unfold the bottom half and smooth downward.
Run your trimming knife along the ceiling line and skirting using a straight edge or the back of your scissors to crease the paper into the angle before cutting. Wipe away paste from the ceiling, skirting, and paper face with a damp sponge immediately, dried paste is difficult to remove cleanly.
Step 5: Hang Subsequent Drops
Butt each new drop tightly to the previous one, do not overlap seams, as the ridge is visible once dry. Align the pattern carefully at eye height first, then smooth the top and bottom.
Gently roll the seam with a seam roller once the paper has had 5–10 minutes to firm up. Do not use a seam roller on textured or embossed papers, you’ll flatten the pattern.
Step 6: Papering Corners
Internal corners: paper into the corner, allowing 10–15 mm to wrap around. Then hang the next piece starting with a new plumb line just past the corner, overlapping the wrap. Vinyl papers must be butted; use vinyl-on-vinyl paste for any overlap.
External corners (around chimney breasts etc.): wrap 15–20 mm around the corner. The subsequent piece starts from a plumb line on the new wall face.
Step 7: Working Around Switches and Sockets
Always turn off the electricity at the consumer unit before working near sockets and switches.
Hang the drop over the switch or socket, then press the paper gently against the fitting to locate the corners. Cut diagonally to each corner, trim the flaps to leave 10–15 mm, loosen the faceplate, tuck the paper behind it, and re-tighten. For light switches and sockets, a decorator can also swap standard faceplates for slimline versions to make this step easier.
Common Mistakes to Avoid
| Mistake | Consequence | Prevention |
|---|---|---|
| Skipping size on bare plaster | Bubbles, paper lifting at seams | Always size bare plaster the day before |
| Not booking the paper | Bubbles, uneven expansion | Follow paste soak times exactly |
| Starting from a corner | Crooked drops throughout room | Always start from a plumb line |
| Mismatched batch numbers | Visible tonal variation across walls | Order all rolls at once, check batch numbers |
| Wiping paste with a dry cloth | Smearing paste across the face | Always use a clean damp sponge |
When to Use a Decorator
Wallpapering is achievable as a DIY project for most people in a straightforward room. Consider hiring a decorator if:
- The paper is expensive (£80+ per roll), the cost of a professional is cheap compared to ruined rolls.
- The room has complex features: stairwells, sloping ceilings, multiple external corners or chimney breast returns.
- You’re hanging murals or feature papers with very large pattern repeats.
A decorator typically charges £150–£250 per day. A standard double bedroom takes one day to paper professionally; a hallway and stairwell two to three days depending on complexity.
Cost Summary
| Item | Typical Cost |
|---|---|
| Budget wallpaper | £10–£30 per roll |
| Mid-range wallpaper | £30–£60 per roll |
| Designer wallpaper | £60–£150 per roll |
| Wallpaper paste (sachet, makes 5 litres) | £3–£6 |
| Full decorator’s kit (if buying tools) | £40–£80 |
| Decorator day rate (labour only) | £150–£250 |