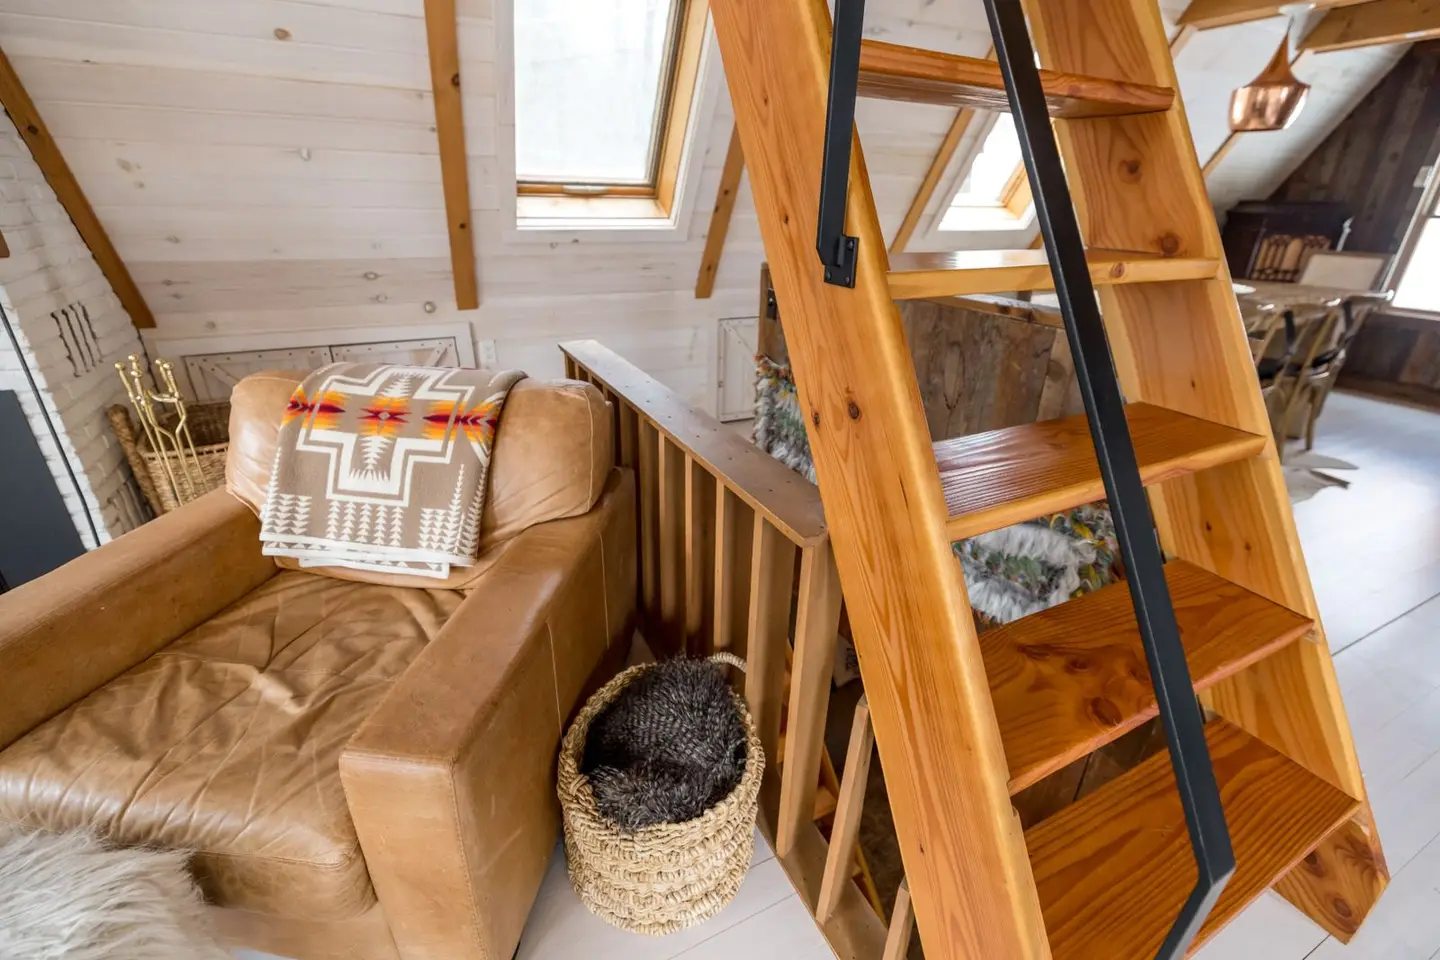
A properly fitted loft ladder transforms an awkward hatch into a safe, accessible storage space. If you already have a hatch, the job is largely one of installing the ladder frame and checking the geometry. If you need to cut a new opening, there is structural work involved first. Either way, this is a realistic DIY project for a confident handyperson working with a helper.
Types of Loft Ladder
Before you buy, choose the right type for your ceiling height and hatch position:
| Type | How It Works | Ceiling Height (m) | Typical Cost |
|---|---|---|---|
| Concertina / folding | Folds upward in sections, stows in hatch | 2.2–3.2 | £80–£180 |
| Sliding (2-section) | Slides into itself, stows in loft | 2.4–3.0 | £100–£220 |
| Sliding (3-section) | Three sections, suitable for higher ceilings | 2.6–3.6 | £120–£280 |
| Telescopic | Extends from compact unit, very tidy | 2.4–3.2 | £180–£400 |
| Fixed (timber or steel) | Permanent, for regular loft access / habitable loft | Any | £200–£600+ |
Concertina and two-section sliding ladders suit most UK houses with standard 2.3–2.6 m ceiling heights. If the ceiling is higher than 3.0 m, check the ladder’s maximum reach before buying, most standard units top out at 2.8–3.0 m extended.
Tools and Materials
- Tape measure, pencil, spirit level
- Reciprocating saw or jigsaw (for cutting hatch if needed)
- Drill and 3–4 mm wood bits
- Screwdriver (or impact driver)
- Timber for trimmer joists (if cutting new hatch), typically 47 × 120 mm C16/C24 softwood
- Loft ladder kit (includes frame, ladder, hatch door, and fitting hardware)
- Two helpers for the installation phase, a loft ladder frame is awkward to handle alone
Step 1: Check the Existing Hatch or Plan a New One
If you already have a hatch: measure the clear opening width and length. Most loft ladders require a minimum opening of 550 mm × 725 mm. Some budget units work with a 560 × 700 mm hatch; premium wider units may need 600 × 1,100 mm. Compare your hatch dimensions against the ladder manufacturer’s specification before ordering.
If you need to cut a new hatch or enlarge an existing one: you must identify what is in the ceiling first.
- Go into the loft and look at the joist layout. The new opening must run parallel with the joists (or span between them with trimmer joists fitted at each end of the cut).
- Never cut through a ceiling joist without installing the correct structural support first. Cut joists must be headed off with trimmer joists of the same section (usually 47 × 120 mm) nailed or bolted between the adjacent joists on each side.
- Mark the opening from above, drill a pilot hole at each corner, and cut from below with a jigsaw or reciprocating saw. Work carefully around any noggins, cables, or pipes.
If you are in any doubt about the structural work, consult a structural engineer or experienced joiner before proceeding. The cost of a structural engineer’s inspection is £150–£300, cheap compared to a poorly supported ceiling.
Step 2: Check the Landing Zone
The base of the ladder must land on a stable surface with sufficient clear space. Check:
- Clear floor space: at least 800 mm × 1,000 mm below the hatch, free of furniture and obstacles.
- Head height in the loft: measure from the floor of the loft to the apex of the roof directly above the hatch. There should be at least 600–800 mm of headroom at the head of the ladder.
- Angle of the ladder: most loft ladders are designed to sit at 63–68° from horizontal. If the landing zone is too close to directly below the hatch, a flat ceiling makes this impossible, a telescopic or sliding ladder may give more flexibility.
Step 3: Prepare the Frame Opening
The loft ladder kit includes a timber or metal frame that sits in the hatch opening. The frame is slightly smaller than the opening to allow adjustment.
- Position the frame in the opening from above.
- Check it is level in both directions with a spirit level.
- Temporarily wedge it in place while you check the measurements.
Step 4: Fix the Frame
With the frame level and positioned correctly:
- Drill pilot holes through the frame into the trimmer joists (or existing hatch frame timbers) at each corner and at intervals of 300–400 mm around the perimeter.
- Drive screws or bolts per the manufacturer’s instructions, typically 4–6 mm coach screws or structural screws of at least 60 mm length.
- Check level again after fixing. The frame must be flat, a twisted frame will cause the hatch door to bind.
Step 5: Attach the Ladder
With the frame secure, attach the ladder mechanism:
- For concertina and folding types: hook or bolt the ladder arms to the frame as per the kit instructions, usually at two pivot points on either side.
- For sliding ladders: slot the ladder sections into the frame channels and secure the retention clips.
- Check the ladder fully extends and retracts without catching. Most kits include adjustable feet at the base of the ladder, extend these so the foot pads sit flat on the floor.
Step 6: Fit the Hatch Door and Insulation
The hatch door (usually supplied with the kit) must:
- Close flush and without gaps, warm air rises and a poorly sealed hatch is a significant source of heat loss.
- Include a draught seal (usually a compressible foam or rubber gasket around the perimeter of the frame).
- Ideally carry 100–150 mm of insulation on top, either a purpose-made insulated hatch panel or a rigid PIR board cut to size and fixed to the top face of the door.
Building Regs Part L requires loft hatches to achieve a minimum U-value of 0.35 W/m²K if they are upgraded. A good insulated loft hatch panel with a proper draught seal will achieve this.1
Building Regulations
Fitting a loft ladder does not usually require Building Regulations approval as standalone work unless:
- You are converting the loft into a habitable room (this requires a full loft conversion application, and the access stair must comply with Part K for stairs and ladders).2
- You are cutting and heading off ceiling joists, which is structural work. While a small domestic hatch header is generally low-risk, your local authority building control can confirm whether a notification is required.
For a standard storage loft, no notification is needed. For a habitable loft conversion, always obtain Building Regs approval.
Safety Check After Fitting
Before handing the ladder over to regular use:
- Test all fixings by gripping the frame and applying firm lateral pressure.
- Climb the fully extended ladder and check for any flex, creaking, or movement in the frame fixings.
- Ensure the hatch door opens and closes smoothly and the latch or spring mechanism retains it securely.
- Check the retraction mechanism, the door should not free-fall when released.
Cost Summary
| Item | Typical Cost |
|---|---|
| Concertina loft ladder (kit) | £80–£180 |
| Sliding two-section loft ladder | £100–£220 |
| Telescopic loft ladder | £180–£400 |
| Insulated hatch panel (add-on) | £20–£60 |
| Joiner to fit (labour only) | £150–£280 |
| Joiner to cut new hatch and fit ladder | £300–£500 |
A new loft ladder pays for itself quickly in reduced storage hassle, and good insulation on the hatch door pays back in lower heating bills. Budget a full half-day for a competent DIYer fitting into an existing hatch; allow a full day if structural work to the hatch opening is needed.
References (2)
Figures in this note were checked against the sources below on 14 September 2026. Superscript numbers in the text point to them. Every source the site cites, by topic.
- 1technicalvery strongMinistry of Housing, Communities and Local Government.RN-L0FCJXThe in-force U-value tables a DIY insulation or door note must quote, with the exact numbers. Table 4.2, limiting U-values for new fabric elements in existing dwellings, sets roof 0.15, wall 0.18, floor 0.18, swimming pool basin 0.25, window 1.4 or Window Energy Rating Band B minimum, rooflight 2.2, doors with more than 60 per cent of the internal face glazed 1.4 or Doorset Energy Rating Band C minimum, and other doors 1.4 or Doorset Energy Rating Band B minimum. Table 4.3, for existing elements, gives a roof threshold of 0.35 and an improved value of 0.16, which is the figure a loft insulation note needs: paragraph 4.12 says a retained element whose U-value is higher than the column (a) threshold, for example through a loft or garage conversion, should be upgraded to the column (b) value. Paragraph 4.13 allows a lesser upgrade only where the improved value is not technically or functionally feasible or would not achieve a simple payback of 15 years or less. Paragraph 4.8 requires a replacement element to be no worse than the one it replaces as well as meeting Table 4.2. Paragraph 4.10 gives the heritage exception: where character must be maintained, a centre pane U-value of no more than 1.2 or low-emissivity secondary glazing. Note 9 records that the timber window concession of 1.6 or Band C ended on 14 June 2023. The 2021 edition came into force on 15 June 2022; a 2026 edition exists at https://assets.publishing.service.gov.uk/media/69c122a6cfa346b9d4704a55/ADL1_2026.pdf.
- 2technicalvery strongMinistry of Housing, Communities and Local Government.RN-XH6E39The standard that decides whether a loft ladder is legal and when a raised deck needs a balustrade. Published 3 January 2013, it covers protection from falling, collision and impact including stairs, ladders, ramps, guarding and vehicle barriers. Paragraph 1.31 states that retractable ladders must not be used as a means of escape. Paragraph 1.32 permits a fixed ladder, with fixed handrails on both sides, only for access in a loft conversion containing one habitable room, and only where there is not enough space without altering the existing space for a compliant stair, which is the rule that catches most loft ladder installations. Paragraph 1.29 restricts alternating tread stairs to loft conversions. For a private stair the maximum pitch is 42 degrees (Table 1.1 note 1), the normal relationship between rise and going is twice the rise plus the going between 550mm and 700mm, and for dwellings external tapered steps forming part of the building need a going of at least 280mm. Paragraph 3.1 requires guarding wherever it is reasonably necessary for safety at the edge of a floor, gallery, balcony, roof, light well, basement or similar sunken area. Paragraph 3.2 requires guarding to be at least the height in Diagram 3.1, allows any wall, parapet or balustrade to serve as guarding, and requires it to resist the loads in BS EN 1991-1-1 with its UK National Annex and PD 6688-1-1, with BS 6180 for barrier and infill panel design. Handrails should be positioned 900mm to 1000mm from the pitch line or floor.
-
Approved Document L, Conservation of fuel and power, Volume 1: Dwellings, 2021 edition incorporating 2023 amendments, Ministry of Housing, Communities and Local Government, accessed 14 September 2026. assets.publishing.service.gov.uk
-
Approved Document K, Protection from falling, collision and impact, 2013 edition, Ministry of Housing, Communities and Local Government, accessed 14 September 2026. assets.publishing.service.gov.uk