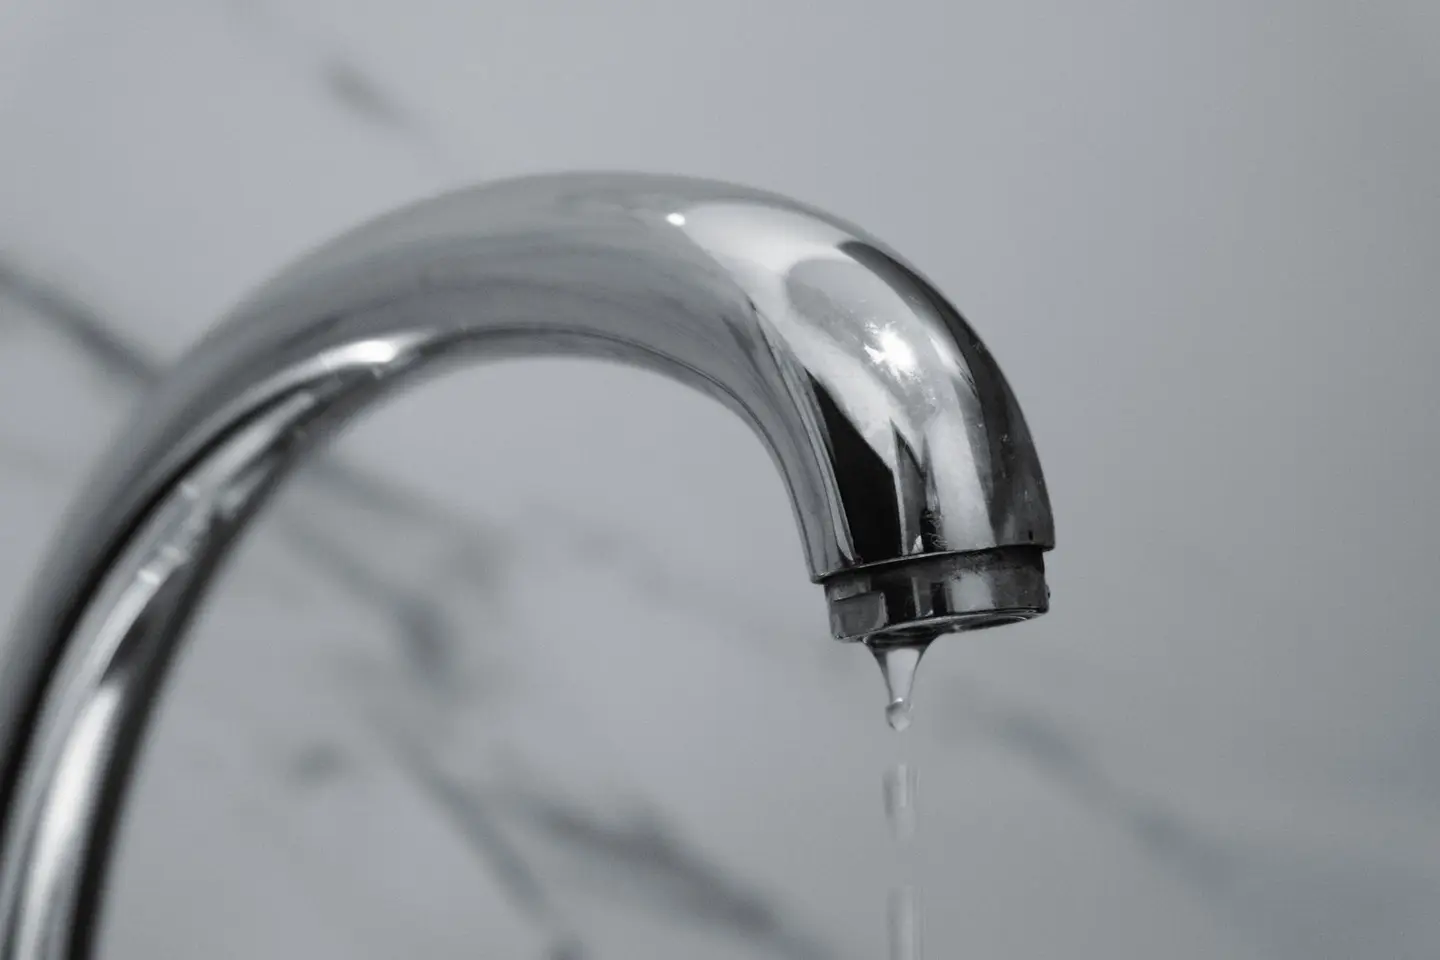
A dripping tap is one of the most common household problems in the UK, and one of the most wasteful. A tap dripping once per second loses around 10,000 litres of water per year, adding roughly £25–£50 to your water bill and wasting a precious resource. The good news is that most leaks are caused by a worn washer, O-ring, or cartridge, all of which cost a few pounds and take under an hour to replace.
The key is identifying which type of tap you have before you start. Traditional pillar taps use a rubber washer; ceramic disc taps use a cartridge; monobloc mixer taps may use either, depending on the manufacturer.
Tools and Materials You Will Need
- Adjustable spanner or open-ended spanner (22 mm and 27 mm usually cover most taps)
- Flat-head and cross-head screwdrivers
- Allen key set (3 mm and 4 mm cover most shrouded head screws)
- Replacement tap washer (1/2 inch for most household taps), O-ring, or cartridge, match the make and model where possible
- Plumber’s grease (silicone-based)
- PTFE tape
- Old towels or a bowl to catch water
- Torch
Step 1: Turn Off the Water Supply
Before anything else, isolate the water supply to the tap. Most UK homes have individual service valves under the sink or basin, a flat-head screwdriver slot turned 90° closes them. If there are no isolating valves, turn off the stopcock (usually under the kitchen sink or in the cupboard under the stairs) and open the tap to drain the pipework.
Check you have correctly isolated the supply by turning the tap fully on. If water runs to a trickle and stops, you are safe to proceed. If it keeps flowing at pressure, the stopcock has not closed fully, turn off at the outside stop tap (in the pavement near your boundary) and call your water supplier if you cannot locate it.
Step 2: Remove the Tap Handle
On traditional pillar taps, the handle is usually held by a screw concealed under a decorative cap on top. Prise off the cap with a flat-head screwdriver and undo the retaining screw. The handle should lift off.
On shrouded-head or cross-head taps, look for an Allen-key socket recessed into the side or front of the head. Modern lever taps often use a grub screw on the underside of the lever, accessible by lifting the lever to the horizontal position.
Once the handle is off, you will see the headgear, a hexagonal brass nut that holds the internal mechanism.
Step 3: Unscrew the Headgear
Using your adjustable spanner, undo the headgear by turning anti-clockwise. Apply steady pressure rather than jerking, old fittings can be stubborn. Protect the chrome or brass body with a cloth wrapped around it if you need to brace against the body.
With the headgear removed, the spindle and washer seat are exposed.
Step 4a: Replace the Washer (Traditional Taps)
At the bottom of the spindle you will see the washer held by a small brass nut (the jumper). Undo this nut and prise out the old washer, it will likely be hard, cracked, or deformed. Take it to a plumber’s merchant or DIY store to match the size, or buy an assorted pack (£3–£6) and select the correct diameter.
Seat the new washer firmly, tighten the brass nut, and apply a light smear of plumber’s grease to the washer face before reassembly.
Step 4b: Replace the O-Ring (Spout or Body Leaks)
If the leak is from around the base of the spout or where the body meets the surface, the problem is a worn O-ring rather than a washer. O-rings sit in grooves on the spout and cartridge body. With the spout removed (usually a quarter-turn or held by a grub screw), roll the old O-ring off and stretch a new one, lightly greased, into the groove.
Step 4c: Replace the Cartridge (Ceramic Disc or Mixer Taps)
Ceramic disc cartridges rarely wear out but they can chip or crack, usually after debris passes through the supply. Remove the old cartridge by unscrewing it (or pulling it out if it is a push-fit type), note its orientation, and take it to a plumber’s merchant. Cartridges are highly model-specific, photograph the tap brand plate before you go.
Insert the new cartridge in the same orientation (hot and cold positions matter), reassemble, and turn the water on slowly to test.
Cost Breakdown
| Item | Cost Range |
|---|---|
| Replacement washer | £1–£3 |
| O-ring pack (assorted) | £3–£6 |
| Ceramic disc cartridge | £10–£40 |
| Full tap replacement (budget monobloc) | £20–£80 |
| Plumber call-out and repair (labour) | £50–£120 |
| Plumber supply and fit new tap | £100–£250 |
Step 5: Reassemble and Test
Reassemble in reverse order: seat the headgear and finger-tighten before snugging up with the spanner (do not overtighten, it can crack the seat). Refit the handle and decorative cap. Open the isolating valve slowly, then test the tap through its full range. A steady drip immediately after tightening usually means the washer is slightly misaligned, remove and reseat.
Check under the sink for any weeping joints at the isolating valves, which can be disturbed during the repair.
Common Mistakes
Using the wrong washer size. A washer that is 1 mm too small will compress unevenly and fail again within weeks. Always match by measurement.
Over-tightening the tap. Taps have soft brass seats that can be damaged by excessive torque. Tighten until just firm.
Not turning off the supply fully. Working on a tap with any residual pressure can shoot the headgear across the room when the last thread lets go.
Ignoring a leaking isolating valve. If water is seeping from the valve stem after you reopen it, wrap the spindle with PTFE tape or replace the valve.
When to Call a Plumber
Call a professional if the tap body itself is corroded or cracked, if threads are stripped, if you cannot locate or close the main stopcock, or if the leak is coming from the supply pipe rather than the tap. A straightforward tap repair takes a plumber 30–60 minutes at £50–£120 all in, fair value if the diagnosis is uncertain or access is tight under a vanity unit.
Under Water Industry Act 1991 obligations, you are responsible for maintaining fittings within your property. A persistently dripping tap can lead to wasted water charges if you are on a meter, so prompt repair makes both financial and practical sense.1
References (1)
Figures in this note were checked against the sources below on 14 September 2026. Superscript numbers in the text point to them. Every source the site cites, by topic.
- 1technicalvery strongThe National Archives (legislation.gov.uk), legislation.RN-PS0WRUThe statutory right that decides whether garden or driveway surface water can go to the sewer at all. Subsection (1) gives the owner or occupier of premises, and the owner of a private sewer, the right to have their drain or sewer communicate with the public sewer and to discharge foul water and surface water, subject to the section. Subsection (4) lets the sewerage undertaker refuse within 21 days of notice where the drain or sewer does not satisfy the standards reasonably required by the undertaker, or where the communication would be prejudicial to the undertaker's sewerage system. Subsection (2) prohibits connections that would allow discharge of liquid from a factory (other than domestic sewage or surface or storm water), any liquid whose discharge is prohibited by an enactment, foul water into a surface-water sewer or (without approval) surface water into a foul sewer, and any direct connection into a storm-water overflow sewer. The undertaker may require the lateral drain to vest under section 102. Disputes about the reasonableness of a refusal or requirement are determined by the Authority under section 30A.
-
Water Industry Act 1991, section 106: Right to communicate with public sewers, The National Archives, accessed 14 September 2026. legislation.gov.uk