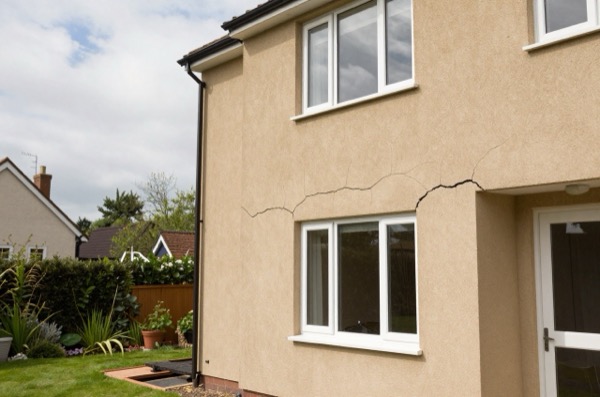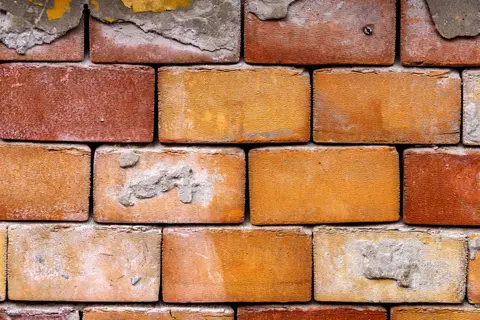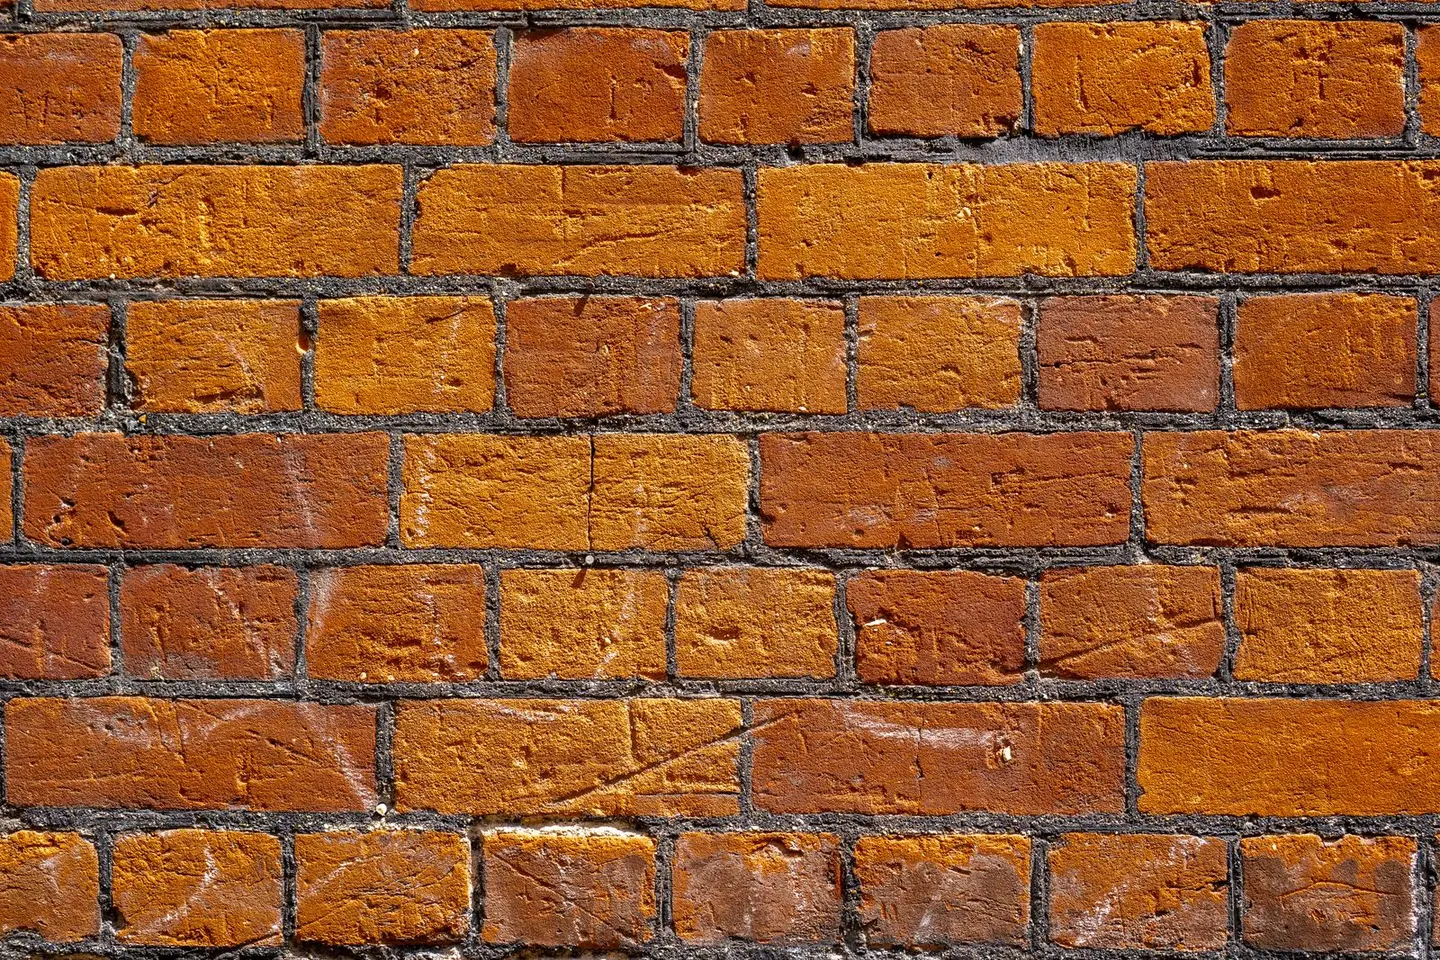
Failing mortar joints are one of the most common causes of damp penetration in UK masonry homes. When the pointing between bricks erodes, water tracks behind the wall face and into the structure. In a typical British winter, freeze-thaw cycles then accelerate the damage, water expands as it freezes, progressively breaking down both the mortar and the brick face.1 Where the problem is only eroded mortar, repointing restores the weathering line and can restore adequate strength without rebuilding.2
The single most important rule: match the mortar strength to the brick. Using an OPC (Ordinary Portland Cement) mortar on a soft, handmade Victorian brick is almost always a mistake, the mortar will be stronger than the brick, and movement and moisture will cause the brick face to spall.2 This damage is irreversible.
When Do You Need to Repoint?
You need to repoint when the mortar joints have weathered back far enough to expose the edges of the bricks (commonly 10–15 mm or more), feel soft or friable when probed with a key, or show visible cracks.2 Test by pressing a key or screwdriver tip into the joint, if mortar crumbles out to a depth greater than 15 mm, repointing is usually overdue.
Signs that suggest repointing is the wrong first step:
- Structural cracks in a stepped or diagonal pattern, these suggest foundation movement, which must be investigated before cosmetic repairs1
- Efflorescence (white salt deposits), indicates moisture tracking through from behind; fix the source of damp first
- Blown brick faces (spalling), if bricks are already spalling, you may have a previous incompatible repoint to address, not just standard erosion
Mortar Types and Mix Ratios
Getting the mortar specification right is critical. Match the designation to the brick:
| Mortar Designation | Mix (cement : lime : sand) | Compressive Strength | Use |
|---|---|---|---|
| M12 (designation i) | 1:0:3 | Very strong | Engineering bricks, below-DPC in wet ground |
| M6 (designation ii) | 1:0.5:4 | Strong | Modern dense blocks, newer hard bricks |
| M4 (designation iii) | 1:1:5–6 | Medium | Most modern brickwork post-1960 |
| M2 (designation iv) | 1:2:8–9 | Weak | Soft brick (pre-1919), lime pointing |
| NHL 3.5 or NHL 5 lime | Varies, typically 1:2.5 to 1:3 (lime:sand) | Variable | Traditional pre-1919 buildings, listed buildings |
For new structural masonry, Approved Document A treats designation (iii), strength class M4 and a 1:1:5–6 cement:lime:sand mix as equivalent.3
Pre-1919 buildings: unless the brick is genuinely hard (dense engineering brick), use a natural hydraulic lime (NHL) mortar rather than OPC.2 Many local councils and conservation officers will require this for listed buildings. NHL mortars are more flexible, breathable, and will sacrifice themselves before damaging the brick, which is the correct hierarchy.2
Cost Breakdown
| Scope | Cost Range |
|---|---|
| DIY materials only (per m²) | £4–£10 |
| Hired tradesperson (per m², labour only) | £25–£65 |
| Hired tradesperson (supply & fix, per m²) | £30–£75 |
| Full house repoint (semi-detached, ~100 m² wall) | £3,000–£7,500 |
| Scaffolding (full semi-detached house, 2 weeks) | £700–£1,800 |
These figures are estimates, and the per-m² rate is consistent with the full-house row (£3,000–£7,500 over about 100 m² of wall); quotes vary widely between contractors. London and South-East costs sit at the top end. The cost per m² falls significantly for large areas, the set-up, scaffolding and mobilisation cost is fixed, so a larger area amortises it better.
How to Repoint: Step-by-Step
Tools Required
- Plugging chisel (or an angle grinder with a pointing disc for large areas, use carefully to avoid catching brick edges)
- Club hammer
- Pointing trowel (small, 10–12 mm)
- Bucket trowel or hawk
- Stiff brush
- Joint profile tool (for recessed or weather-struck finish)
- Hessian or damp cloth for curing
Step 1: Rake Out the Old Mortar
Remove old mortar to a depth of at least 12 mm, and ideally about twice the joint width (around 20 mm for a standard 10 mm joint): anything shallower and the new mortar will not have adequate depth to bond and weather.2 Work in horizontal joints first, then vertical (perpends). An angle grinder speeds this up on hard OPC pointing, but LABC advises against disc saws for cutting out joints because they are hard to control and often damage the brickwork, so most experienced tradespeople use a plugging chisel and hammer, at least near the brick edges.2
Step 2: Clean and Dampen
Brush the joint faces clean with a stiff brush. Dampen the joints with a wet brush or water spray, this prevents the brick from sucking water out of the fresh mortar too quickly (which weakens the set).2 Do not saturate.
Step 3: Mix the Mortar
Mix only what you can use in 30–45 minutes at typical UK summer temperatures. For a standard M4 mix: 1 part Portland cement, 1 part lime, 5–6 parts soft sand (not sharp sand, which makes the mix harsh and difficult to finish). For NHL lime, follow the manufacturer’s instructions, NHL 3.5 sets more slowly and typically has a longer working time.
Step 4: Apply the Mortar
- Load the hawk with mortar.
- Push mortar into the horizontal joints first, then the perpends.
- Fill in two passes if joints are deep, do not try to fill more than 12 mm in a single pass.
- Firm the mortar in with the trowel but do not overwork it.
Step 5: Profile the Joint
The most common UK joint profiles:
- Flush, mortar level with the brick face; suits sheltered or exposed positions equally
- Recessed, mortar set back 3–5 mm; modern, crisper look; slightly less weather-resistant
- Weather-struck, angled to shed water; traditional, good for exposed elevations
Run a jointing tool or the edge of the pointing trowel along the joint to achieve a consistent profile. Keep a damp cloth nearby to clean the trowel regularly.
Step 6: Cure
Cover freshly pointed work with hessian or damp cloth for 24–48 hours in warm, dry weather to slow the cure and prevent shrinkage cracking. Avoid repointing when there is a risk of frost (in practice, below about 5°C) or in very hot weather (above about 30°C), when the mortar dries too fast.2 Protect from direct sun and rain for 48 hours.
Scaffold or Ladders?
For single-storey work (up to ~3.5 m) a scaffold tower can be adequate and hired for £100–£180/week. For anything above the ground floor, or for a full house, scaffolding provides a proper working platform and is safer and faster. Scaffolding must be erected only by competent scaffolders; asking to see their CISRS (Construction Industry Scaffolders Record Scheme) cards is the usual check.4
Listed Buildings and Conservation Areas
If your property is listed, you may need Listed Building Consent before repointing even with a matching mortar, and in a conservation area it is worth checking with the council too.1 Contact your local planning authority before starting. Historic England advises matching repair materials as closely as possible to the original wall and warns that cement-based fillings can make an old wall decay faster; many conservation officers will also specify the exact sand type (local aggregate colour matching matters in conservation areas).1
References (4)
Figures in this note were checked against the sources below on 30 September 2026. Superscript numbers in the text point to them. Every source the site cites, by topic.
- 1technicalvery strongHistoric England, guidance.RN-Y1SE0KHistoric England's homeowner advice on repairing walls of older homes. It warns that modern impervious materials such as cement-based fillings lock moisture into old walls and speed their decay.
- 2technicalvery strongLABC, guidance.RN-4TIKSZLABC's repointing guidance: pre-20th-century homes almost always used lime mortar, and cement-rich mixes harder than the masonry can damage the bricks.
- 3technicalvery strongMinistry of Housing, Communities and Local Government (GOV.UK).RN-Z6AXUWThe full Approved Document A PDF, which carries the deemed-to-satisfy tables a domestic project is checked against. Section 2E covers foundations of plain concrete: paragraph 2E3 gives the recommended minimum widths of strip foundations in Table 10, keyed to ground type and total load of loadbearing walling per linear metre. Table 10 sets, for rock (not inferior to sandstone, limestone or firm chalk, requiring at least a pneumatic or mechanically operated pick to excavate), a width equal to the width of the wall at every load. For medium dense gravel or sand (requires a pick to excavate, a 50mm square wooden peg hard to drive beyond 150mm) and for stiff clay or stiff sandy clay (can be indented slightly by the thumb), the minimum widths are 250mm at 20 kN per linear metre, 300mm at 30, 400mm at 40, 500mm at 50, 600mm at 60 and 650mm at 70. Firm clay and firm sandy clay (thumb makes an impression easily) start at 300mm. The document also covers minimum depth of strip foundations, wall thickness rules for residential buildings up to three storeys (paragraph 2C10 covers internal loadbearing walls in brickwork or blockwork), buttressing, lateral support by floors and at roof level, interruption of lateral support, wall cladding in Section 3, and Section 5 on reducing sensitivity to disproportionate collapse with the building consequence classes.
- 4technicalvery strongHealth and Safety Executive, guidance.RN-2KFK3DHSE's scaffolding page states that employers and self-employed contractors must assess the risk from work at height and plan the work so it is done safely, providing general access scaffolds wherever practicable. Scaffolding must be designed, erected, altered and dismantled only by competent people under the direction of a competent supervisor, following NASC Safety Guidance SG4 'Preventing falls in scaffolding operations' or equivalent manufacturer guidance for system scaffold. Strength and stability calculations are required unless the scaffold matches a generally recognised standard configuration for which a note of calculations exists, and a competent person must draw up an assembly, use and dismantling plan. Covers guard rails, toe boards, scaffold design, structures needing bespoke design, operative competence and scaffold inspection.
-
Repairing Walls of an Older Home, Historic England, accessed 30 September 2026. historicengland.org.uk
-
Getting to the point about repointing brickwork, LABC, accessed 30 September 2026. labc.co.uk
-
Approved Document A: Structure, 2004 edition incorporating 2010 and 2013 amendments, HM Government (GOV.UK), accessed 30 September 2026. assets.publishing.service.gov.uk
-
Scaffolds, Health and Safety Executive, accessed 30 September 2026. hse.gov.uk