Wallpaper fell out of fashion in the 1980s and 1990s when magnolia emulsion swept through every suburban semi, but it has been firmly back since the early 2010s and shows no sign of retreating. The variety available today, from affordable paste-the-wall vinyls to hand-blocked heritage papers and acoustic fabric panels, is greater than at any point in the past century. This guide explains what you are actually buying when you choose a wallpaper type, how to calculate quantities correctly, and the key steps to hang it without disaster.
Wallpaper Types
Paste-the-wall (non-woven) Now one of the most widely sold types in the UK. The backing is a non-woven material, typically a blend of cellulose and polyester fibres, rather than ordinary paper. You paste the wall rather than the paper, which means no soaking time, no paste table needed, and no wet paper to tear. These papers hang cleanly, are relatively easy to strip when the time comes, and are suitable for most wall surfaces. Cost: £12–£40/roll for mainstream products.
Standard vinyl A paper or fabric substrate coated with PVC. Durable, washable and moisture-resistant, making it suitable for hallways, children’s rooms and kitchens. Paste the paper (not the wall) and allow the soaking time given on the label for the paper to relax before hanging. Good value entry-level option. Cost: £8–£20/roll.
Blown vinyl (embossed vinyl) A vinyl wallpaper with a raised, textured surface created by heating the PVC during manufacturing. Common in 1980s homes and still used for textured effects (brick, tile, damask patterns). Less fashionable currently but practical in hallways. Typically paste-the-paper. Cost: £8–£18/roll.
Lining paper Not a decorative finish but an essential preparatory product. Lining paper is hung horizontally (cross-lining) before decorative paper to create a smooth, stable surface. It also helps if walls have been previously stripped and the plaster surface is slightly uneven. It is sold by grade (weight), commonly 1000, 1200, 1400 and 2000 grade: the lighter grades suit plaster in good condition, and a heavier grade is recommended for walls with more significant damage.1 Cost: £4–£7.50 per double roll (20 m long, covering about 10.6 m²).
Traditional paper-backed Printed or plain paper with no coating. Requires careful handling when wet as it tears easily. Many heritage and hand-printed papers are paper-backed. Paste the paper; soaking time is critical, so follow the label exactly. Cost: £15–£200+/roll depending on source.
Fabric-backed / textile wallcovering A woven or knitted fabric face bonded to a paper or acrylic backing. Includes grasscloth, jute, seagrass, linen and silk weaves. Adds texture and warmth unavailable from printed papers. Requires careful handling at seams (fabric selvedges must be overlapped and trimmed, or matched carefully). Not recommended in damp rooms. Cost: £30–£120+/roll.
Anaglypta / relief papers High-relief embossed papers designed to be painted over. Popular in period properties for dado panels and ceilings. Usually unpasted, paste-the-paper. Cost: £10–£25/roll.
Cost Comparison by Type
| Type | Typical UK Retail (per roll) | Roll Coverage (approx.) | Washable? |
|---|---|---|---|
| Standard vinyl | £8–£20 | 5–5.5 m² | Yes |
| Paste-the-wall / non-woven | £12–£40 | 5–5.5 m² | Yes (most) |
| Blown / embossed vinyl | £8–£18 | 5–5.5 m² | Yes |
| Lining paper (double roll, 20 m) | £4–£7.502 | about 10.6 m² | No |
| Traditional paper-backed | £15–£200+ | 5–5.5 m² | No |
| Fabric / grasscloth | £30–£120+ | 5–5.5 m² | Spot-clean only |
| Anaglypta / paintable | £10–£25 | 5–5.5 m² | Yes (once painted) |
A standard UK roll is about 52–53 cm wide and 10 m long, covering roughly 5.2–5.3 m²; some luxury and imported papers come in wider rolls. Anaglypta’s Royal Oak blown vinyl, for example, comes in 10 m × 52 cm rolls covering 5.2 m².3 Always check the roll specification before calculating quantities.
Calculating How Many Rolls to Buy
This is where most people go wrong. The calculation has two parts: wall area and pattern repeat waste.
Step 1: Calculate wall area. Measure the perimeter of the room (in metres) and multiply by the ceiling height. Subtract large openings (doors and windows account for roughly 1–1.5 m² each). Divide by the coverage per roll (5 m² for a standard roll).
Step 2: Add for pattern repeat. A straight (set) match wastes less paper than a drop repeat. The longer the pattern repeat, the more waste.
| Pattern Repeat | Add to Roll Quantity |
|---|---|
| No repeat (plain or random texture) | 0–5% |
| Straight match (repeat up to 30 cm) | 10–15% |
| Half-drop repeat (repeat 30–64 cm) | 15–25% |
| Large drop repeat (64 cm+) | 25–35%+ |
Example: A room with 32 m² of wall area, using a paper with a 45 cm drop repeat (25% waste allowance): 32 ÷ 5 = 6.4 rolls → round up to 7 → add 25% → order 9 rolls. Always order an extra roll from the same batch (dye lot) to allow for mistakes and future repairs.
Preparing the Surface
All wallpaper will fail on poorly prepared surfaces. The key steps:
- New plaster: seal with a diluted size coat (diluted wallpaper paste, or diluted PVA at 1:4) and allow to dry before hanging. Do not hang paper on fresh plaster until it is completely dry, which typically takes several weeks.
- Previously painted walls: wash with sugar soap; sand any raised edges; allow to dry. Apply a size coat.
- Old paint and lead: lead pigments were widely used in household paint until the 1960s, so treat original paintwork in an older house as possibly containing lead.4 If it might, do not dry-sand it: moisten the surface and smooth it with waterproof abrasive paper instead.5
- Previously papered walls: strip completely. Soaking with warm water (add a tablespoon of washing-up liquid per bucket) or a wallpaper stripper solution is most effective. A steam stripper speeds the process considerably on stubborn papers.
- Damaged plaster: fill holes and cracks, sand smooth, consider hanging lining paper before the decorative layer.
Hanging: Key Steps
- Find your starting point. Use a spirit level to draw a true vertical line one roll-width in from the most prominent corner or a focal point (e.g., the centre of a chimney breast for a feature wall).
- Cut drops. Cut drops slightly long (50 mm top and bottom) to allow for trimming. Match the pattern on each drop before cutting.
- Paste the wall (for non-woven) or paste the paper. For paste-the-paper types, fold pasted sections loosely (booking) and allow to soak per the manufacturer’s instructions, never skip this.
- Hang the first drop. Slide into position against your plumb line; smooth from centre outwards with a paperhanger’s brush or smoothing tool, working out air bubbles.
- Butt-join subsequent drops. Seams should be pushed together firmly (not overlapped). Use a seam roller on vinyl; avoid pressing too hard on delicate or textured papers.
- Trim top and bottom. Use a paperhanging knife against a straight edge or the back of a broad scraper blade. A sharp blade makes a clean cut; a blunt one tears.
- Paste the back of any overlaps at corners, inside corners are never perfectly true, so cut the paper to overlap by 5–10 mm around the corner and start fresh with a new plumb line on the adjacent wall.
Professional vs DIY
A professional decorator typically charges around £255–£279 a day outside London and £285–£340 a day in London (labour only, materials extra). An average room of 50 m² (wall area) with a standard repeat might take one to two days for an experienced hanger. Larger pattern repeats, feature walls with difficult alignments, or working around a lot of obstacles (radiators, light switches) add time.6
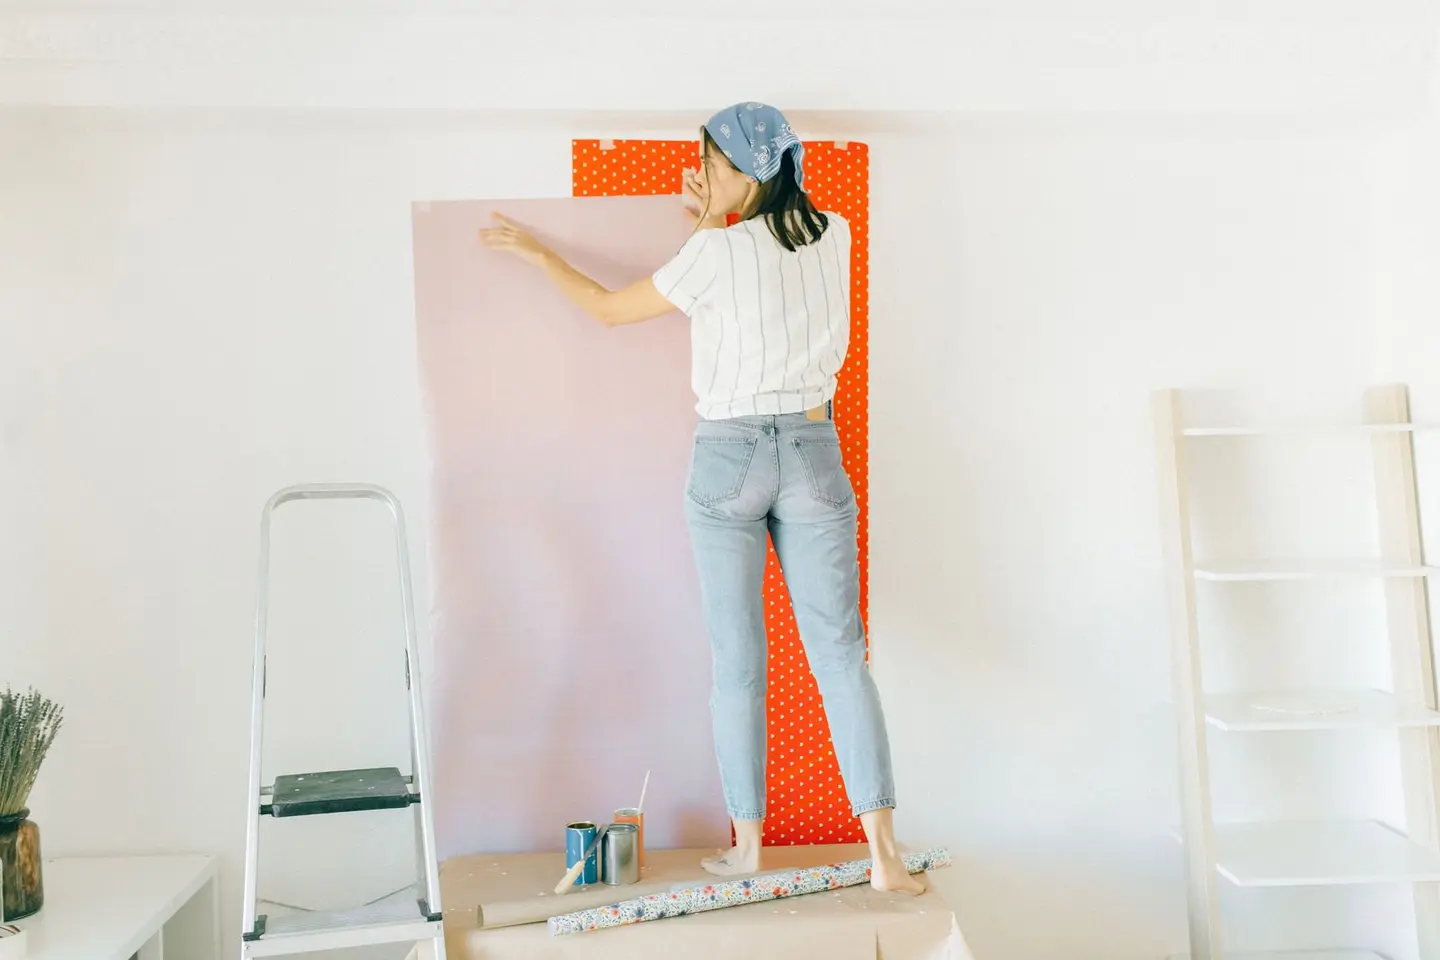
First-time DIY hangers should consider starting with a paste-the-wall non-woven paper on a feature wall (one wall, no pattern repeat) before tackling a full room, it is genuinely forgiving of small errors and provides good practice before committing to a more expensive or complex paper.
References (6)
Figures in this note were checked against the sources below on 30 September 2026. Superscript numbers in the text point to them. Every source the site cites, by topic.
- 1technicalsupplier figureToolstation, guidance.RN-DOLGOMA retailer product page for 1000 grade lining paper. It says the grade suits plaster in good condition and that heavier grades suit more damaged walls; the same range is sold in 1200, 1400 and 2000 grade.
- 2costsupplier figureToolstation.RN-FCMP4XA price, true at 2026-09. the retail price Toolstation publishes for the Double Roll Lining Paper 20m x 0.53m - 2000g, which is the supply figure the cost book records for this item
- 3technicalsupplier figureToolstation, guidance.RN-WEOOLCA merchant product page for a mainstream UK wallpaper roll. It states the standard 10 m by 52 cm roll size and 5.2 m2 coverage.
- 4technicalvery strongHealth and Safety Executive, guidance.RN-DF6UI1HSE's construction lead page. It states lead pigments were commonly used in paints for buildings until the 1960s and that lead was not removed from all commonly used paint until the early 1980s, which is the date test any note about stripping paint in an older house needs. The highest-risk activities it names are stripping or preparing leaded paint from doors and windows, working with lead on roofs, hot cutting of lead or leaded paint in demolition, and blast removal of old leaded paint. Health effects include anaemia and kidney disease, with chronic exposure risking kidney, nerve and brain damage, and a link to a small number of occupational cancers. The governing law is the Control of Lead at Work Regulations 2002, which requires employers to protect employees from the risks from lead, applied through an Assess, Control and Review model with FFP3 respiratory protection at an assigned protection factor of 20, changed work methods, dust control, protective clothing, hygiene and medical surveillance.
- 5technicalstrong locallyCambridge City Council, guidance.RN-MIQHPJA council environmental health page on removing old lead paint at home. It recommends liquid strippers or a hot-air gun below 450C and wet abrasive paper instead of dry sanding.
- 6coststrongConstruction Industry Joint Council, published by Build UK.RN-LBL7CSA price, true at 2026-07. The current CIJC Working Rule Agreement pay resolution, effective 1 April 2026: basic minimum rates by classification in pence per hour and pounds per 39-hour week, with the allowances. Supersedes the June 2025 promulgation. The definitive national floor for construction labour, and the number every labour rate on the site is checked against.
-
Double Roll Lining Paper 20m x 0.53m - 1000g, Toolstation, accessed 30 September 2026. toolstation.com
-
Double Roll Lining Paper 20m x 0.53m - 2000g, Toolstation, accessed 30 September 2026. Priced at 2026-09, so no calibration is needed. toolstation.com
-
Anaglypta Royal Oak Precision Blown Vinyl 10m x 52cm, Toolstation, accessed 30 September 2026. toolstation.com
-
Construction hazardous substances: Lead, Health and Safety Executive, accessed 30 September 2026. hse.gov.uk
-
Lead paint in your home, Cambridge City Council, accessed 30 September 2026. cambridge.gov.uk
-
CIJC Resolution and Promulgation, Working Rule Agreement, IR.2026.1 Pay, Construction Industry Joint Council, accessed 30 September 2026. Priced at 2026-07, so no calibration is needed. builduk.org