Skirting boards and door architraves take more visual punishment than almost any other surface in a room, scuffs, kicks, vacuum cleaner impacts, and the yellowing that comes from years of gloss-in-a-tin. A fresh coat of paint transforms the look of a room more cost-effectively than almost any other intervention. But painted woodwork is also one of the most forgiving finishes to get wrong in ways that are immediately obvious: brush marks, runs, missed preparation, and peeling are all highly visible at eye level and in raking light.
This guide covers the full process from bare or previously painted wood through to a durable, smooth finish.
Tools and Materials
You will need:
- Fine filler (powder or ready-mixed) and a filling knife
- Sandpaper: 80-grit for initial flatting of high spots, 120-grit for general preparation, 180-grit or 240-grit for between-coat sanding
- Sanding block or cork block (hand sanding is more controllable than orbital sanders on profiled mouldings)
- Tack cloth or slightly damp microfibre cloth for dust removal
- Masking tape (good-quality low-tack decorator’s tape, cheap tape bleeds)
- Primer (see below)
- Paint and paint kettle (decanting paint reduces contamination risk)
- 2-inch angled cutting brush for skirting and architraves
- 1-inch brush for glazing bars and small detail
- Dust sheets for floors
A mini foam roller (4-inch, short-pile) is useful for painting flat sections of wide skirting boards and produces a finer finish than a brush on flat runs, more on this below.
Preparation
Preparation accounts for most of the quality of the final result. Skipping steps here cannot be recovered at the painting stage.
1. Clean the surface. Wipe down existing woodwork with a solution of sugar soap and warm water, then rinse with clean water and allow to dry fully. Grease, dust, and wax contaminate primers and topcoats, causing fisheyes (small craters) and poor adhesion.
2. Fill holes and gaps. Small holes from fixings should be filled with fine filler, pressed in slightly proud and sanded flush once dry. The gap between skirting and wall, and between skirting and floor, can be filled with flexible decorator’s caulk, this bridges the movement joint and prevents a visible crack reappearing through the paint. Apply the caulk with a gun, wet your finger, and draw it along smoothly. Caulk should not be used on the mitre joints between skirting lengths; use a small amount of fine filler there.
3. Sand. For previously painted woodwork in reasonable condition, a light sand with 120-grit gives the existing paint a key for the next coat. For high spots, drips, or rough areas, start with 80-grit and work through to 120-grit. Always sand in the direction of the grain on natural wood grain surfaces, and follow the profile of mouldings rather than sanding across them.
For bare wood (new skirting, or wood stripped back to bare), sand to 120-grit. Bare wood requires priming before any topcoat.
4. Remove dust. Wipe down with a tack cloth or barely damp cloth and allow to dry. Dust in the paint film is impossible to remove once it has dried and must be sanded out, easier to prevent.
5. Mask. Apply low-tack masking tape to the floor edge (or use a paint shield), to the wall where it meets the top of the skirting, and around door architraves if painting them separately. Press the tape edge down firmly with a filling knife to prevent bleed.
Primer: Oil-Based vs Water-Based
Choosing the right primer matters more for bare or previously bare wood than for previously painted surfaces.
| Primer type | Best for | Recoat time (typical) | Key properties |
|---|---|---|---|
| Oil-based alkyd primer | Bare wood, resinous knots, high-movement joints | 16–24 hours | Penetrates grain deeply, seals knots and resin, good adhesion base |
| Water-based acrylic primer | Previously painted surfaces in good condition, MDF | 2–4 hours | Low odour, fast re-coat, environmentally preferable |
| Shellac-based primer | Knots and staining (water stains, tannin bleed) | 30–45 minutes | Exceptional stain blocking, limited flexibility, use locally not overall |
Recoat times vary by product: Dulux Trade Wood Primer, a solvent-based primer, is recoatable after 16–24 hours.1 Its water-based counterpart, Dulux Trade Quick Dry Wood Primer Undercoat, is recoatable in 2–4 hours.2
On bare timber, particularly softwood skirting with visible knots, an oil-based primer is the more durable choice. Acrylic primers over bare softwood can raise the grain more aggressively and offer less penetration into resinous areas. The practical downside is overnight drying time and the need for white spirit to clean brushes.
On MDF skirting (very common in new builds from the 2000s onwards), the face is factory-sealed and an acrylic primer is adequate, but the top and bottom edges of MDF are highly absorbent and should receive two coats of primer, sanding lightly between each, before any topcoat is applied. Unprepared MDF edges can swell and bubble under water-based paint.
Apply primer in a thin, even coat following the direction of the moulding profile. Allow to dry fully and sand lightly with 240-grit before the first topcoat.
Paint Types for Woodwork
There are three common finish options for skirting boards and interior woodwork, each with a different sheen level and durability profile.
| Finish | Sheen level | Durability | Marks and scuffs | Best use |
|---|---|---|---|---|
| High gloss | Very high | Very high | Shows clearly but wipes clean easily | Traditional period interiors, heavy-use areas |
| Satinwood | Mid | High | Shows less than gloss, wipes well | Modern interiors, most domestic woodwork |
| Eggshell | Low | Moderate | Least obvious but harder to wipe clean | Low-traffic rooms, period properties where low sheen is preferred |
Gloss in solvent-based (alkyd) formulation is the traditional choice and remains the most durable. It is hard, washable, and resists scuffs and knocks better than water-based alternatives. The downsides are longer drying times, strong odour during application, and yellowing over time, particularly noticeable in rooms with limited natural light. Dulux Trade High Gloss, for example, is touch dry in 4–6 hours but recoatable only after 16–24 hours.3 Water-based gloss formulations are available and have improved significantly, but still do not fully match the film hardness of alkyd gloss.
Satinwood is the most widely used finish for modern domestic woodwork. Water-based satinwood formulations are low odour, quick drying and non-yellowing; Dulux Trade Quick Dry Satinwood, for example, is recoatable in 4–6 hours.4 They are easier to apply streak-free than gloss. Durability is good for most domestic applications.
Eggshell (not to be confused with emulsion in an eggshell sheen, this refers to proper woodwork eggshell, an alkyd or water-based enamel formulation) is used where a low-sheen look is required, often in sympathetic restoration work where high gloss would look out of character.
Technique
Brush application is standard for profiled mouldings. An angled cutting-in brush (2-inch) is the most versatile size for skirting boards and architraves. Load the brush moderately, dip the bottom third of the bristles into the paint, remove excess on the side of the tin or kettle, and apply with long strokes following the run of the moulding. Lay off (finish each section) with light strokes in one direction to eliminate cross-grain brush marks before the paint starts to tack.
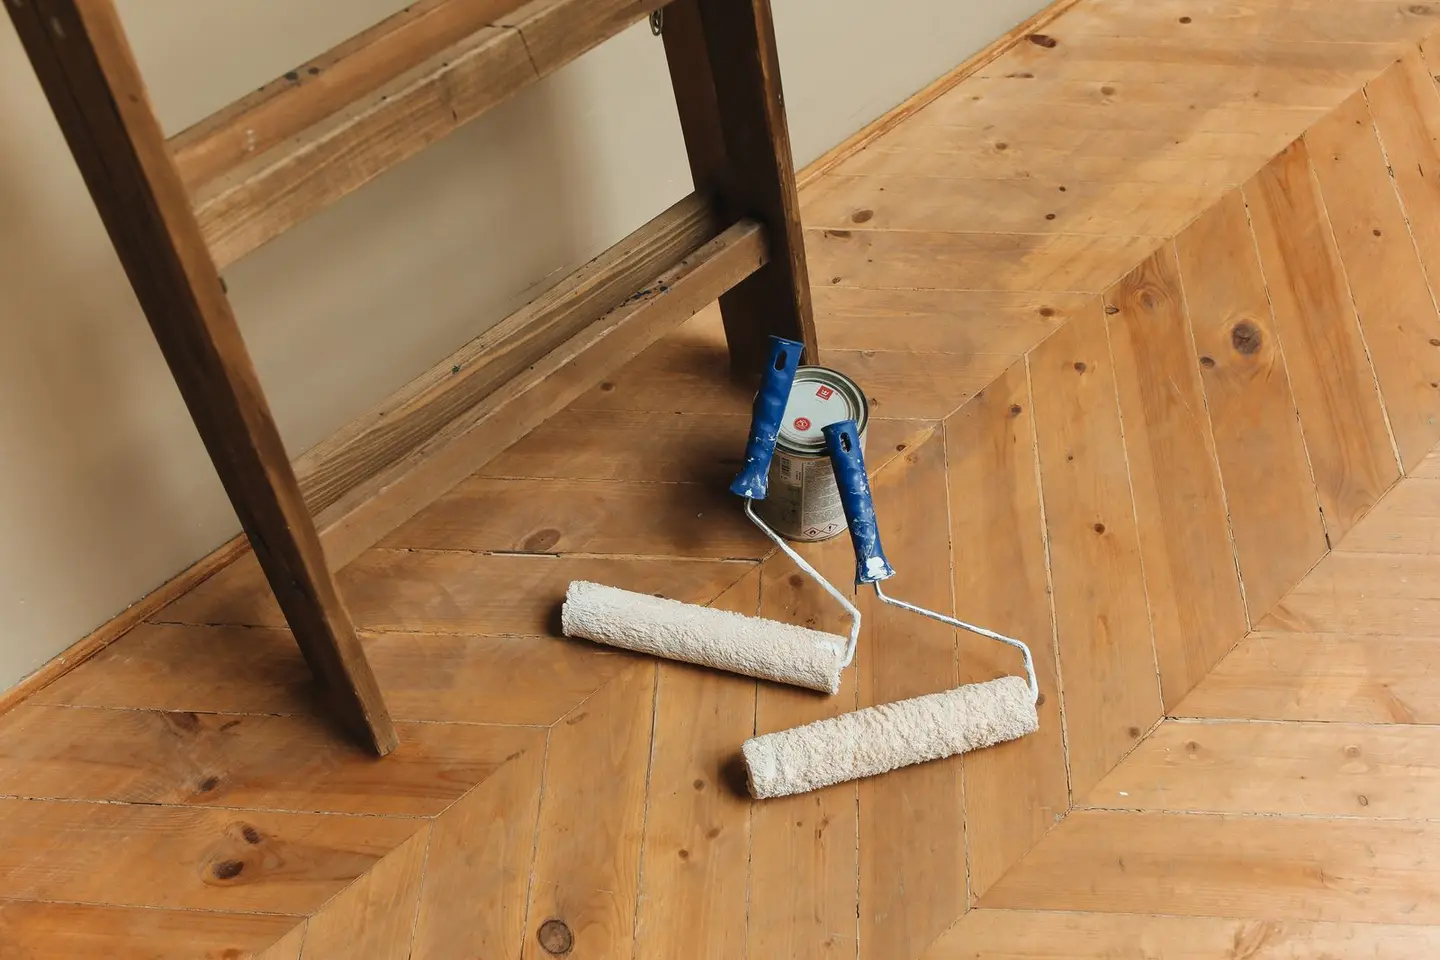
Mini roller application (4-inch short-pile foam or microfibre) produces a smoother finish than brush on flat sections of wide skirting and on panelled doors. Use the roller for the flat runs, then cut in the edges and profiles with a brush. This combination approach is what trade painters use on flat-and-moulded skirtings.
Work in manageable sections, no more than 600–900mm at a time, so you can blend wet edges before they tack off. Cast a raking light across the surface (a work light at a low angle) while you paint; this reveals brush marks, runs, and missed areas that are invisible under normal room lighting.
Number of coats and drying times:
- Bare wood: 1 coat primer, sand, 2 coats topcoat, minimum three sessions
- Previously painted, good condition: light sand, 2 coats topcoat
- Previously painted, poor condition or colour change: 1 coat primer or undercoat, 2 coats topcoat
Do not apply a second coat of oil-based paint before the recoat time on the tin, often 16 hours or more, regardless of whether it is touch-dry. Water-based products can be recoated much sooner, typically within 2–6 hours in a warm room with low humidity, but check the tin. Sand lightly between every coat with 240-grit; this removes dust nibs and key the surface for the next coat. Wipe off dust before applying the next coat.
Common Mistakes
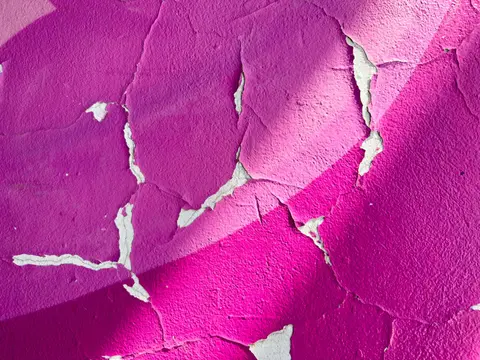
Not priming bare wood: paint applied directly to bare softwood raises the grain badly, soaks in unevenly, and adhesion is poor. The result peels within months.
Applying thick coats to speed up the job: thick coats sag, run, and dry with a skin while remaining wet underneath, leading to wrinkling. Thin coats, applied more times, always produce a better result.
Not sanding between coats: the surface is never perfectly smooth after the first coat, dust nibs and brush marks are always present. An unkeyed surface between coats also increases the risk of intercoat adhesion failure.
Painting over gloss without sanding: new paint over a hard glossy surface has very little mechanical adhesion. A light sand with 120-grit opens the surface enough for the new coat to bite.
Using the same brush for undercoat and topcoat: residual undercoat colour in the brush contaminates the topcoat. Use a clean brush for the topcoat, or wash and dry the brush thoroughly between coats.
Hiring a Professional
A professional decorator will paint the skirting boards, architraves, and window boards in a typical double bedroom in one to two days, including preparation and drying time. Expect to pay:
- Average room (two coats on existing paint): £250–£350
- Larger room or bare/stripped woodwork needing priming: £350–£550
- Full house woodwork (multi-room): typically quoted per day, at around £255–£280/day for a solo painter outside London and more in London, with a typical room’s woodwork taking one to two days
When to Hire a Pro
Hire a decorator if the existing woodwork has numerous coats of paint that are lifting or cracking, this needs significant preparation that can become time-consuming. Also consider a professional for any first-floor or above glazing bar work that requires ladder access, or if you want a high-gloss finish on doors (gloss is unforgiving of application technique and very difficult to apply brush-mark-free without experience).
DIY painting of skirting boards is a realistic weekend project in a single room, provided preparation is not skipped. The tools are inexpensive, the materials cost £30–£60 per room, and the result, with care, is indistinguishable from professional work.
References (4)
Figures in this note were checked against the sources below on 30 September 2026. Superscript numbers in the text point to them. Every source the site cites, by topic.
- 1technicalsupplier figureAkzoNobel (Dulux Trade), guidance.RN-3KMHXSThe manufacturer's technical information for a solvent-based wood primer: touch dry in 4 to 6 hours but recoatable only after 16 to 24 hours; it settles the oil-based figure.
- 2technicalsupplier figureAkzoNobel (Dulux Trade), guidance.RN-ZFPQ92The manufacturer's application instructions for a water-based wood primer undercoat, which tell the user to treat knots with knotting solution before priming; it settles the preparation step.
- 3technicalsupplier figureAkzoNobel (Dulux Trade), guidance.RN-FCQWGKThe manufacturer's technical information for a solvent-based gloss, recoatable after 16 to 24 hours; it settles the topcoat recoat time.
- 4technicalsupplier figureDulux Trade (AkzoNobel), guidance.RN-COV8AUDulux Trade's product page for its water-based satinwood. It gives a recoat time of 4 to 6 hours, with drying dependent on temperature and humidity.
-
Dulux Trade Wood Primer, Dulux Trade (AkzoNobel), accessed 30 September 2026. duluxtradepaintexpert.co.uk
-
Dulux Trade Quick Dry Wood Primer Undercoat, Dulux Trade (AkzoNobel), accessed 30 September 2026. duluxtradepaintexpert.co.uk
-
Dulux Trade High Gloss, Dulux Trade (AkzoNobel), accessed 30 September 2026. duluxtradepaintexpert.co.uk
-
Dulux Trade Quick Dry Satinwood, Dulux Trade (AkzoNobel), accessed 30 September 2026. duluxtradepaintexpert.co.uk