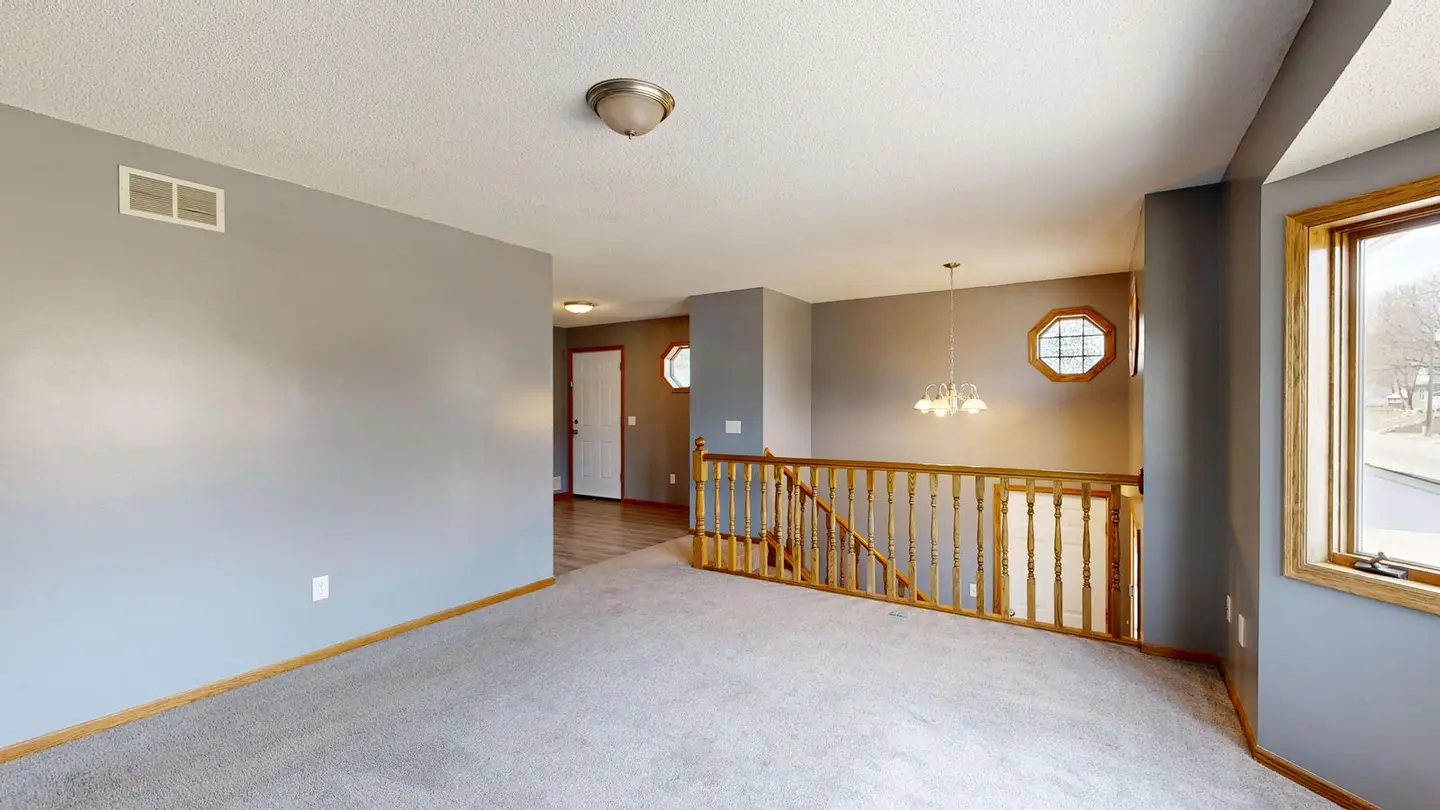
Carpet is the most forgiving floor covering for a DIYer to fit in a simple rectangular room, but it quickly becomes technical in rooms with bay windows, alcoves, and stairs. Getting it wrong means wasted carpet, visible seams, and rippling within months. This guide walks through the full process and also covers how to prepare a room so a professional fitter can get the job done quickly and without extra charges.
Tools and Materials
Essential:
- Gripper rods (perimeter of the room minus door openings, in linear metres)
- Underlay (same area as room, allow 10% extra)
- Carpet (the room’s length and width, each plus at least 100 mm for trimming; many fitters allow more)1
- Staple gun or adhesive (for underlay)
- Knee kicker
- Bolster chisel and hammer (for tucking edges)
- Carpet knife or hook blade
- Steel straight edge
- Tape measure
Useful but not essential for simple rooms:
- Power stretcher (available from tool hire shops; worth hiring for large rooms, where a knee kicker alone cannot get the carpet tight)
- Seam iron and heat-bonding tape (for joins)
The knee kicker is the one specialist tool you can’t substitute for. Most tool hire shops hire them out by the day, and they are also cheap enough to buy if you have several rooms to do.
Step 1: Subfloor Preparation
Like all floor coverings, carpet telegraphs what’s underneath it. Raised nail heads and floorboard edges create ridges through both underlay and carpet within weeks.
For timber floorboards:
- Punch all nail heads 3 mm below the surface.
- Screw down any squeaky or lifting boards.
- If boards are very gappy (over 5 mm), fill with a flexible filler or overlay with hardboard or thin plywood (3–4 mm) pinned every 150 mm.
- Sand any very uneven joints flat.
For concrete:
- Fill cracks and hollows with a self-levelling compound.
- Allow it to dry fully before laying underlay, following the product’s stated drying time (often 24 hours or more).
- A damp concrete floor can ruin carpet and underlay. A polythene sheet taped down for 24–48 hours gives a rough check (condensation under it means moisture is coming through), but a hygrometer test is the reliable one; flooring installers generally look for a reading below 75% relative humidity.
Step 2: Fitting Gripper Rods
Gripper rods are thin strips of wood with angled pins that hold the carpet edge taut. They run around the perimeter of the room with a gap left between the gripper and the skirting, usually a little less than the thickness of the carpet, so the trimmed edge can be tucked into it.2
- Cut rods to length with a hacksaw.
- Fix every 300 mm with the provided nails (timber floor) or concrete nails / construction adhesive (solid floor).
- The angled pins should face the wall, angling slightly toward it.
- Leave a gap at doorways, a threshold strip or door bar covers the transition instead.
- Fit gripper in archways and alcoves too.
Step 3: Laying Underlay
Underlay affects the feel, insulation, and lifespan of carpet more than most people realise.3 A cheap carpet on good underlay will feel and wear better than an expensive carpet on poor underlay.
Underlay types:
| Type | Best For | Cost (per m²) |
|---|---|---|
| Rubber crumb | Stairs, heavy use | £4–£9 |
| PU foam (bonded) | Living rooms, bedrooms | £3–£74 |
| Felt (natural or synthetic) | Luxury feel, good insulation | £6–£12 |
| Combination (rubber + felt) | Premium, high traffic | £8–£15 |
Density varies widely between types: crumb rubber is much denser than foam, and Interfloor’s Durafit 650 crumb rubber underlay, for example, has a nominal density of 415 kg/m³.5 For stairs, choose a dense rubber or PU underlay sold as suitable for stairs rather than the thickest, softest option. For UFH (underfloor heating), the Carpet Foundation treats 2.5 tog as a realistic maximum for carpet and underlay combined and recommends an underlay below 1.3 tog; check the heating manufacturer’s specification as well.6
Lay underlay flat, butt the edges, and staple or tape-join edges together. Do not overlap. Trim the underlay to butt up to the inside edge of the gripper: it must not lie on top of the gripper or run between the gripper and the wall. Staple to timber floors every 300 mm; use double-sided tape on concrete.
Step 4: Cutting and Laying the Carpet
Roll the carpet out in the room (face up), leaving 100–150 mm up each wall. If the room is larger than the carpet width, plan where the seam will fall, ideally out of the main traffic routes, running in the direction people walk rather than across it, and towards the main window rather than across the light, which shows up seams.
For a standard rectangular room:
- Roughly position the carpet so excess is even on all sides.
- Trim to leave approximately 75 mm turndown at each wall.
- Hook one edge over the gripper pins on the longest straight wall by pressing the carpet down onto the pins with the bolster or a carpet knee kicker.
- Use the knee kicker to stretch the carpet from the fixed edge toward the opposite wall, kicking with your knee into the padded end while hooking the head into the carpet surface, about 75 mm from the edge. Work across the wall in a fan pattern.
- Hook the stretched carpet edge over the opposite gripper.
- Repeat for the remaining two walls, always stretching from fixed edges.
- Trim the excess at the walls with a carpet knife, then tuck the edge into the gap between gripper and wall using the bolster.
For cuts around door architraves, use a scribe or cut from beneath by pressing the carpet against the profile and cutting freehand, this takes practice.
Step 5: Thresholds and Doorways
At doorways, fold the carpet edge under itself and secure with a threshold bar (also called a carpet bar or door bar). These are available in gripper type (pins, like a mini gripper rod), Z-bar type, or cover strip type for carpet-to-hard-floor transitions. Fix through the carpet into the floor.
Fitting Carpet on Stairs
Stairs are the most challenging carpeting job. The two usual layout options are:
- Waterfall: the carpet runs over the nosing and drops straight down to the gripper at the back of the tread below, without following the riser. Quicker to fit.
- Hollywood (also called upholstered): the carpet is wrapped tightly around each nosing and fitted close to the riser. A neater, tailored finish, but slower to fit and uses slightly more carpet.
Cut a piece of dense underlay for each tread, running from the gripper at the back over the nosing; the risers usually need none. Gripper goes at the back of each tread and the base of each riser. Knee kicker plus a wider stair tool head is the right approach. Work out the quantity step by step rather than from the plan area: a tread of about 250 mm, a riser of about 200 mm and the wrap over the nosing come to roughly 0.5 m of carpet per step, so a straight flight of 13 risers takes about 6.5 m of carpet at the stair width, plus extra for any winders or landing.
If You’re Prepping for a Fitter
A professional fitter charges less and finishes faster if the room is ready. To prepare:
- Remove all furniture from the room.
- Remove old carpet, gripper, and underlay yourself if you can (fitters usually charge extra to lift and dispose of old flooring).
- Punch nail heads and fix loose boards.
- Have the carpet delivered and in the room 24 hours before fitting (acclimatisation).
- Be available to discuss door thresholds and seam positions before the fitter starts.
A good fitter working in a prepared room will typically fit an average bedroom (12–15 m²) in a couple of hours. Fitting is commonly quoted at £3–£6 per m², but at that rate a 12–15 m² bedroom comes to only £36–£90, and most fitters set a minimum charge, so £100–£200 per room is a more realistic budget once stairs, seams, door bars or awkward shapes are involved.
Common Mistakes
- Not stretching enough: carpet that isn’t properly stretched will ripple within months of heavy use.
- Gripper too far from the wall: leaves the tucked edge visible or causes it to pop back.
- Underlay on the gripper: prevents the carpet hooking onto the pins correctly.
- Seaming across the traffic flow: a seam that people walk across takes more wear and shows sooner, so run seams in the direction of traffic and keep them out of doorways where possible.
- Skimping on underlay thickness on stairs: thin underlay on stairs compresses fast and makes each step uncomfortable.
References (6)
Figures in this note were checked against the sources below on 30 September 2026. Superscript numbers in the text point to them. Every source the site cites, by topic.
- 1technicalfairWhich?, guidance.RN-XOML4YWhich?'s carpet buying guide on measuring a room; it advises adding 10 cm to the length and width for trimming and fitting.
- 2technicalsupplier figureInterfloor, guidance.RN-DR6ALNUnderlay maker Interfloor's stretch-fit installation method; it confirms the gripper is fixed with a gap between it and the skirting.
- 3technicalgoodCarpet Foundation, a page from the body itself.RN-3YQ5BWCarries the figure a note on underlay needs: new underlay can increase the life of a carpet by forty per cent. The Carpet Foundation and its Chartered Trading Standards Institute approved Consumer Code of Practice recommend that new underlay is bought with every new carpet, because underlay lets the carpet sit properly and wear evenly, improves feel underfoot, increases heat and sound insulation and can reduce energy costs, reduces pile compression so appearance is retained longer, and considerably improves acoustics with impact noise reduced. It also warns that manufacturers may reject a complaint where old underlay, or no underlay, was used.
- 4costsupplier figureWickes.RN-IECY8QA price, true at 2026-09. the retail price Wickes publishes for FloorSure Gold 10mm Carpet Underlay - 15m2, which is the supply figure the cost book records for this item
- 5technicalsupplier figureInterfloor, guidance.RN-BGPFNKMaker's product page for a crumb rubber carpet underlay; it gives the product's density as 415 kg/m3, far above the 80-120 kg/m3 the note formerly gave for crumb rubber.
- 6technicalgoodThe Carpet Foundation.RN-TETHGIThe Carpet Foundation's research with the Underfloor Heating Manufacturers Association on carpet over underfloor heating. Directly contradicts the widely repeated claim that carpet and underlay must total no more than 1.5 to 1.7 tog, and tests five carpet types and two underlays to show what actually happens to heat output. The useful thing here is that it is a trade body publishing a finding against its own received wisdom.
-
How to buy the best carpet, Which?, accessed 30 September 2026. which.co.uk
-
Installation methods, Interfloor, accessed 30 September 2026. interfloor.com
-
Underlay, The Carpet Foundation, accessed 30 September 2026. carpetfoundation.com
-
FloorSure Gold 10mm Carpet Underlay - 15m2, Wickes, accessed 16 September 2026. Priced at 2026-09, so no calibration is needed. wickes.co.uk
-
Duralay Durafit 650, Interfloor, accessed 30 September 2026. interfloor.com
-
Underfloor heating, The Carpet Foundation, accessed 30 September 2026. carpetfoundation.com