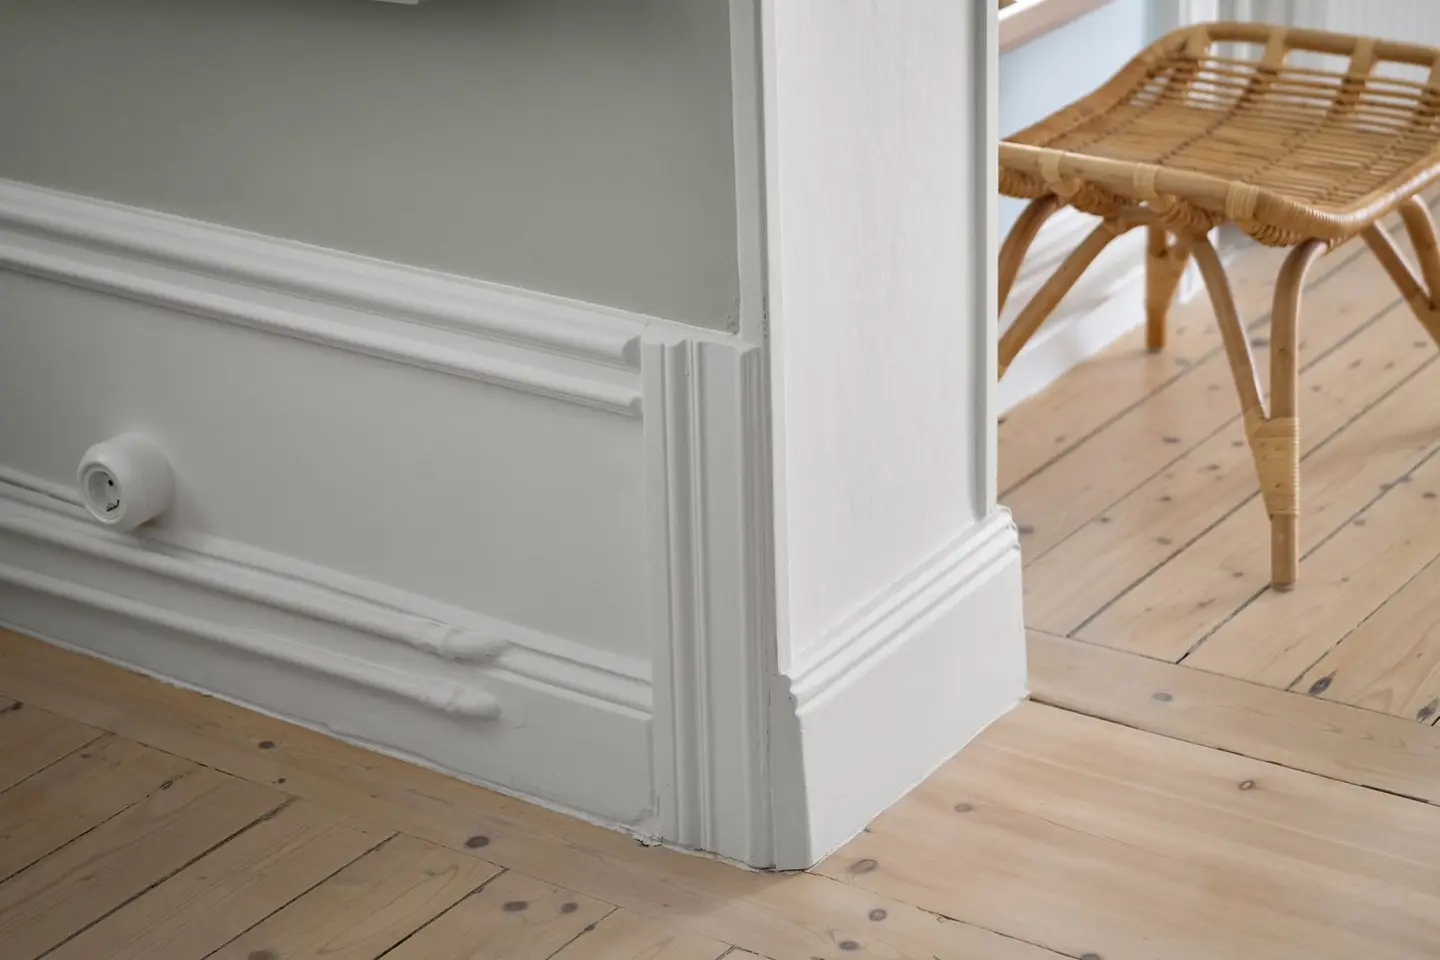
Removing skirting boards is one of those jobs that looks straightforward until you lever too hard and find a chunk of plaster following the board off the wall. With the right sequence and a few cheap tools, you can take them off cleanly, preserving both the plaster and the boards themselves if you plan to reuse them.
A typical living room with 12–15 metres of skirting takes around 45–75 minutes using the method below. No specialist skills are needed, but patience in the first steps saves significant filler and sanding time afterwards.
Tools and Materials You’ll Need
| Item | Typical cost (2026) | Notes |
|---|---|---|
| Oscillating multi-tool + blade | £40–£120 (buy) / £20–£30/day (hire) | For cutting through caulk and old paint lines |
| Bolster chisel (50 mm) | £8–£15 | Flat blade for initial entry |
| Wrecking bar / flat pry bar | £12–£25 | Low-profile pry bar is ideal |
| Scrap timber offcuts (25 mm thick) | Free / scrap | Used as a fulcrum to protect the plaster |
| Stanley knife | £5–£10 | Scoring the paint seal |
| Hammer | Already owned | For tapping the bolster |
| Pencil or marker | Already owned | Marking stud positions |
| Safety glasses | £3–£8 | Essential when chiselling |
Step 1: Score the Paint Line
Before you touch a pry bar, run a Stanley knife along the top edge of the skirting where it meets the wall. Old skirting boards are typically bonded by years of layered paint, and if you lever without scoring, that paint film tears a strip of plaster coating or gypsum skim off the wall.
Score firmly and repeatedly, two or three passes. If the board has been caulked (common in post-2000 kitchens and bathrooms), score through the sealant bead as well. An oscillating multi-tool with a fine-cut blade is much faster here and cuts through both paint and caulk in a single pass.
Do the same along the floor line if the board was caulked or painted down into the floor covering.
Step 2: Find the Fixings
UK skirting boards are typically fixed by one of three methods; the dates are only a rough guide:
- Cut nails into plaster / render (pre-1970s): irregular spacing, driven directly into the wall.
- Oval lost-head nails into timber grounds (1950s–1990s): timber battens behind the plaster into which nails are driven.
- Adhesive + square-drive screws into plugs (1990s–present): screws every 400–600 mm, often countersunk and filled.
Feel along the face of the skirting for filler patches, these mark screw positions. In older properties, hold a strong torch at an angle to the board to reveal nail indentations. Knowing where the fixings are lets you focus leverage correctly rather than bending the whole board around a single nail.
Step 3: Create an Entry Point at a Corner
Corners (internal or external) are the easiest entry points. Tap your bolster chisel behind the board at a corner, angling the blade towards the wall rather than the board. A few light hammer taps will start to separate the board. Do not lever yet, just create a gap.
If the board is mitred at an internal corner, the short return piece will come away first. If it is scribed (one board overlapping the other), the overlapping board must come off before the one underneath.
Step 4: Work Along the Board in Short Increments
Slide a pry bar into the gap you’ve made. Place a 25 mm timber offcut flat against the wall and lever against that, never directly against the plaster. Lever gently at a point close to a fixing to minimise flex in the board. Move 150–200 mm at a time, working progressively along the length.
Resist the urge to lever at the centre of a long unsupported span: the board will bow and either split or take plaster with it as it snaps free. Short, controlled increments at fixing points are the key to clean removal.
Step 5: Deal With Stubborn Nails
Once the board is free, you will likely have nails protruding from either the wall or the back of the board. For the wall, tap nails back flush and pull them with a claw hammer. For the board, pull them through from the back with pincers to avoid splitting the face if you’re reusing it.
Old cut nails into solid masonry walls are sometimes easier to leave and grind flush than to extract. A multi-tool with a metal-cutting blade will cut them off cleanly.
Plaster Damage: What to Expect and How to Fix It
Even with careful technique, it is normal to find:
- Chipped plaster edge at the top of the board line, fill with a patching plaster or a ready-mixed filler, allow to dry, sand, and prime.
- Paint drag, a narrow strip of paint pulled from the wall. Again, filler and light sanding resolves this.
- Exposed render or bare block, if the plaster was very thin or poorly keyed, you may need to re-skim a small section. A plasterer typically charges £150–£300/day (2026 rates); patching a few linear metres can often be quoted as a half-day job.
If the boards are coming off as part of a full redecoration, a skim patch at this stage is actually convenient, you are about to redecorate anyway.
Reusing vs Replacing Skirting Boards
Good-quality solid timber skirting (MDF is much harder to save intact) can almost always be reused if removed carefully. Label each board with its wall position using masking tape and a pencil before removal, lengths and mitre cuts rarely transfer identically to the next room.
If replacing, standard ogee, torus and pencil-round profiles in primed MDF cost roughly £4.50–£9 per linear metre (2026), with the board’s height and thickness, not its profile, setting the price. Solid pine starts at around the same price as MDF in small sections, and oak costs considerably more. Matching an existing profile in an older property may require a bespoke run from a joinery mill, which usually costs more per metre than a stock profile and may carry a set-up charge for the cutter.1
When to Get a Professional
Skirting removal is genuine DIY territory for most homeowners. Call a joiner or general tradesperson if:
- The boards are listed-building original timber that must be preserved intact; in a listed building, removing original joinery can itself need listed building consent.2
- The wall behind is lath and plaster (usual in older houses): the plaster keys behind the laths are fragile and whole sections can detach.
- The skirting is covering a damp issue, if the board comes away wet or stained black, stop and investigate moisture before proceeding.
A joiner charges roughly £25–£45/hour (2026, UK regions vary) and can strip a room of skirting in under an hour.
References (2)
Figures in this note were checked against the sources below on 30 September 2026. Superscript numbers in the text point to them. Every source the site cites, by topic.
- 1costsupplier figureWickes.RN-3P4LV2A price, true at 2026-09. the retail price of primed MDF skirting board by the length, the budget skirting most rooms are fitted with
- 2technicalvery strongHistoric England, guidance.RN-IADH63Historic England's explainer on listing, which says planning permission may be needed in addition to listed building consent for the same works.
-
Wickes Chamfered & Bullnose White Primed Skirting - 14.5 x 94 x 4200mm, Wickes, accessed 30 September 2026. Priced at 2026-09, so no calibration is needed. wickes.co.uk
-
What Are Listed Buildings?, Historic England, accessed 30 September 2026. historicengland.org.uk