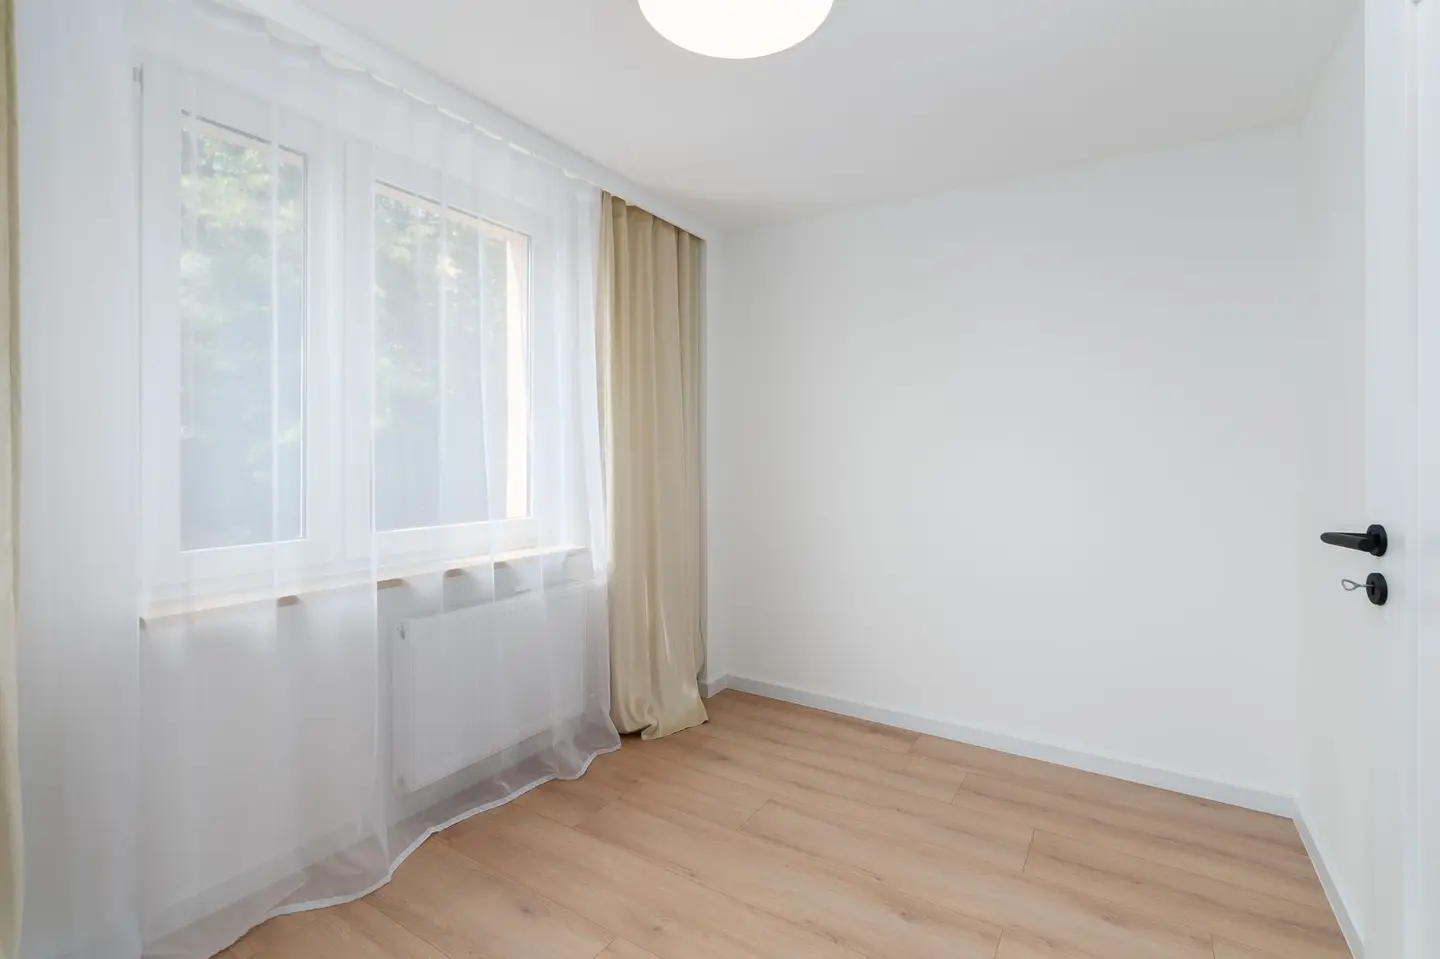
Putting up curtains is one of the most straightforward DIY jobs in a home, but a few common mistakes (uneven brackets, a pole too close to the window, drilling into a cable) turn a quick job into a frustrating one. Done right, you can have a pole up and curtains hanging in an afternoon.
This guide covers measuring, choosing the right fixings for your wall type, drilling, fitting brackets, and hanging different curtain systems, so you end up with straight, properly hung curtains first time.
Tools and Materials You’ll Need
- Drill with masonry or wood bit (and a HSS bit for metal studwork)
- Spirit level (a 60 cm or longer level gives more accuracy across the full width)
- Tape measure and pencil
- Stud finder and cable/pipe detector, essential before drilling any wall
- Screwdriver (manual or powered)
- Wall plugs suited to your wall type (see table below)
- Curtain pole or track with brackets
- Screws (usually supplied with brackets, but worth upgrading to longer screws for heavy curtains)
- Stepladder
Poles vs Tracks: Which System?
Curtain poles are the most popular choice for living rooms and bedrooms. They are decorative (visible rod and finials), suit eyelet, tab top, and pinch pleat curtains, and are straightforward to fit. They come in wood, steel, aluminium, and wrought iron.
Curtain tracks are a more discreet option. The track sits above the window and can be concealed by a pelmet or valance. They work well with pencil pleat curtains on hooks and are the system typically used in bay windows, where a pole would need expensive bending.
For most rooms, a pole is the easier and more attractive choice.
Curtain Heading Types
The curtain heading determines how the fabric hangs and how it attaches to the pole or track.
| Heading Type | How It Attaches | Fullness Needed | Best With |
|---|---|---|---|
| Eyelet | Rings feed directly onto pole | 2x window width | Poles only |
| Pencil pleat | Hooks into track gliders or pole rings | 2–2.5x window width | Poles or tracks |
| Tab top | Fabric tabs loop over pole | 1.5x window width | Poles only |
| Pinch pleat | Hooks into track gliders | 2–2.5x window width | Tracks or rings |
Eyelet curtains are the simplest to hang, slide the pole through the grommets and slide onto the brackets. Pencil pleat curtains require you to insert hooks into the tape before hanging on rings or a track.
Measuring and Positioning the Pole
Getting the pole height and width right makes a significant difference to how the room looks.
Width: The pole should extend 15–20 cm beyond the window recess on each side. This lets the curtains stack clear of the glass when open, maximising light. For a 120 cm wide window, aim for a 150–160 cm pole.
Height: Fix the pole 15–25 cm above the top of the window frame. Fixing higher draws the eye upward and makes ceilings feel taller. In rooms with low ceilings, keep the gap smaller.
Drop: Measure from the bottom of the curtain ring (not the pole itself) to where you want the curtain to fall. Options are:
- Sill length (to the sill, or 1 cm above)
- Below sill (about 15 cm below the sill)
- Floor length (1–2 cm above the floor, or a deliberate puddle of 5–15 cm for a dramatic look)
Mark the bracket positions on the wall with a pencil. Use a spirit level to confirm both marks are at exactly the same height across the full width before you drill.
Choosing the Right Fixings for Your Wall Type
This is the step most people skip, and it causes poles to fall off walls. Identify your wall type before drilling.
| Wall Type | How to Identify | Fixing to Use |
|---|---|---|
| Solid brick or block | Hard, resists light tapping, hollow sound absent | Masonry bit + plastic wall plug (brown or red) + 50–60 mm screw |
| Plasterboard on timber stud | Hollow sound when tapped, stud finder hits a solid line | Drill into the stud (no plug needed) with a 50–60 mm wood screw |
| Plasterboard between studs | Hollow throughout, no stud behind | Hollow wall anchor (toggle bolt or metal cavity anchor) |
| Solid concrete | Very hard, sparks when drilled | SDS drill + masonry bit + red or brown wall plug |
| Dot-and-dab plasterboard | Hollow patches with harder spots | Fix into the block behind using a 100 mm screw to bridge the air gap |
For heavy curtains (lined velvet, for example), always aim to fix into studs or solid masonry. Hollow wall anchors can hold lighter curtains but are not reliable long term under constant pull.
Wall plug costs: A pack of 20 brown or red wall plugs typically costs £2–£5. Buy a mixed pack and match plug size to screw diameter (usually 5–6 mm for curtain brackets).
Step 1: Scan the Wall Before You Drill
Before touching the drill, run a cable and pipe detector over the entire area where you intend to fix brackets. This is non-negotiable. Electric cables often run horizontally from sockets and vertically from switches; in modern homes they can be almost anywhere. Water pipes may also run in the same zone.
A basic cable detector costs £15–£35 and is worth every penny. If you are renting out a property or working above a socket or switch, be especially cautious.
Step 2: Mark and Check Your Bracket Positions
Hold each bracket against the wall at your pencil marks. Use a spirit level across both brackets to confirm they are level. If your wall is not perfectly flat, shim behind a bracket with a washer rather than tilting it.
Mark through the bracket screw holes with a sharp pencil or bradawl to get precise drilling points.
Step 3: Drill the Holes
Select the correct bit:
- Masonry: Use a masonry bit (tungsten-tipped) at medium speed. If the wall is particularly hard concrete, use an SDS hammer drill.
- Timber stud: Use a wood bit. Drill slowly at the stud location.
- Plasterboard only: Use a HSS or wood bit; you’ll then insert a cavity anchor.
Drill to the depth of your wall plug. Most wall plugs are 25–40 mm long. Wrap a piece of tape around your bit to mark the depth. Blow or brush dust from the hole, then tap the wall plug flush with a hammer, it should sit snugly without spinning.
Step 4: Fix the Brackets
Offer the bracket up to the plug and start the screw by hand before using a screwdriver or drill. Tighten firmly but do not overtighten, you can crack the wall or strip the plug.
Check each bracket is square and level once fixed. If the pole has a central support bracket (common on poles over 180 cm), fit this last and position it midway between the two end brackets.
Step 5: Hang the Pole and Attach Curtains
Assemble the pole according to the manufacturer’s instructions before lifting it into the brackets. For poles over 2 m, having a second pair of hands makes this much easier.
Eyelet curtains: Slide the pole through each eyelet alternating the direction of the folds. The first and last eyelet should both face the wall to give a neat return at each end. Slot the pole into the brackets and secure the bracket clips or screws.
Pencil pleat curtains: Insert curtain hooks into the heading tape at regular intervals (typically every third or fourth pocket for a full gather). Hang hooks onto the pole rings or track gliders. Adjust hook depth to get the curtain at the right drop.
Tab top curtains: Simply loop each fabric tab over the pole before inserting the pole into the brackets.
Dress the curtains by gathering folds evenly and tying them loosely with a strip of fabric or soft tie for 24–48 hours. This trains the pleats and gives a neater hang long term.
Curtain Pole and Fixing Costs (2026)
| Item | Typical Cost |
|---|---|
| Budget curtain pole (28 mm steel, 120–240 cm) | £15–£35 |
| Mid-range pole (wood or brushed steel, decorative) | £35–£75 |
| Premium pole (solid brass, wrought iron, bespoke) | £75–£120+ |
| Curtain rings / clips pack (10–20 pieces) | £5–£25 |
| Wall plugs (mixed pack) | £2–£5 |
| Spirit level (60 cm) | £8–£30 |
| Cable and pipe detector | £15–£35 |
| Hollow wall anchors (pack of 5) | £4–£10 |
Common Mistakes to Avoid
Not scanning for cables and pipes. Drilling into a cable is dangerous and expensive to fix. Always scan before you drill, every time.
Pole too close to the window frame. If the pole sits only 5–8 cm above the frame, the curtains will not stack fully clear of the glass when open. Aim for at least 15 cm above, ideally more.
Uneven brackets. Even 5 mm of difference is visible on a long pole. Use a spirit level across both marks, not just a visual check.
Too-short screws. Supplied screws are often only adequate for lightweight curtains into solid walls. For heavy lined curtains or plasterboard, upgrade to 50–60 mm screws that reach solid material behind.
Ignoring fullness. Ordering curtains the same width as your window results in flat, skimpy panels when closed. For eyelet or pencil pleat curtains, fabric should be at least double the pole width.
Forgetting the finials. The decorative end caps on a pole are often screwed on before the rings, if you forget, you’ll have to take everything back off.
Pro Tips
- If fixing into a bay window, use a track rather than trying to bend a pole, specialist bay window tracks are available and much easier to fit.
- For very heavy curtains (lined, interlined, or velvet), always fix into solid masonry or timber studs. Cavity anchors are a last resort.
- Add a third central bracket for poles over 150 cm to prevent bowing under the weight of the curtains.
- Apply a small amount of beeswax or candle wax to a wooden pole to help curtain rings slide smoothly.
When to Call a Professional
For most walls in standard homes, this is a manageable DIY task. Consider getting a professional if:
- You are unsure of your wall type and cannot identify studs or solid masonry reliably
- The window is in a high or awkward position requiring scaffolding or a tall ladder
- You are fitting a heavy motorised track or corded system requiring precise alignment
- You are working in a listed building or period property with unusually thick solid walls or protected features
A handyperson typically charges £50–£100 per hour and can fit a pair of poles in 1–2 hours.