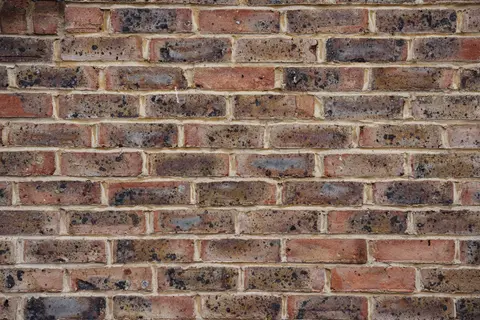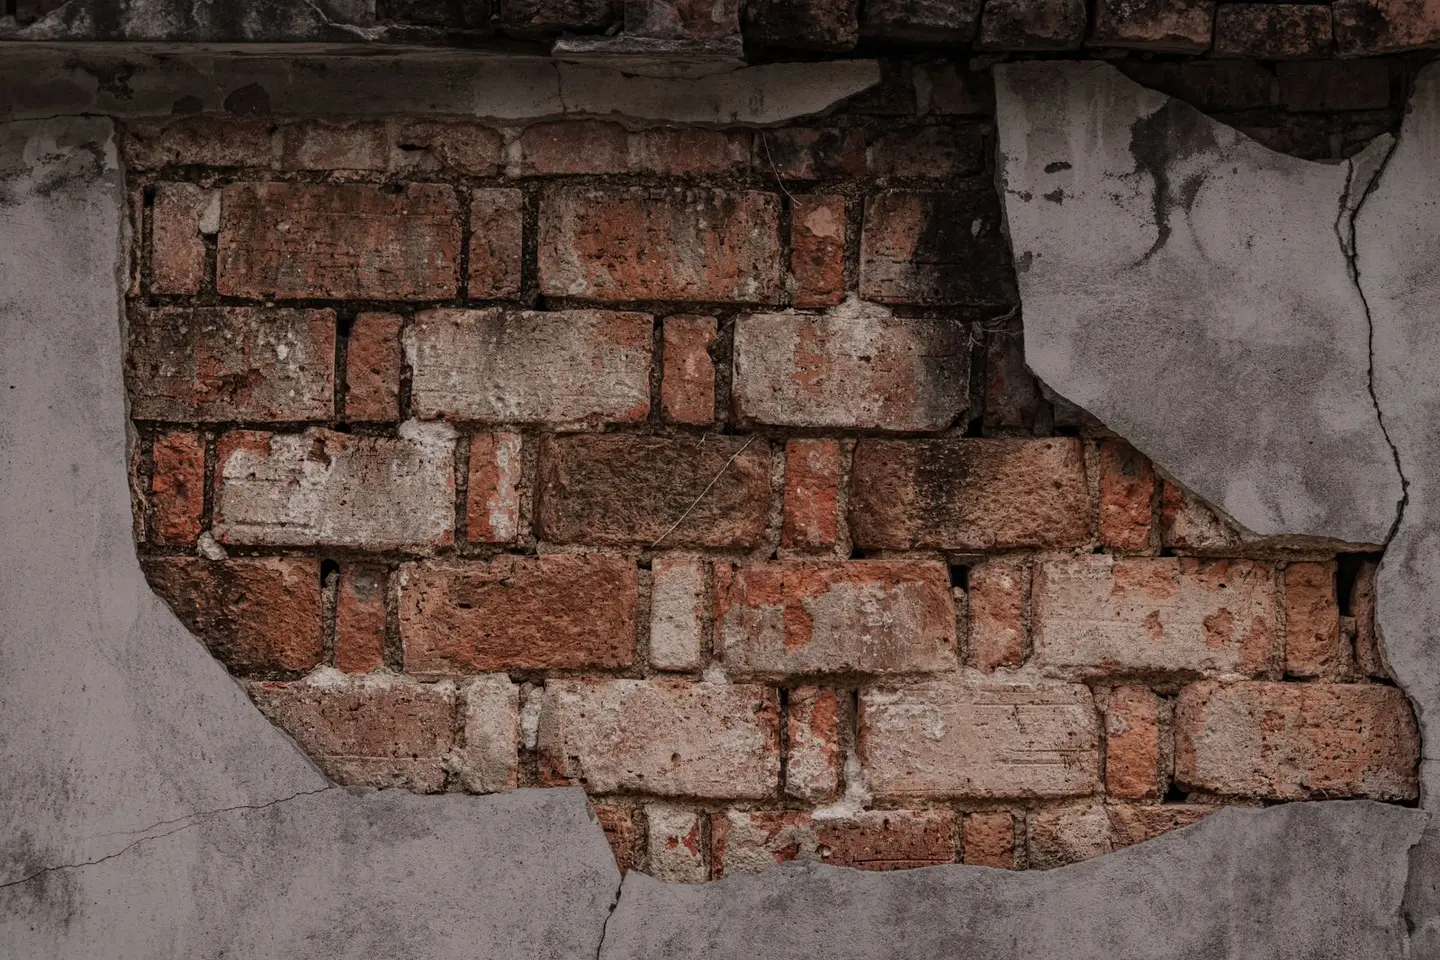
Damaged bricks are one of the most common external maintenance issues in UK housing, particularly in Victorian and Edwardian stock. The repair approach depends entirely on what has caused the damage: surface spalling can often be addressed with repointing or a brick slip, while structural cracking needs professional assessment before any physical work begins.
Most cosmetic brick repairs are within reach of a competent DIYer. Structural repairs, or any work on a listed building, must involve qualified tradespeople and, in some cases, statutory consent.
What Causes Brick Damage?
Understanding the cause is essential before choosing a repair method, fixing the symptom without addressing the root cause will mean the problem returns.
Spalling is the most common form of brick deterioration in the UK. The face of the brick flakes or crumbles away, typically caused by water penetrating the brick and freezing in cold weather. When saturated brick freezes, the ice expands within the pore spaces and sets up stresses that the brick face cannot withstand.1 Spalling is particularly common on softer, more porous Victorian bricks, especially on north-facing or exposed elevations.
Sulphate attack occurs when brickwork stays wet for long periods and soluble sulphates, often from the bricks themselves, react with the cement in the mortar.1 The mortar expands, and cracking along the horizontal (bed) joints is the characteristic sign; in severe cases the brickwork bows.1 It is most often seen where brickwork stays wet, such as chimneys and parapets.
Impact damage, from vehicle strikes, scaffolding poles, or accidental knocks, produces localised cracking or chipping. The brick structure is usually sound; only the affected units need replacing.
Structural movement causes stepped diagonal cracking through mortar joints (usually settlement) or horizontal cracking at lintel level (often lintel failure). These patterns differ significantly from surface weathering and always require investigation by a structural engineer before any cosmetic repair is attempted. Filling structural cracks with mortar without addressing the cause is a waste of time and money.
Diagnosing the Problem: Repoint or Replace?
A quick assessment will help you decide which repair method is appropriate.
Run a screwdriver blade along the mortar joints. If the mortar crumbles away easily, repointing is the primary repair. If the mortar is sound but individual bricks are flaking, spalled, or broken, the bricks themselves need attention. If cracks follow a stepped or diagonal pattern across multiple courses, stop and consult a structural engineer.
Check the depth of any spalling. If the brick face has only lost a few millimetres, it can often be left alone once the source of the wetting has been fixed. If the face has lost more than a third of its depth, or if the brick is structurally compromised, replacement is the right course.
Repair Methods Compared
| Method | Best For | 2026 Cost (Labour + Materials) | DIY Feasibility |
|---|---|---|---|
| Repointing | Decayed or cracked mortar joints, sound bricks | £35–£85 per m² | Yes, with care |
| Brick slip | Surface spalling, cosmetic face loss | £30–£70 per brick | Possible but fiddly |
| Isolated brick replacement | Broken, badly spalled, or impact-damaged bricks | £25–£60 per brick | Yes for 1–2 bricks |
| Section rebuild | Extensive structural damage, multiple failed courses | £150–£350 per m² | No, trade only |
Repointing typically costs £35–£85 per m² of wall, plus scaffolding where it is needed. Brick slips and isolated brick replacements are usually quoted per job with a minimum charge, so treat the per-brick figures as rough guides.
How to Repoint Brickwork
Repointing replaces deteriorated mortar in the joints without disturbing the bricks themselves. It is the most common brickwork repair and is suitable for DIY on small areas.
Tools and materials needed:
- Plugging chisel or cold chisel and club hammer, or a hand raking tool
- Pointing trowel and a brick jointer
- Stiff brush
- Mortar (see note on specification below)
- Safety glasses and gloves
- Dust mask (essential if using power tools)
LABC advises against using disc saws to clean or cut out joints, because a power saw is difficult to control and can damage the brickwork.2 Mortar is also a source of silica dust: HSE lists bricks and mortar among the construction materials in which silica is a major constituent.3
Step by step:
- Rake out the old mortar to a depth of roughly 12–20 mm. LABC gives a raking depth of not less than 12 mm and not more than 19 mm, and notes that some guides recommend about twice the joint height, which is 20 mm for a standard 10 mm joint.2 Shallow repointing will not bond properly and will fail quickly. Remove loose material with a brush.
- Dampen the joint with a water spray. Dry masonry will absorb moisture from the new mortar too quickly, causing it to crack before it sets.
- Mix the mortar to a stiff but workable consistency. Press it firmly into the joint in layers if the depth is more than 20mm, allowing each layer to firm up before adding the next.
- Finish the joint to match the existing profile. The most common profiles in UK brickwork are weather-struck (angled to shed water) and flush (for softer historic bricks). Avoid smearing mortar over the brick faces or leaving it standing proud of the joint, known as strap pointing: hard mortar placed over the joint rather than in it cracks, lets water in and can spall the brick edges.4
- Keep the repair damp for 48–72 hours in warm weather to allow proper curing. Avoid repointing in winter when there is a danger of frost; if it cannot wait, protect the work from rain and wind.2
Mortar Specification: Lime vs Cement
Getting the mortar mix right is critical. Using too strong a mortar in older brickwork is a common and damaging mistake.
- Pre-1919 buildings should almost always be repointed with a lime mortar (typically NHL 2 or NHL 3.5 hydraulic lime with well-graded sand). LABC notes that in homes built before the early 20th century the original mortar will almost certainly be lime-based.2 Cement mortars are usually harder and less permeable than soft old bricks, so moisture and movement stress are pushed into the bricks rather than the joints, leading to further spalling.2
- Post-1945 brickwork is typically built with cement-based mortar and can be repointed with a cement-based mix. LABC’s key principle is that the new mortar should be slightly weaker and more permeable than the brick.2 For new masonry walls, Approved Document A gives a general-purpose mortar of 1:1:5 to 6 cement, lime and sand by volume, and a repointing mix should be no stronger than the original mortar.5
- When in doubt, take a sample of original mortar to a specialist supplier for matching.
If the property is listed, using an inappropriate mortar specification may constitute unauthorised works. Listed Building Consent is needed for any works that would affect the building’s character as a building of special architectural or historic interest, which can include changes to mortar colour or joint profile.6
How to Replace an Individual Brick
Isolated brick replacement is achievable as a DIY task for one or two bricks but becomes a trade job once multiple adjacent bricks are involved.
- Rake out the mortar from all four joints surrounding the damaged brick to a depth that allows you to extract it cleanly. A plugging chisel and club hammer give the most control; power tools are quicker but can easily damage the neighbouring bricks.
- Remove the brick by working from the centre outward. Avoid excessive force on surrounding bricks, if the brick is very firmly bedded, the mortar can be drilled out further to loosen it.
- Source a matching replacement. Brick matching is one of the most time-consuming parts of the job. Take the old brick to a reclamation yard and match as closely as possible for size, colour, texture, and porosity. London stock, Staffordshire blue, and common reds are all widely available second-hand.
- Prepare the recess by cleaning out all old mortar and dampening the surrounding brickwork.
- Bed the new brick on a fresh mortar mix, checking it is level and flush with the surrounding face.
- Fill the remaining joints and finish to match the existing profile.
Structural Brick Repairs
Any cracking that is wide (more than 2–3mm), actively growing, or following a stepped or diagonal pattern across multiple courses requires assessment by a structural engineer before repair work begins. This includes:
- Lintel failure (horizontal cracking above openings)
- Subsidence (diagonal cracking, typically stepped)
- Expansion or thermal movement in longer wall runs
- Roof spread pushing on gable walls
A structural engineer will identify the cause of movement, confirm whether it has stabilised, and specify an appropriate repair. Attempting cosmetic brickwork repairs over active structural movement is both ineffective and potentially dangerous.
For sections of brickwork that require rebuilding, typically following structural failure or significant spalling over a wide area, quotes from a qualified bricklayer typically run around £150–£350 per m² in 2026, depending on the complexity of the bond pattern, the need for scaffolding, and access.
Listed Buildings
Any repair or alteration to the external fabric of a listed building, including repointing and brick replacement, may require Listed Building Consent from the local planning authority. Working without consent is a criminal offence.7 Always contact your local conservation officer before starting work on a listed structure.
When to Call a Professional
- Structural cracking of any kind, always get a structural engineer’s opinion first
- More than a few square metres of repointing, scaffolding and professional equipment will give a better result
- Matching bricks in a heritage building where colour and texture matter
- Any work on a listed building
- Chimney stack repairs above roof level, working at height without appropriate equipment is a significant safety risk
References (7)
Figures in this note were checked against the sources below on 30 September 2026. Superscript numbers in the text point to them. Every source the site cites, by topic.
- 1technicalgoodBrick Development Association, guidance.RN-RGZEMSThe Brick Development Association's durability design note. It explains that saturated, frozen bricks and mortar suffer expansion stresses in the pores that they cannot withstand.
- 2technicalvery strongLABC, guidance.RN-4TIKSZLABC's repointing guidance: pre-20th-century homes almost always used lime mortar, and cement-rich mixes harder than the masonry can damage the bricks.
- 3technicalvery strongHealth and Safety Executive, guidance.RN-9WT9D9HSE guidance on silica dust in construction. It says tiles and mortar contain silica and that some of the dust is fine enough to reach deep into the lungs.
- 4technicalvery strongDepartment for Communities (Northern Ireland), guidance.RN-ROWNPQHistoric Environment Division technical note on repointing. It describes strap pointing in hard mortar over the joint, which cracks, admits water and can spall adjoining masonry.
- 5technicalvery strongMinistry of Housing, Communities and Local Government (GOV.UK).RN-Z6AXUWThe full Approved Document A PDF, which carries the deemed-to-satisfy tables a domestic project is checked against. Section 2E covers foundations of plain concrete: paragraph 2E3 gives the recommended minimum widths of strip foundations in Table 10, keyed to ground type and total load of loadbearing walling per linear metre. Table 10 sets, for rock (not inferior to sandstone, limestone or firm chalk, requiring at least a pneumatic or mechanically operated pick to excavate), a width equal to the width of the wall at every load. For medium dense gravel or sand (requires a pick to excavate, a 50mm square wooden peg hard to drive beyond 150mm) and for stiff clay or stiff sandy clay (can be indented slightly by the thumb), the minimum widths are 250mm at 20 kN per linear metre, 300mm at 30, 400mm at 40, 500mm at 50, 600mm at 60 and 650mm at 70. Firm clay and firm sandy clay (thumb makes an impression easily) start at 300mm. The document also covers minimum depth of strip foundations, wall thickness rules for residential buildings up to three storeys (paragraph 2C10 covers internal loadbearing walls in brickwork or blockwork), buttressing, lateral support by floors and at roof level, interruption of lateral support, wall cladding in Section 3, and Section 5 on reducing sensitivity to disproportionate collapse with the building consequence classes.
- 6technicalvery strongThe National Archives (legislation.gov.uk), legislation.RN-XN22L9The provision that decides when listed building consent is actually needed, and the answer to the common overstatement that any alteration to a listed building requires consent. Section 7(1): 'no person shall execute or cause to be executed any works for the demolition of a listed building or for its alteration or extension in any manner which would affect its character as a building of special architectural or historic interest, unless the works are authorised under section 8.' The trigger is therefore effect on character as a building of special architectural or historic interest, not alteration as such, so work with no effect on that character falls outside the restriction. Section 7(2) makes subsection (1) subject to section 33(1) of the Planning Act 2008, which excludes the requirement for other consents where development consent is required. Authorisation itself comes from section 8.
- 7technicalvery strongThe National Archives, guidance.RN-AKNVL3Section 9 of the Listed Buildings Act 1990 makes it a criminal offence to carry out works to a listed building in breach of section 7, punishable by a fine or imprisonment.
-
BDA Design Note 7: Brickwork durability, Brick Development Association, accessed 30 September 2026. brick.org.uk
-
Getting to the point about repointing brickwork, LABC, accessed 30 September 2026. labc.co.uk
-
Cancer and construction: Silica, Health and Safety Executive, accessed 30 September 2026. hse.gov.uk
-
Technical note: Repointing stone and brick, Department for Communities (Northern Ireland), accessed 30 September 2026. communities-ni.gov.uk
-
Approved Document A: Structure, 2004 edition incorporating 2004, 2010 and 2013 amendments, Ministry of Housing, Communities and Local Government, accessed 30 September 2026. assets.publishing.service.gov.uk
-
Planning (Listed Buildings and Conservation Areas) Act 1990, section 7, legislation.gov.uk, accessed 30 September 2026. legislation.gov.uk
-
Planning (Listed Buildings and Conservation Areas) Act 1990, section 9, legislation.gov.uk, accessed 30 September 2026. legislation.gov.uk