Most homeowners who board a loft in the traditional way, nailing chipboard straight onto the joists, unknowingly destroy the very thing they were relying on to keep their heating bills down. Ceiling joists in many lofts are only about 100 mm deep, so boards fixed straight onto them leave room for no more than 100 mm of insulation or squash any thicker layer flat, and compressing insulation severely reduces its thermal resistance.1 Raised loft boarding, supported by proprietary loft legs (also sold as loft stilts), is the solution: it lifts the floor deck clear of the insulation so both can do their jobs properly.
Why Insulation Needs an Air Gap
The usual recommendation for a loft is 270 mm of mineral wool: 100 mm between the joists and 170 mm cross-laid on top, which gives a U-value of about 0.16 W/m²K.2 If you board straight across the joists, none of that second layer can exist. A loft with only the 100 mm layer between the joists has a U-value of about 0.40 W/m²K, two and a half times the heat loss of the full 270 mm and well short of the 0.16 W/m²K that Approved Document L, the building regulations guidance on energy, sets when an existing loft is renovated.34
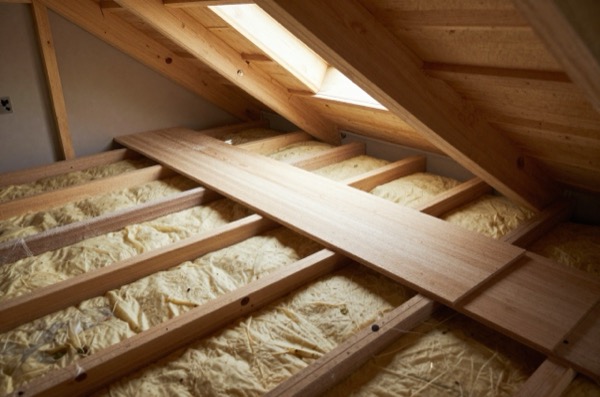
Loft legs solve this by acting as spacers. They screw onto the top of each joist and carry the boards above the full insulation stack. The standard LoftLeg product, for example, raises the decking by 175 mm, allowing 100 mm between joists plus 170 mm on top, the recommended total.1 A taller 300 mm version, the Loft Leg XL, is sold for new homes with up to 400 mm of insulation.5 Approved Document L itself says that, to protect ceiling-level loft insulation in the long term, boarded areas should be provided above it to give access for maintenance.4
A secondary benefit is ventilation. An unventilated air pocket above warm, damp living spaces can cause condensation on the underside of the decking. Raised boarding leaves a gap between the insulation and the boards, and the Energy Saving Trust advises leaving a small ventilation gap there to prevent condensation.6
Loft Legs vs Battens
There are two practical approaches to raising loft boarding:
Proprietary loft legs (LoftLeg and similar) are plastic spacers screwed to the top of each joist.1 With LoftLeg-type legs the loft boards are then screwed straight onto the tops of the legs.1 Some other systems carry a timber batten instead. Installation is straightforward enough for a competent DIYer.
Timber battens on packers is an older, cheaper approach: short offcuts of timber are used to raise a batten above the joist, and boards are then fixed to the batten. It works, but alignment is fiddlier and the result can be less stable.
| Method | Typical Material Cost | Difficulty | Height Options |
|---|---|---|---|
| Proprietary loft legs | About £1.75 per leg (£20.99 for 12) | Easy, DIY-friendly | Fixed (175 mm standard; 300 mm versions exist) |
| Timber packers + batten | £1–£2 per support | Moderate | Flexible |
| Proprietary raised-floor kit (supports and beams; boards often extra) | Usually more per m² than loose legs | Easy | Varies by system |
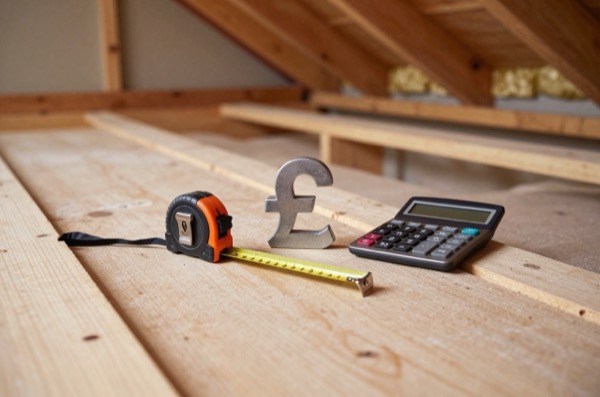
A pack of 12 Loft Leg 175 mm legs costs £20.99 at Toolstation, about £1.75 a leg.7 Screwfix lists the same 12-pack as covering up to 3.2 m², so the legs alone come to about £6.50 per m² of floor.8
For most homeowners, proprietary legs are worth the small price premium: they’re faster to fit, structurally consistent, and some kits come with the boarding included.
DIY Fitting: Step by Step
Boarding a loft for storage does not need planning permission. Building regulations are less clear-cut: the Planning Portal points out that loft ceiling joists were not designed to carry a significant load, and that laying floorboards over them may need building regulations approval, so check with your local building control team if you plan more than light storage.9 The work itself is within most competent DIYers’ reach.
What you need:
- Loft legs (the number depends on the board size and joist spacing; follow the manufacturer’s layout or calculator)1
- 47 × 47 mm C16 or C24 timber battens, only if your system uses them
- 18 mm or 22 mm tongue-and-groove chipboard panels (West Fraser rates its 18 mm board for supports up to 450 mm apart and 22 mm for up to 600 mm), or purpose-made loft boarding panels10
- Drill/driver, tape measure, pencil
- Dust mask and knee pads
Fitting process:
-
Clear and inspect joists. Check for any visible damage, notching for cables, or splits before you start. Note the joist centres, typically 400 mm or 600 mm.
-
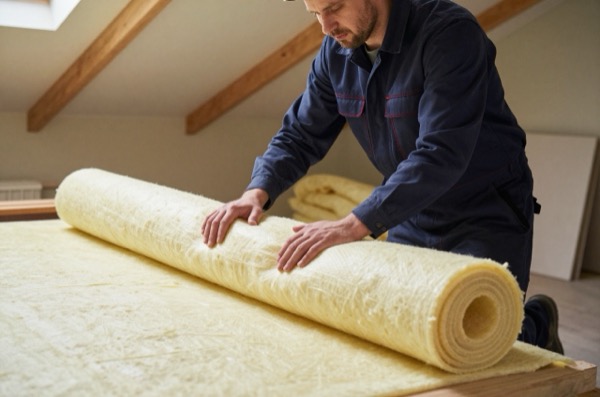
Lay insulation first. If your loft has less than 270 mm of mineral wool, top it up before boarding. Lay 100 mm between joists, then cross-roll 170 mm on top. Work from the hatch outward so you don’t stand on fresh insulation.
-
Fit the loft legs. Screw the legs to the tops of the joists where the board edges and joints will fall, following the manufacturer’s layout for your board size. Ensure they’re all sitting plumb.
-
Check the levels, and fit battens if your system uses them. With LoftLeg-type legs the boards go straight onto the leg tops, so check the tops are level with a straightedge first; systems that use battens carry them in a saddle on each leg.
-
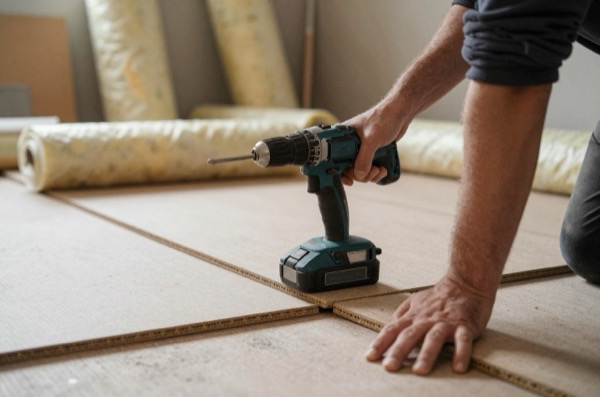
Fix the boards. Lay tongue-and-groove chipboard over the legs (or battens) and screw down. Leave a 10 mm expansion gap around the perimeter.11
-
Keep edges open. Do not board right to the eaves: leave a clear gap to allow cross-ventilation, and never block soffit vents.
A 20 m² storage area takes a confident DIYer around 6–8 hours spread over a weekend.
Cost: DIY vs Fitted
A professional installation typically takes 1–2 days for a standard semi-detached loft and includes clearing the hatch access, fitting legs, laying battens and boards, and tidying up.
| Scenario | Approximate Cost |
|---|---|
| DIY materials only (legs + boards, 20 m²) | £300–£400 |
| Professionally fitted, legs + boards supplied | £450–£900 |
| Loft boarding company full service (survey, install, tidy) | £600–£1,100 |
Prices vary by region, and London rates are usually higher than the national average. Some loft boarding specialists include the insulation top-up in their quote; always confirm what is and is not included.
Condensation Risk: What Happens If You Skip the Legs
Flat-boarding directly on joists traps a sealed air pocket below. In winter, warm humid air from the living space diffuses upward and can condense on the cold chipboard underside. Over years this can cause board delamination, mould on the joist tops, and a damp, musty loft. Raised boarding with open edges reduces this risk because air can move through more freely.
If you already have flat boarding in place and are finding damp issues, the only real remedy is to lift the boards, check the joists, improve insulation, and re-board raised. It is worth doing this before any condensation causes structural timber decay.
When to Use Raised Boarding
Raised loft boarding is appropriate for virtually all domestic loft storage situations. The main exception is where the loft is being fully converted into habitable space: in that case, the structural floor, insulation strategy, and building control requirements are entirely different and should be handled by a specialist contractor with structural calculations.
For pure storage, seasonal boxes, suitcases, Christmas decorations, raised boarding on loft legs is the right approach. It preserves your home’s thermal envelope, reduces condensation risk, and costs relatively little more than flat boarding. Keep the load light: LoftLeg rates its legs for storage of up to 25 kg per m², and notes that the capacity of the existing ceiling joists should be confirmed by a structural engineer.1
The rules in this note are those that apply in England. Scotland, Wales and Northern Ireland have their own building standards and permitted development rights.
References (11)
Figures in this note were checked against the sources below on 30 September 2026. Superscript numbers in the text point to them. Every source the site cites, by topic.
- 1technicalsupplier figureLoft Leg Ltd, guidance.RN-HLEMFBThe manufacturer's product page for the Loft Leg raised-floor support; it states the 175 mm raise and that on a 100 mm joist it clears 270 mm of quilt insulation. Used only for the product dimension.
- 2technicalsupplier figureROCKWOOL Ltd, guidance.RN-NL78OORockwool's loft roll datasheet, whose U-value table gives 0.16 W/m²K for 100 mm between joists plus 170 mm over them, 270 mm in total; it settles the build-up and U-value.
- 3technicalstrongBRE, guidance.RN-7I87ANThe government energy-rating method's Table 16 of roof U-values by loft insulation thickness: 0.40 W/m²K for 100 mm at the joists and 0.16 for 270 mm; it replaces the unsourced 0.8 figure.
- 4technicalvery strongMinistry of Housing, Communities and Local Government.RN-L0FCJXThe in-force U-value tables a DIY insulation or door note must quote, with the exact numbers. Table 4.2, limiting U-values for new fabric elements in existing dwellings, sets roof 0.15, wall 0.18, floor 0.18, swimming pool basin 0.25, window 1.4 or Window Energy Rating Band B minimum, rooflight 2.2, doors with more than 60 per cent of the internal face glazed 1.4 or Doorset Energy Rating Band C minimum, and other doors 1.4 or Doorset Energy Rating Band B minimum. Table 4.3, for existing elements, gives a roof threshold of 0.35 and an improved value of 0.16, which is the figure a loft insulation note needs: paragraph 4.12 says a retained element whose U-value is higher than the column (a) threshold, for example through a loft or garage conversion, should be upgraded to the column (b) value. Paragraph 4.13 allows a lesser upgrade only where the improved value is not technically or functionally feasible or would not achieve a simple payback of 15 years or less. Paragraph 4.8 requires a replacement element to be no worse than the one it replaces as well as meeting Table 4.2. Paragraph 4.10 gives the heritage exception: where character must be maintained, a centre pane U-value of no more than 1.2 or low-emissivity secondary glazing. Note 9 records that the timber window concession of 1.6 or Band C ended on 14 June 2023. The 2021 edition came into force on 15 June 2022; a 2026 edition exists at https://assets.publishing.service.gov.uk/media/69c122a6cfa346b9d4704a55/ADL1_2026.pdf.
- 5technicalsupplier figureLoft Leg Ltd, guidance.RN-LTIS7EThe maker's product page for its taller leg, which raises the floor 300 mm to clear up to 400 mm of insulation; it settles the taller option.
- 6technicalfairEnergy Saving Trust, guidance.RN-I69XGOEnergy Saving Trust's consumer advice page on roof and loft insulation: recommended depths, the difference between insulating at joist level and at rafter level, and indicative costs and savings. EST is a consumer-facing body rather than the authority for the depth, so it is cited for the plain explanation and Approved Document L is cited for the requirement. The page blocks automated fetching, so it is described here from its title and publisher.
- 7costsupplier figureToolstation.RN-UYJZ23A price, true at 2026-09. A national merchant's product page for the Loft Leg 175 mm 12-pack. It settles the current retail price of £20.99 a pack, about £1.75 per leg.
- 8costsupplier figureScrewfix, guidance.RN-RALHPTA price, true at 2026-09. A merchant listing for Loft Leg, the most widely sold raised-boarding leg. It states the legs raise the loft floor 175 mm above the joists; the maker's own site renders in the browser and cannot be fetched.
- 9technicalvery strongPlanning Portal, guidance.RN-6IW4DXThe Planning Portal's loft conversion guidance. It states that building regulations approval is needed to turn a loft into a liveable room, whatever the planning position.
- 10technicalsupplier figureWest Fraser, guidance.RN-COWMQ0A UK OSB maker's FAQ, confirming OSB3 to EN 300 is certified for load-bearing use in humid conditions.
- 11technicalvery strongLABC Warranty, guidance.RN-Z31VW7The LABC Warranty technical standard for upper floors. Its particle board table allows 18 or 19 mm chipboard on supports up to 450 mm apart and requires 22 mm for 600 mm.
-
Loft Leg: loft flooring leg, Loft Leg Ltd, accessed 30 September 2026. loftleg.com
-
ROCKWOOL Roll, Twin Roll and Rollbatt datasheet, ROCKWOOL Ltd, accessed 30 September 2026. rockwool.com
-
RdSAP 10 Specification (9 June 2025), BRE, accessed 30 September 2026. bregroup.com
-
Approved Document L, Conservation of fuel and power, Volume 1: Dwellings, 2021 edition incorporating 2023 amendments, Ministry of Housing, Communities and Local Government, accessed 14 September 2026. assets.publishing.service.gov.uk
-
Loft Leg XL, Loft Leg Ltd, accessed 30 September 2026. loftleg.com
-
Roof and loft insulation, Energy Saving Trust, accessed 30 September 2026. energysavingtrust.org.uk
-
Loft Flooring Legs 175mm, Toolstation, accessed 30 September 2026. Priced at 2026-09 and left there. toolstation.com
-
Loftleg Loft Legs 175mm 12 Pack, Screwfix, accessed 30 September 2026. Priced at 2026-09 and left there. screwfix.com
-
Is building regulations approval needed for a loft conversion?, Planning Portal, accessed 30 September 2026. planningportal.co.uk
-
Frequently Asked Questions, West Fraser, accessed 30 September 2026. uk.westfraser.com
-
Technical Manual Version 11, Section 10: Upper Floors, LABC Warranty, accessed 30 September 2026. labcwarranty.co.uk