Boarding a loft is one of the most practical storage upgrades in a home, but it is also one of the most commonly done wrong. The biggest mistake is laying chipboard directly on top of mineral wool insulation. This crushes the fibres and squeezes out the trapped air that does the insulating, so the loft loses heat faster. Do it properly, with raised boards, and you get both useful storage and a roof that keeps heat in.
This guide covers load limits, why raised boarding matters, a step-by-step DIY method, and honest 2026 costs for both DIY and professional installation.
Why Raised Boarding Matters
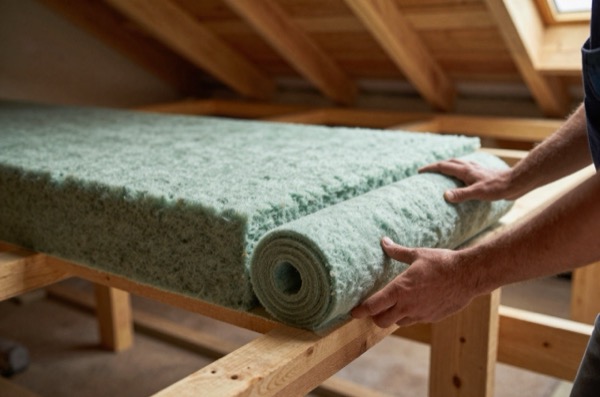
When an existing roof is upgraded, the Building Regulations guidance in Approved Document L aims for a U-value of 0.16 W/m²K.1 This needs approximately 270 mm of mineral wool in two layers (100 mm between the joists, 170 mm laid across them at 90°).2 Ceiling joists in many older houses are only about 75–100 mm deep, nowhere near enough to sit level with the top of the insulation.
If you compress 270 mm of mineral wool down to 75 mm, you are not storing 270 mm of insulation, you are storing compacted fibres with greatly reduced thermal resistance. The result is higher heating bills.
Approved Document L itself asks for boarded areas above the insulation in a loft, so that getting in for maintenance does not crush it.1
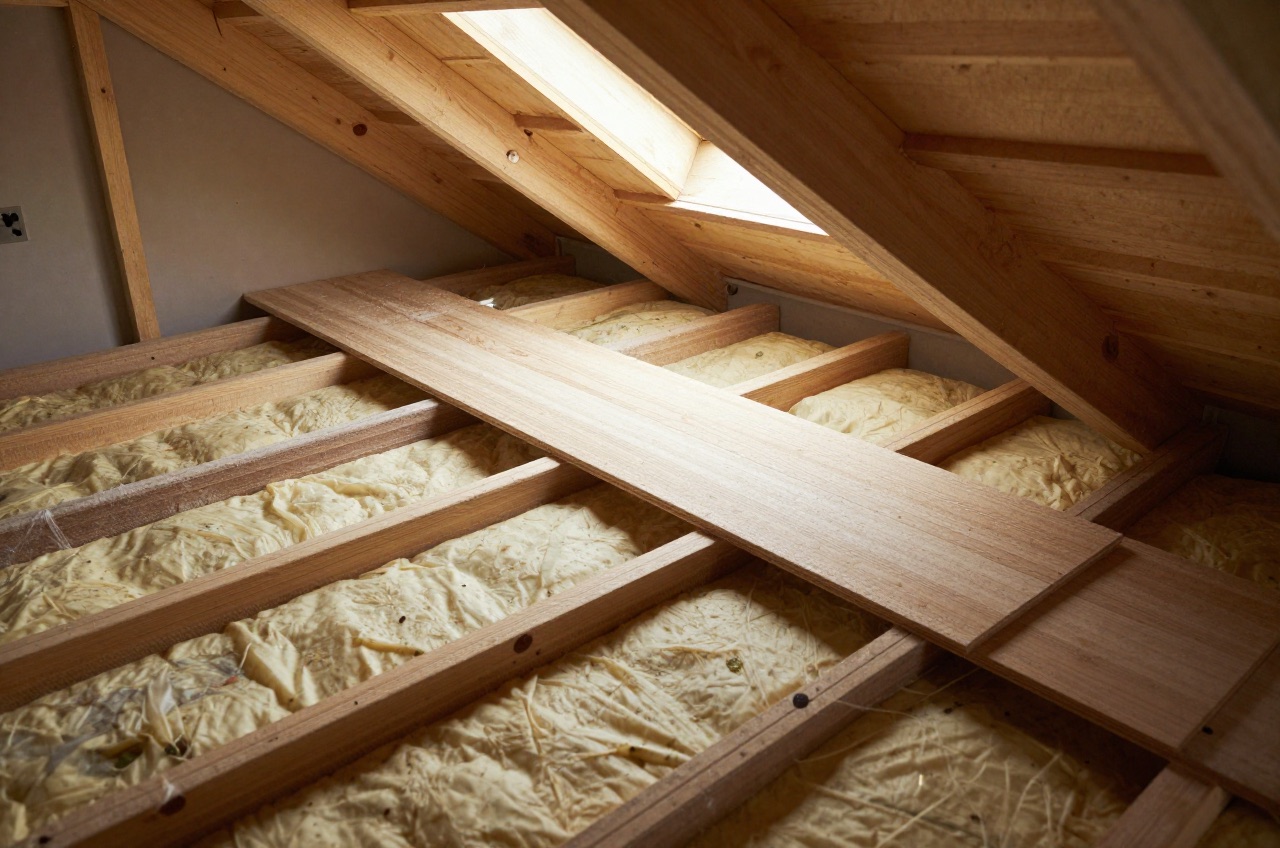
The solution is to raise the boards 100–175 mm above the top of the joists using proprietary loft legs (also called loft stilts) or timber battens fixed to the joists. This preserves the full insulation depth beneath the boards while giving a firm, level walking surface above.
Load Limits & Joist Strength
Most domestic lofts are designed for a dead load (roof weight) and a small maintenance load, not for continuous heavy storage. The structural capacity of the floor depends on the joist size, span and timber grade.
Ceiling joists are sized for the ceiling below them and very little else. Timber Development UK’s span tables size domestic ceiling joists for an imposed load of 0.25 kN/m², about 25 kg per square metre, or a single 0.9 kN point load, against 1.5 kN/m² for a floor.3 How much more a particular loft can take depends on the joist size, span, grade and condition, so treat a boarded loft as light storage unless an engineer has checked it. If your loft has been neglected, check for rot, beetle damage or sagging before loading it up. For anything beyond light seasonal storage (Christmas decorations, suitcases), have a structural engineer check your joists. An engineer’s check of the joists typically costs a few hundred pounds.
Never store very heavy items, large toolboxes, water tanks, boxes of books, in concentrated spots. Spread weight across multiple joist bays.
Step-by-Step DIY Loft Boarding
Tools and Materials
- Loft legs / loft stilts (plastic or metal; buy in packs)
- 18 mm tongue-and-groove chipboard loft panels (typically 1,220 × 320 mm, narrow enough to pass through a loft hatch)4
- Drill and 3 mm pilot bits
- Screws (50 mm cross-head)
- Tape measure, pencil, square
- Knee pads and a headtorch
Step 1: Check and Top Up Insulation First
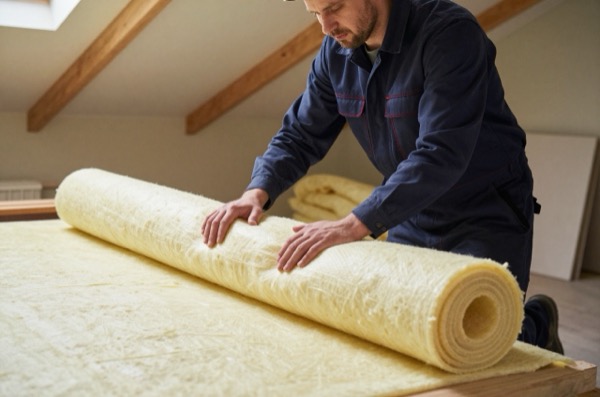
Before boarding, ensure you have a full 270 mm of mineral wool.2 If not, top up now, it is far harder once boards are down. Top layer (170 mm) should run perpendicular to the joists, covering them completely.
Step 2: Mark the Joist Positions
Standing at the hatch, measure and mark the joist centres on the underside of the intended boarding area. Traditional cut roofs usually have ceiling joists at 400 mm or 450 mm centres; trussed rafter roofs are usually at 600 mm.5
Step 3: Fix the Loft Legs
Loft legs clip or screw down to the top of each joist. Space them as the maker specifies, typically no more than about 600 mm apart along each joist. Many proprietary legs set the boards about 175 mm above the joists.6 Over 100 mm joists that leaves room for about 275 mm of insulation; over shallower joists it leaves less, so check the total before you buy.
Position legs so no leg falls directly over the insulation with nothing to grip, every leg must be fixed to a joist.
Step 4: Lay the Boards
Tongue-and-groove chipboard panels drop onto the loft leg connectors and interlock at the edges. Start from the hatch and work inward. Keep a knee on a board at all times, never kneel directly on the joists or insulation.
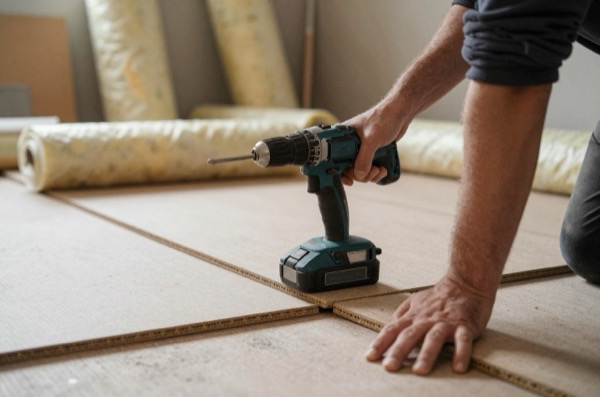
Fix boards to the legs with the supplied screws or 50 mm chipboard screws through pre-drilled pilot holes. Leave a small expansion gap where the boards meet walls or the hatch frame, as the board maker specifies.
Step 5: Edge Trim and Access
Fit a plywood nosing at the hatch edge so boards do not flex when you step on them. Check that the hatch insulation is not obstructed, many proprietary systems allow for an insulated hatch cover above the boarding level.
DIY vs Professional Installation
Most competent DIYers can board a 25–30 m² loft in a weekend. The main challenge is working in a cramped, hot space with awkward angles around trusses.
Professionals complete the same area in 4–8 hours and often supply materials at trade prices.
| Option | Typical total cost (25 m² semi) | Notes |
|---|---|---|
| DIY materials (loft legs + boards) | £480–£560 | Chipboard loft panels plus about eight packs of loft legs |
| Professional installation (supply & fit) | From about £900 + VAT | Plain overboarding; a raised system costs more |
| Large loft (40 m²), professional | From about £1,450 + VAT | More again for a raised system on loft legs |
| Boards only, no raised system | £320–£380 | Not recommended, crushes insulation |
Per-m² rates start at about £36/m² before VAT for overboarding a loft with flooring-grade chipboard, on one social landlord’s published schedule of rates; raised systems on loft legs cost more, so get quotes. The DIY figure uses 18 mm chipboard loft panels at about £12.61/m², the Wickes price in September 2026.4 Loftleg’s 175 mm legs were £20.99 for a pack of 12 at Screwfix in September 2026.6 A pack covers up to 3.2 m² of boarding, so a 25 m² loft needs about eight packs.6
Common Mistakes to Avoid
Laying boards flat on insulation. Already covered above, but it bears repeating. Even a slight compression materially worsens thermal performance.
Overloading a single area. Concentrate weight on joists, not mid-span. Heavy items should span across at least two joists.
Ignoring the hatch. A poorly insulated hatch undoes much of the thermal benefit of the insulation below. Fit an insulated hatch with a draught seal.7
Not checking for condensation risk. A warm, moisture-laden house with cold loft can produce interstitial condensation if vapour control is disturbed. If you are not sure whether your ceiling has a vapour control layer, consult a surveyor before disturbing the existing build-up.
Using square-edged boards. Boards without tongue-and-groove edges flex at the joints. Buy purpose-made loft panels or flooring-grade T&G chipboard.
Is Professional Boarding Worth It?
For most homeowners the answer is yes, especially if the loft is full of trusses (a common feature in post-1970s houses with gang-nailed roof trusses). Proprietary systems are engineered for truss lofts and include adapters that allow boarding over and around the diagonal timber members without cutting them, which you must never do.8
If your loft has pre-1970s cut rafters and clear open bays, DIY is straightforward and the saving is meaningful. For a 25 m² cut-rafter loft, DIY typically saves several hundred pounds versus having it done professionally.
Loft Boarding and Building Regulations
Boarding a loft for light storage, using raised boards that preserve the insulation, is not building work as the Building Regulations define it, so it does not normally require Building Regulations approval, and nothing changes outside so no planning permission is needed either.9 You are not creating a habitable room; you are accessing existing roof space for storage.
If you intend to convert the loft into a room (add a staircase, put in windows, use it as a bedroom or study), that is a loft conversion and does require Building Regulations and potentially planning permission. See our guide to loft conversion building regulations for the full checklist.
The one exception for storage boarding: if the additional weight requires new or strengthened joists, those structural alterations do need Building Control sign-off under Part A.9
References (9)
Figures in this note were checked against the sources below on 2 October 2026. Superscript numbers in the text point to them. Every source the site cites, by topic.
- 1technicalvery strongMinistry of Housing, Communities and Local Government.RN-L0FCJXThe in-force U-value tables a DIY insulation or door note must quote, with the exact numbers. Table 4.2, limiting U-values for new fabric elements in existing dwellings, sets roof 0.15, wall 0.18, floor 0.18, swimming pool basin 0.25, window 1.4 or Window Energy Rating Band B minimum, rooflight 2.2, doors with more than 60 per cent of the internal face glazed 1.4 or Doorset Energy Rating Band C minimum, and other doors 1.4 or Doorset Energy Rating Band B minimum. Table 4.3, for existing elements, gives a roof threshold of 0.35 and an improved value of 0.16, which is the figure a loft insulation note needs: paragraph 4.12 says a retained element whose U-value is higher than the column (a) threshold, for example through a loft or garage conversion, should be upgraded to the column (b) value. Paragraph 4.13 allows a lesser upgrade only where the improved value is not technically or functionally feasible or would not achieve a simple payback of 15 years or less. Paragraph 4.8 requires a replacement element to be no worse than the one it replaces as well as meeting Table 4.2. Paragraph 4.10 gives the heritage exception: where character must be maintained, a centre pane U-value of no more than 1.2 or low-emissivity secondary glazing. Note 9 records that the timber window concession of 1.6 or Band C ended on 14 June 2023. The 2021 edition came into force on 15 June 2022; a 2026 edition exists at https://assets.publishing.service.gov.uk/media/69c122a6cfa346b9d4704a55/ADL1_2026.pdf.
- 2technicalvery strongDepartment of Energy and Climate Change (GOV.UK), guidance.RN-G1QKUWA short government factsheet on loft insulation depth, from the Department of Energy and Climate Change. Gives 270 mm as the recommended depth, states that up to a quarter of a home's heat can escape through the roof, and explains how to measure what is already there with a ruler. Dated in that DECC no longer exists and the fuel prices are old, but the recommended depth it states is the figure still in general use.
- 3technicalfairTimber Development UK, published by Taylor Maxwell, guidance.RN-KDN35UTimber Development UK's 2023 span tables for C16 solid timber members in dwellings, calculated to Eurocode 5: maximum clear spans of domestic floor joists, ceiling joists and flat roof joists by section, spacing and dead load.
- 4technicalsupplier figureWickes, guidance.RN-X5NPMZA builders' merchant product listing for standard chipboard loft panels. It shows the common size is 18 × 320 × 1,220 mm; used because loft panels are sold unbranded and no maker's page lists the size.
- 5technicalsupplier figureTrussed Rafter Association (product data sheet, hosted by Fforest Timber Engineering), guidance.RN-VYDC7SA Trussed Rafter Association data sheet on standard bracing of domestic truss roofs. It sets trusses at a maximum of 600 mm centres; hosted by a truss maker because the TRA's own copy is not openly linked.
- 6technicalsupplier figureScrewfix, guidance.RN-RALHPTA merchant listing for Loft Leg, the most widely sold raised-boarding leg. It states the legs raise the loft floor 175 mm above the joists; the maker's own site renders in the browser and cannot be fetched.
- 7technicalvery strongMinistry of Housing, Communities and Local Government.RN-NPO8FJThe statutory figures behind a damp diagnosis, and the numbers to quote when a note explains why ground levels or a bridged damp proof course cause rising damp. Paragraph 5.2 requires that in an external wall the damp-proof course should be at least 150mm above the level of the adjoining ground (Diagram 8) unless part of the building protects the wall, and that in an external cavity wall the cavity should be taken down at least 225mm below the level of the lowest damp-proof course, or a damp-proof tray provided (Diagram 9a). For suspended timber ground floors it requires a ventilated air space of at least 75mm from the ground covering to the underside of any wall-plates and at least 150mm to the underside of the suspended timber floor or insulation, with ventilation openings on two opposing external walls of not less than 1,500mm2 per metre run of external wall or 500mm2 per square metre of floor area, whichever is greater; for suspended concrete floors the clear ventilated space is at least 150mm with the same opening sizes. Section 2.39 onwards covers radon, referring to BRE Report BR 211 for protective measures. The 2013 edition was published on 3 September 2013 with changes in effect from 1 October 2013.
- 8technicalvery strongLABC Warranty, guidance.RN-A2P67ZLABC Warranty's technical manual chapter on roofs. It reproduces BS 5534 Table 3 minimum batten sizes, batten length, support and nailing rules, grading and marking, and the HR and LR underlay definitions.
- 9technicalvery strongThe National Archives, legislation.RN-ZCMRHVRegulation 3 of the Building Regulations 2010, the meaning of building work. Lists what counts: erecting or extending a building, providing or extending a controlled service or fitting, material alteration, work required by a material change of use, and inserting insulation into a cavity wall. If a job is not on this list it is not building work, so this is the first place to check whether approval is needed at all.
-
Approved Document L: Conservation of fuel and power, Volume 1: Dwellings, 2021 edition incorporating 2023 amendments, HM Government (GOV.UK), accessed 7 September 2026. assets.publishing.service.gov.uk
-
Loft insulation factsheet: do you have enough loft insulation?, Department of Energy and Climate Change (GOV.UK), accessed 7 September 2026. assets.publishing.service.gov.uk
-
C16 Span Tables, Timber Development UK, published by Taylor Maxwell, accessed 29 September 2026. taylormaxwell.co.uk
-
Chipboard Loft Panels - 18 x 320 x 1220mm - Pack of 3, Wickes, accessed 30 September 2026. wickes.co.uk
-
Standard bracing of simple duo-pitched trussed rafter roofs for dwellings, Trussed Rafter Association (product data sheet, hosted by Fforest Timber Engineering), accessed 30 September 2026. fforest.co.uk
-
Loftleg Loft Legs 175mm 12 Pack, Screwfix, accessed 30 September 2026. screwfix.com
-
Approved Document C: Site preparation and resistance to contaminants and moisture (2004 edition incorporating 2010 and 2013 amendments), HM Government, accessed 30 September 2026. assets.publishing.service.gov.uk
-
Technical Manual Version 11, Section 11: Roofs, LABC Warranty, accessed 2 October 2026. labcwarranty.co.uk
-
The Building Regulations 2010, regulation 3: meaning of building work, legislation.gov.uk, accessed 7 September 2026. legislation.gov.uk