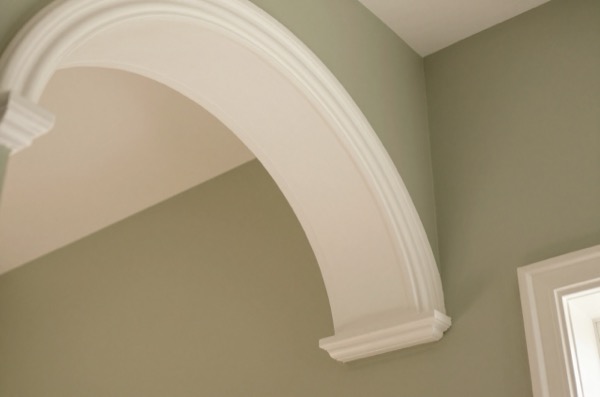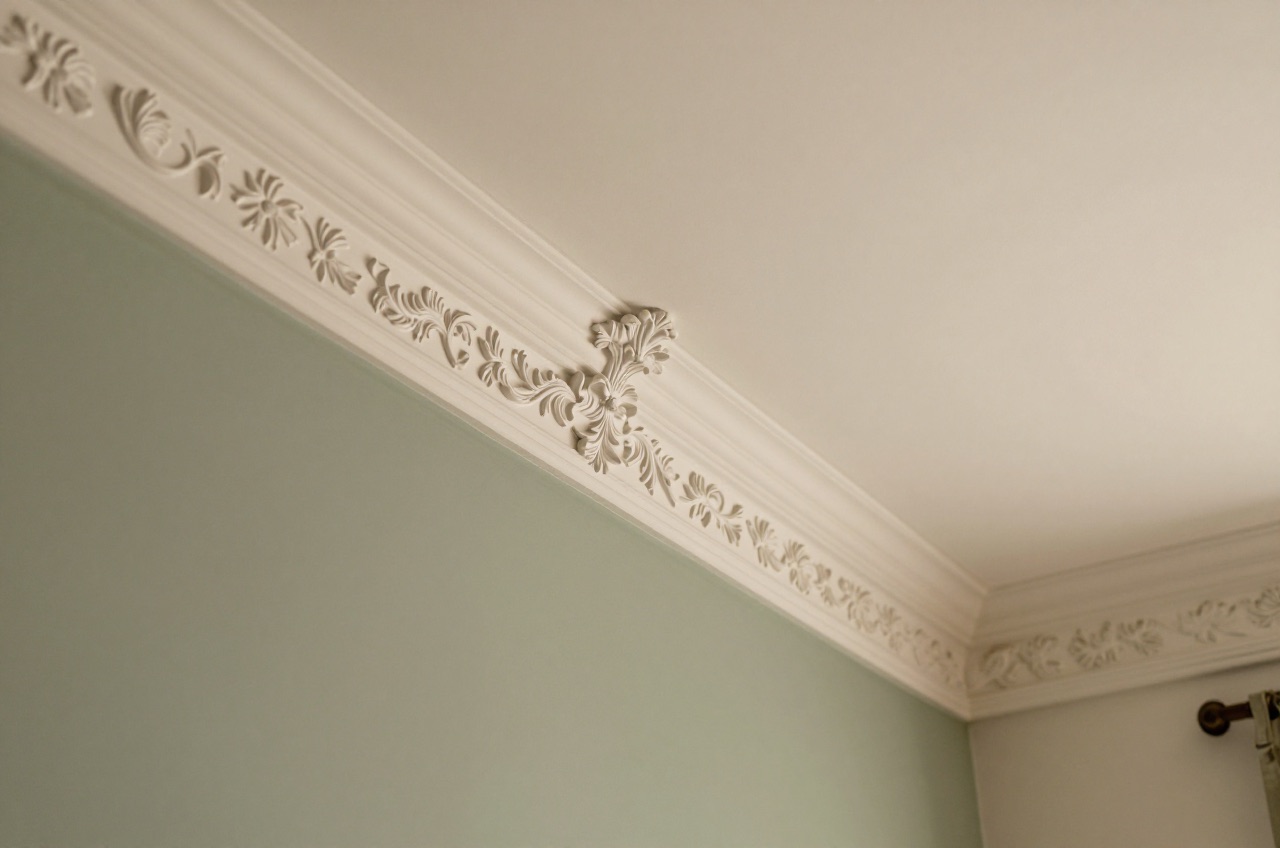
Coving and cornice finish the junction between ceiling and wall, the raw joint where two planes of plaster or plasterboard meet at 90 degrees. Beyond the practical job of covering that joint, they add architectural detail that makes rooms feel more considered and complete.
The two terms are often used interchangeably, but there is a distinction: coving refers to a simple curved or coved profile, while cornice refers to a more complex moulded profile, usually with multiple steps, bead details, or classical ornament. In practice, “coving” is used colloquially for both in the UK market.
Coving vs Cornice: Which Is Which?
| Feature | Coving | Cornice |
|---|---|---|
| Profile complexity | Single curve (cove or quadrant) | Multi-element with steps, beads, mouldings |
| Period association | Post-war; 1960s–1990s new-build | Georgian, Victorian, Edwardian |
| Materials commonly available | Polystyrene, plasterboard-backed | Plaster, fibrous plaster, polyurethane resin |
| DIY-suitability | High | Low to moderate |
| Typical size (girth) | 100–130 mm | 100–300+ mm |
| Typical cost (supply only) | £1.50–£3.00/lm | £3–£30+/lm |
Types by Material
Expanded Polystyrene (EPS)
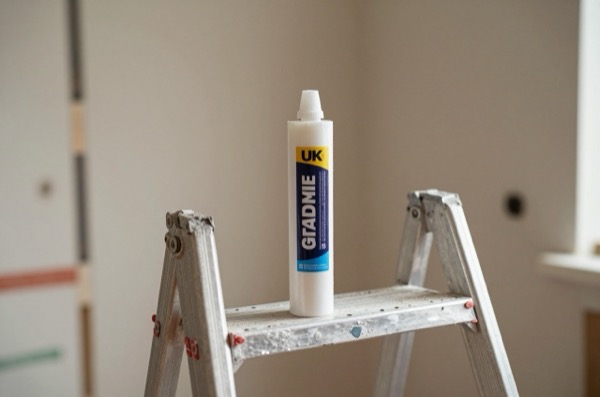
The cheapest and lightest option. EPS coving is sold in 2 m lengths at most DIY sheds and is the dominant DIY choice. It cuts with a junior hacksaw and sticks with proprietary coving adhesive. Profiles are limited, usually a simple cove, and the material dents easily and can yellow with time. It is also noticeably less crisp in appearance than plaster when painted.
For a budget renovation of a rented property or a room where coving is an afterthought, EPS is perfectly adequate. Expect £1.50–£2.50 per linear metre.
Plaster-Backed Gypsum (Pre-formed)
Sold in 2 m or 3 m boards, these have a gypsum plaster face and a paper or plasterboard backing. They look considerably better than EPS, take paint well, and are the standard choice for most renovation and new-build work. They are heavier than EPS and require a little more care at corners, but are still well within DIY capability.
Sizes typically run from 90 mm to 127 mm girth. Price runs from £2–£4 per linear metre. Brands such as Gyproc and independent manufacturers supply builders’ merchants and some DIY sheds.
Run-in-Place Fibrous Plaster (Traditional Method)
Plasterers historically ran cornices in place using a steel template (a “horse”) drawn along a screed. The result is seamless, no joints, and can replicate virtually any profile. It requires a skilled fibrous plasterer and is expensive, but for a high-value period restoration it is the most authentic approach.
Cost is high: £25–£60 per linear metre supply and fit, depending on the profile complexity and the plasterer’s day rate.
Pre-cast Fibrous Plaster
Cornices are cast in moulds from fibrous plaster (hessian-reinforced gypsum), delivered in sections, and fixed with plaster. This is the method used to restore Victorian and Georgian period cornices, and is how most specialist joinery suppliers supply larger decorative cornices.
Pre-cast cornice ranges from £8–£30+ per linear metre for the casting alone, depending on profile size and detail. Fitting by a specialist adds £15–£40 per linear metre.
Polyurethane Resin (Lightweight Replica)
A contemporary material that replicates the appearance of cast plaster but is far lighter and easier to handle. Suitable for restoring period-look cornices in older properties where genuine fibrous plaster is impractical or where weight on a lath-and-plaster ceiling is a concern. Cuts cleanly with a fine-tooth saw, fixes with adhesive and a small number of fixings.
Cost: £5–£20 per linear metre for supply. Quality varies, buy from a specialist supplier rather than a generic DIY brand to get a crisp, accurate profile.
Common Profiles and Their Eras
| Profile | Description | Typical period |
|---|---|---|
| Plain cove | Simple concave quarter-circle | 1960s–present |
| Cornice with bead-and-cove | One bead above a simple cove | Edwardian; 1930s |
| Egg-and-dart | Ovoid motifs alternating with dart-like points on a flat frieze | Georgian |
| Dentil cornice | Small square blocks (dentils) in a row beneath a flat soffit | Georgian; Regency |
| Leaf-and-dart | Alternating leaf and dart motifs | Classical Georgian |
| Deep Victorian cornice | Multi-step with acanthus leaf or rose motifs | Victorian (1860–1900) |
| Scotia/ovolo | A concave profile with a square bead at each edge | General; versatile |
If restoring existing cornice in a period property, take photographs and measurements of the surviving sections. A specialist fibrous plaster supplier can usually identify the original profile or cast a match from a surviving fragment.
Cost Summary (2026, UK)
| Item | Cost |
|---|---|
| EPS coving (supply) | £1.50–£2.50/lm |
| Plaster-backed coving (supply) | £2.00–£4.00/lm |
| Polyurethane resin cornice (supply) | £5.00–£20.00/lm |
| Pre-cast fibrous plaster cornice (supply) | £8.00–£30.00+/lm |
| Fitting by plasterer, simple coving | £8–£12/lm |
| Fitting by plasterer, pre-cast cornice | £15–£25/lm |
| Fitting by specialist, run-in-place fibrous plaster | £30–£60/lm |
| Corner pieces (internal/external) | £2–£8 each |
| Average room (20 lm, plaster-backed, supply & fit) | £250–£400 |
| Average room (20 lm, period cornice, supply & fit) | £500–£1,000+ |
Fitting Coving: DIY Guide
Pre-formed coving (EPS or plaster-backed) is a realistic DIY task for a careful first-timer. The main skills required are cutting accurate mitres and working cleanly with adhesive.
What you’ll need:
- Coving lengths
- Coving adhesive (manufacturer-specified)
- Mitre block or mitre box sized for your coving’s angle (most coving fixes at 45° to both surfaces, a 90° internal corner needs two pieces cut at 45° in the mitre block)
- Junior hacksaw or fine-tooth saw
- Filling knife and jointing compound
- Sandpaper (120 and 240 grit)
- Paint (emulsion or mist coat first on new plaster)
Steps:
- Mark a pencil line on both the wall and ceiling at the correct setback for your coving’s dimensions. Use the coving as a guide held in position.
- Lightly score (key) the plaster within the fixing zone using a filling knife or coarse sandpaper.
- Cut your corner pieces first using the mitre block. Internal corners need the pieces cut so the face mitre closes tight, test dry before applying adhesive.
- Mix or apply adhesive to the back of the coving (both wall and ceiling faces) and press firmly into place. Use dabs of filler or temporary nails to hold while the adhesive sets if necessary.
- Fill any gaps at the mitres and at the wall/ceiling joints with jointing compound. Smooth with a wet finger then leave to dry.
- Sand lightly, then paint.
Common mistakes:
- Cutting the mitre the wrong way (this is the most common error, always dry-fit before gluing)
- Using too little adhesive, leading to sections dropping later
- Skipping the keying step, causing adhesion failure on smooth modern plaster
- Leaving gaps at mitres unfilled before painting (paint bridges only the smallest gaps)
When to Hire a Plasterer
Hire a professional if:
- You’re fitting fibrous plaster or pre-cast cornice heavier than about 3 kg per linear metre
- The existing ceiling is lath and plaster and you’re not confident about fixings
- The room has irregular angles (bay windows, alcoves) requiring complex scribing
- You want a run-in-place finish with no joints
A plasterer will typically charge £180–£280 per day in London and the South East, £140–£220 elsewhere. A standard living room takes a day or less.
Planning and Regulations
Fitting coving and cornice does not require Building Regulations approval or planning permission in most domestic situations. The exceptions are listed buildings, where any change to internal decorative plasterwork may require listed building consent from the local authority. If your property is listed, seek advice from your conservation officer before removing or replacing historic cornices.