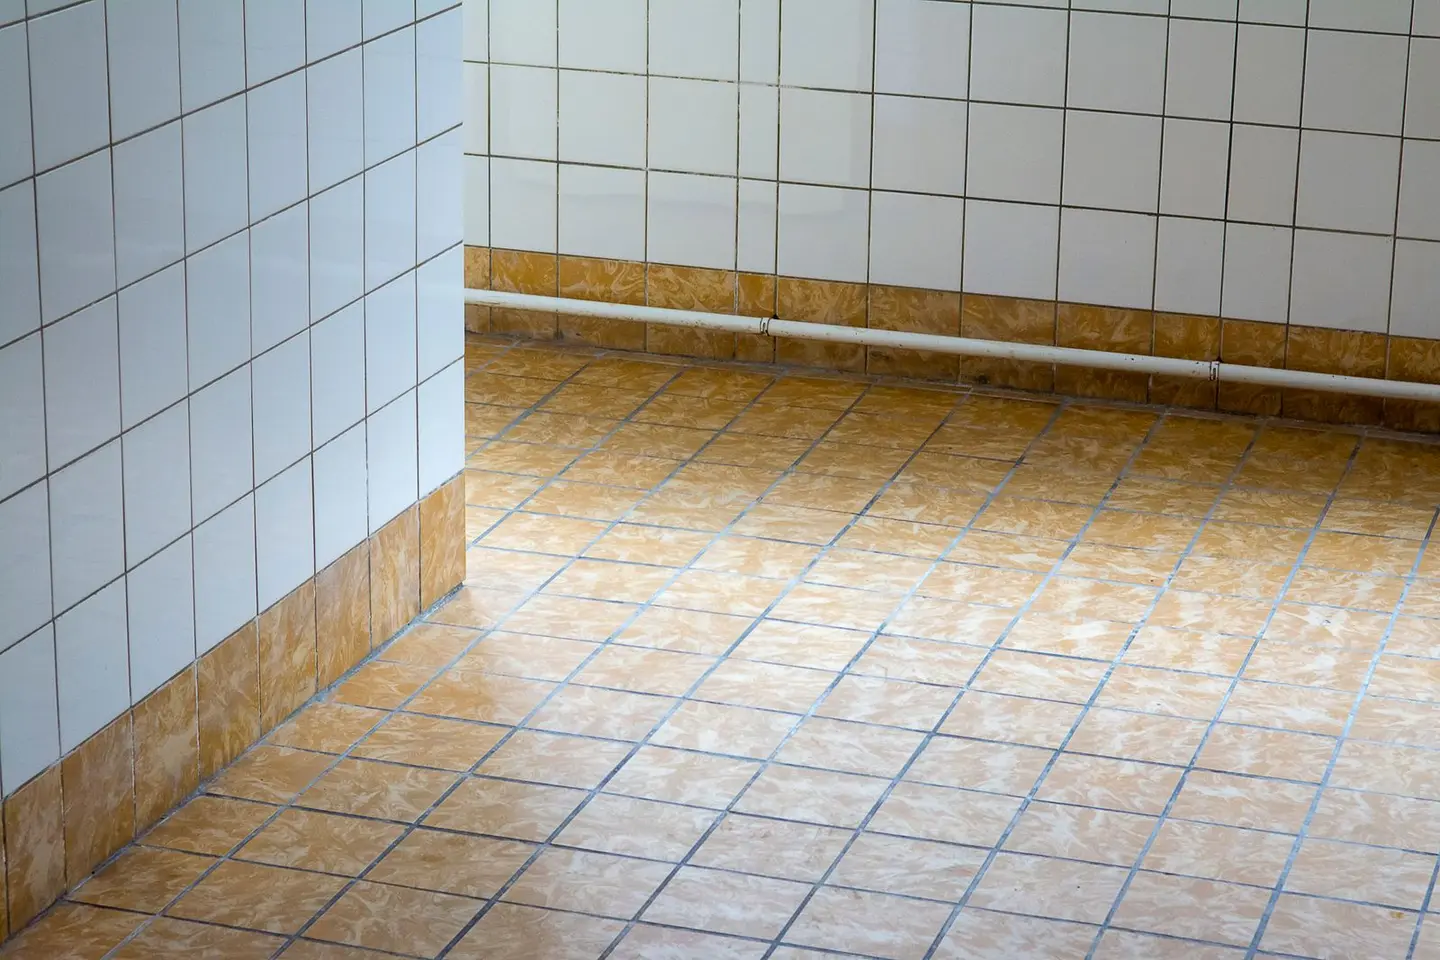
Laying floor tiles is one of the most impactful and durable improvements you can make to a kitchen, bathroom, utility room or hallway. Done correctly, a tiled floor will last 20–40 years with minimal maintenance. Done incorrectly, on a flexing subfloor, with the wrong adhesive, or without adequate expansion joints, tiles crack, de-bond and grout joints open within months. This guide covers everything from choosing the right tile type to finishing the grout, with particular attention to the standards and specification choices that matter in wet rooms, and to how they sit alongside the Building Regulations.
Tools and Materials
Before you start, assemble all tools and materials. Stopping mid-job to source items causes adhesive to skin over and layouts to go wrong.
Tools:
- Wet tile saw (or angle grinder with diamond blade for straight cuts)
- Notched trowel (notch size matched to tile, typically 6 mm for tiles up to 300×300 mm, 10–12 mm for large-format tiles)
- Rubber mallet or beating block and regular mallet
- Spirit level (1.2 m minimum) and laser level for large areas
- Tile spacers (typically 2–3 mm for floor tiles; 3–5 mm for natural stone)
- Tape measure, pencil, chalk line
- Mixing paddle and bucket (for adhesive and grout)
- Grout float, sponge, bucket of clean water
- Tile nibblers for curves and around pipes
- Knee pads
Materials:
- Floor tile adhesive: S1 or S2 flexible adhesive for most subfloors; rapid-set for time-critical jobs
- Grout: unsanded for joints under 3 mm, sanded for 3 mm and wider; epoxy grout for wet commercial areas
- Tile spacers
- Grout sealer (for natural stone and unglazed porcelain)
- Flexible sealant (silicone) for perimeter joints and internal angles
- Self-levelling compound if subfloor needs flattening
- Tile trim (aluminium or stainless) for exposed edges and doorways
Surface Preparation
This is the stage most DIYers underinvest in, and it is the single most common cause of tile failure.
Structural adequacy: A timber suspended floor must be rigid enough to carry tiles without flexing; a deflection limit of span/360 is commonly used, which for a 3 m span is about 8 mm. In practice, many suspended timber floors need overboarding before tiling. BAL, for example, suggests a tile backer board or 15 mm marine-grade plywood screwed down at 300 mm centres, with the screw heads flush.1 Do not tile directly onto single-layer floorboards.
Flatness tolerance: The floor tiling code of practice is BS 5385-3:2024, which replaced the 2014 edition.2 For tiles bedded in adhesive, the floor should reach surface regularity class SR1: no gap greater than 3 mm under a 2 m straightedge.3 High spots must be ground down; low spots filled with flexible floor leveller. This is a non-negotiable requirement, flexible adhesive cannot bridge hollows and will eventually crack under point loads.
Adhesion surface: Allow new work to dry before tiling: a sand and cement screed needs at least three weeks and a concrete slab at least six, and screeds should be moisture tested first.4 Prime all absorbent surfaces with an appropriate primer to prevent the substrate from drawing moisture out of the adhesive too quickly. Remove all dust, paint, grease and any previous tile adhesive residue.
Existing tiles: You can tile over existing tiles if they are sound, flat and firmly bonded. Grind the surface to key it, and use a flexible adhesive. Check the cumulative weight loading does not exceed the structural floor capacity.
Choosing Tile Size and Planning the Layout
Tile size: Large-format tiles (600×600 mm and above) create a contemporary feel and have fewer grout lines to clean, but they amplify any subfloor unevenness and require full-contact adhesive coverage with a back-buttered adhesive layer, both faces of the tile must be coated. Smaller tiles (300×300 mm or mosaic) are more forgiving of subfloor variation.
Layout planning: Never start from a wall. Find the centre of the room by snapping chalk lines between the midpoints of opposite walls. Check for square using the 3-4-5 method. Dry-lay a row of tiles in each direction from the centre point to check the cut sizes at the perimeter, you want a minimum half-tile width at all walls. Shift the layout if the cuts fall too narrow. Mark a working line and fix a straight batten at 90° to use as a guide for the first row.
Expansion joints: All tiled floors require movement joints at perimeters (between tiles and walls, skirting or fittings), minimum 6 mm wide, filled with flexible silicone sealant, never grouted. Large areas also need intermediate movement joints at the spacing the tiling specification sets. Grouting perimeter gaps is a common cause of tile cracking in domestic settings.
Tile Type Comparison
| Tile Type | Cost (supply, £/m²) | Surface Hardness (Mohs) | Water Absorption | Typical Use | Lifespan |
|---|---|---|---|---|---|
| Ceramic | £10–£30 | 5–6 | Typically >3% (Groups BII and BIII) | Kitchens, hallways, low-traffic | 20–30 years |
| Porcelain | £15–£505 | 7–8 | ≤0.5% (Group BIa) | All areas inc. bathrooms | 30–50 years |
| Natural stone (slate, travertine) | £30–£80 | 3–7 (varies) | 0.5–5% (varies) | Feature areas, upmarket interiors | 30–50+ years |
| Natural stone (marble, limestone) | £50–£120 | 3–4 | 0.5–2% | Dry areas; requires sealing | 30–50+ years |
Porcelain is classed as group BIa, with water absorption of no more than 0.5%.6 As a price check, a 600 × 1200 mm porcelain floor tile was listed at £18.54/m² including VAT by a national builders’ merchant in September 2026.78
Porcelain is the most practical choice for UK bathrooms and kitchens: it is frost-resistant, very hard-wearing and virtually non-porous, so glazed porcelain does not need sealing (some unglazed and polished porcelains benefit from a sealer). Ceramic is adequate for low-traffic dry areas and is more affordable. Natural stone requires regular sealing and is generally softer, making it more susceptible to etching from acidic cleaners.
Step-by-Step: Laying Floor Tiles
Step 1, Mix adhesive. Follow the manufacturer’s water-to-powder ratio precisely. The mix should hold a ridge without slumping. Let it slake for 5 minutes, then re-stir. Use within the open time stated on the bag (typically 30–60 minutes).
Step 2, Apply adhesive to the subfloor. Using the flat side of the notched trowel, spread a thin keying coat onto the subfloor. Then use the notched side to comb ridges at a consistent angle. Cover only 0.5–1 m² at a time to prevent skinning.
Step 3, Back-butter large-format tiles. For tiles over 600 mm in any dimension, also apply a thin coat of adhesive to the back of the tile and key it. This ensures full contact and eliminates voids that cause cracking under point loads.
Step 4, Lay the first tile. Place it firmly on the working line, twist slightly as you press down, then bed it with the rubber mallet or beating block. Check it is flat with the spirit level.
Step 5, Build out from the first tile. Work in sections, inserting spacers at each corner. Check level constantly, both within individual tiles and across multiple tiles. Adhesive squeeze-up into the spacer gaps is normal; excess can be removed with a pointed tool while still wet.
Step 6, Cut tiles for the perimeter. Measure each cut individually rather than assuming the walls are parallel. Mark and cut with the wet saw. Wear eye protection.
Step 7, Allow full cure. Do not walk on the tiles for at least 24 hours (rapid-set adhesives may allow foot traffic within a few hours; check the bag). Allow 48–72 hours before grouting with standard adhesives in cold conditions.
Grouting and Finishing
Step 8, Remove spacers and clean joints. Remove all tile spacers before grouting. Clean out any adhesive from the joints, grout needs to fill the full depth of the joint for durability.
Step 9, Mix grout. Follow the manufacturer’s ratio. Consistency should be smooth and spreadable without being watery. Pre-mixed grout in tubs is easier for small areas.
Step 10, Apply grout with the grout float. Work the grout diagonally across the joints, pressing firmly to fill them completely. Work in sections of 1–2 m². Remove excess grout from tile faces with the float held at a steep angle.
Step 11, Clean tiles. After 10–15 minutes (when the grout has firmed but not fully set), wipe the tile faces with a damp sponge. Rinse the sponge frequently. A light haze will remain; this can be polished off with a dry cloth once the grout is fully set (usually 24 hours).
Step 12, Seal perimeter joints. Apply flexible silicone sealant to all perimeter joints and internal angles. Smooth with a wet finger or sealant tool. This replaces grout in these locations, do not grout them.
Slip Resistance in Wet Areas
No Building Regulation sets a slip rating for a floor in a home, so what follows is specification rather than compliance. Two scales are quoted and they are not interchangeable. The pendulum test value (PTV) is the one HSE works to, where 36 or above is the low slip potential band.9 The R rating printed on tile data sheets comes from DIN 51130, a ramp walked in cleated safety boots, which HSE has reservations about because R10 alone spans a wide range of measured friction.9 As a rough specification guide only:
- R9, the bottom of the scale: HSE notes that the R scale runs from R9 to R13 and that R9 is slippery when wet9
- R10, common on domestic floor tiles, but HSE warns that some R10 surfaces are also slippery in wet or greasy conditions9
- R11, a sounder starting point for a shod floor that is often wet, such as a utility room
- R12 and R13, heavily contaminated environments
A tile’s R-value is a surface characteristic, not just a material characteristic, a polished marble floor may look superb but fall below R9, the lowest class, which makes it unsuitable for a bathroom floor. Always check the manufacturer’s R-value certificate before specifying for wet areas, and treat a wet barefoot area as its own case: R ratings are a shod test, so they say little about a shower floor underfoot.
Barefoot wet areas are classed A, B or C under a separate ramp test, DIN 51097, in which barefoot walkers test the floor with soapy water.9
Common Mistakes
- Not checking subfloor flatness. The SR1 tolerance of 3 mm under a 2 m straightedge is strict. Skipping this step is the leading cause of cracked tiles within the first year.
- Grouting the perimeter. All perimeter joints must be flexible silicone, not grout. Grout will crack as the structure moves seasonally.
- Using wall tile adhesive on floors. Wall adhesives are not rated for foot traffic loads. Always specify floor-grade adhesive.
- Under-notching the trowel. The notch depth determines adhesive coverage. Too small a notch leaves voids under the tile.
- Tiling over still-wet screed. Allow at least three weeks for a sand and cement screed and six for concrete, then check the moisture: a polythene sheet taped down overnight gives a rough test (condensation indicates excess moisture), and a hygrometer test is more reliable.
When to Call a Professional
- Suspended timber floors that deflect noticeably underfoot, a structural engineer’s assessment may be needed before tiling.
- Underfloor heating systems, tile adhesive and tile selection must be compatible with the UFH specification, and the system commissioning protocol must be followed before tiling.
- Large areas of natural stone, particularly marble, the stone is brittle and requires full adhesive contact; specialist installers typically achieve this more reliably.
- Wet-rooms with tanking membranes, the interface between the tanking and the tile adhesive is critical; improper sequencing causes leaks behind tiles.
Cost Summary
| Item | Typical Cost Range |
|---|---|
| Ceramic tiles | £10–£30/m² |
| Porcelain tiles | £15–£50/m² |
| Natural stone tiles | £30–£120/m² |
| Flexible floor adhesive | £5–£10/m² |
| Grout and spacers | £3–£5/m² |
| Self-levelling compound (if needed) | £5–£12/m² |
| Professional labour | £30–£60/m² |
For a standard kitchen or hallway in the UK, expect total installed costs of about £50–£105/m² using ceramic or mid-range porcelain, including all materials and professional fitting. Natural stone installed by a specialist typically runs £80–£180/m² all-in.
The rules in this note are those that apply in England. Scotland, Wales and Northern Ireland have their own building standards and permitted development rights.
References (9)
Figures in this note were checked against the sources below on 30 September 2026. Superscript numbers in the text point to them. Every source the site cites, by topic.
- 1technicalsupplier figureBAL (Building Adhesives Ltd), guidance.RN-HSUWRUThe adhesive maker's guidance on tiling timber floors: strengthen a weak floor with a tile backer board or 15 mm marine plywood screwed at 300 mm centres before tiling.
- 2technicalstrongBSI (British Standards Institution), a standard.RN-2F1BXPThe current British code of practice for laying a tiled floor, published 31 May 2024. It is the third of what is now a four-part BS 5385 series: Parts 1 and 2 cover internal and external wall tiling, Part 4 covers tiling in special conditions such as wet areas and swimming pools, and Part 3 now covers all rigid flooring. The 2024 revision consolidates and replaces both BS 5385-3:2014 on ceramic and mosaic floor tiling and BS 5385-5:2009 on terrazzo, natural stone and agglomerated stone flooring, so a specification that still cites BS 5385-5 is out of date. Its scope is recommendations for the design, installation and maintenance of floor tiling using ceramic tiles, mosaics, terrazzo tile and slab, natural stone internal and external floorings, and engineered stone for internal flooring. BSI states the revision was driven by ceramic floor tiles becoming thicker and larger, which has made the installation methods for ceramic and stone converge. Covers bedding onto concrete, cement and sand and calcium sulfate screeds, heated screeds, timber and existing hard finishes, plus movement joints and tolerances.
- 3technicalsupplier figureBAL Adhesives, guidance.RN-A6DET9BAL, a UK tile adhesive maker, on preparing screeds for tiling: SR1 regularity means no gap over 3 mm under a 2 m straightedge, and traditional screeds need at least three weeks to cure.
- 4technicalsupplier figureBAL (Building Adhesives Ltd), guidance.RN-QY4KX2BAL's technical note on screed drying times gives minimum drying periods before tiling (3 weeks for cement:sand screed, 6 weeks for concrete) and says all screeds should be moisture tested first.
- 5costsupplier figureWickes.RN-2VX5ZAA price, true at 2026-09. Wickes's product page for an own brand wood effect porcelain wall and floor tile, 225 x 900 mm. A large format porcelain at a retail price per square metre, which is the dearer half of the tile range and the one a plank format falls in.
- 6technicalsupplier figureMapei, guidance.RN-FLUYOPMapei's technical article on tile selection states that porcelain tiles fall in group BIa of the tile classification, with water absorption between 0 and 0.5%.
- 7costsupplier figureBuilder Depot.RN-G44IWYA price, true at 2026-09. A builders' merchant product page listing a 600 x 1200 mm porcelain wall and floor tile at £18.54 per square metre including VAT, inside the note's £15–£50 porcelain supply range.
- 8costsupplier figureSelco Builders Warehouse.RN-M6IV87A price, true at 2026-09. the retail price Selco Builders Warehouse publishes for Caesar Matt Ivory Stone Porcelain Floor & Wall Tile 600 x 1200mm, which is the supply figure the cost book records for this item
- 9technicalvery strongHealth and Safety Executive, guidance.RN-2IWEP7HSE's guidance note behind every slip-resistance figure a flooring or paving note quotes, and the source that separates the two tests people conflate. Table 1 classifies slip potential from pendulum test values (PTV): 0 to 24 high, 25 to 35 moderate, 36 and above low. Table 2 gives the parallel Rz microroughness classification. It describes the HSL/UKSRG ramp CoF test, then deals with the German ramp tests separately: DIN 51097 uses barefoot operators with a soap solution and DIN 51130 uses heavily cleated EN ISO 20345 safety boots with motor oil, and HSE states it has reservations about both because neither uses contaminants representative of real workplaces and the way results are reported is a cause for concern. Table 3 sets the DIN 51130 R scale by slip angle: R9 6 to 10 degrees, R10 10 to 19, R11 19 to 27, R12 27 to 35, R13 above 35. It warns that R9 and sometimes R10 surfaces will be slippery when wet and that a single class covers a wide CoF range, R10 alone spanning 0.18 to 0.34, so an R number is not a substitute for a PTV. Note that BS 7976-2, the pendulum method, was withdrawn in February 2022, which makes this HSE page the right citation for the thresholds.
-
Tiling onto wood is easier than you think, BAL (Building Adhesives Ltd), accessed 30 September 2026. bal-adhesives.com
-
BS 5385-3:2024 Wall and floor tiling. Design and installation of internal and external ceramic and mosaic, natural stone and terrazzo flooring, and internal agglomerated stone flooring in normal conditions. Code of practice, BSI, accessed 30 September 2026. knowledge.bsigroup.com
-
Screed if you want to go faster, BAL (Building Adhesives Ltd), accessed 30 September 2026. bal-adhesives.com
-
TN 08.23 Screed Drying Times, BAL (Building Adhesives Ltd), accessed 30 September 2026. helpcentre.building-adhesives.com
-
Wickes Maine Light Oak Wood Effect Porcelain Wall & Floor Tile - 225 x 900mm, Wickes, accessed 1 October 2026. Priced at 2026-09, so no calibration is needed. wickes.co.uk
-
Installing tiles on façades, Mapei, accessed 30 September 2026. mapei.com
-
Carrara Marble White 60 x 120cm Porcelain Tile, Builder Depot, accessed 30 September 2026. Priced at 2026-09 and left there. builderdepot.co.uk
-
Caesar Matt Ivory Stone Porcelain Floor & Wall Tile 600 x 1200mm, Selco Builders Warehouse, accessed 30 September 2026. Priced at 2026-09, so no calibration is needed. selcobw.com
-
Assessing the slip resistance of flooring (GEIS2), Health and Safety Executive, accessed 30 September 2026. hse.gov.uk