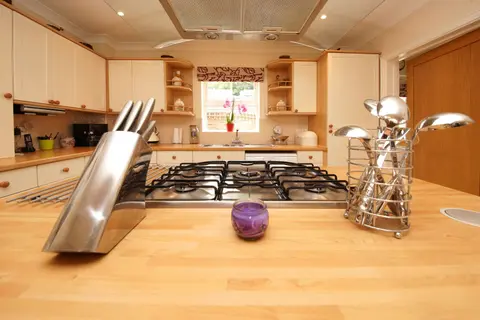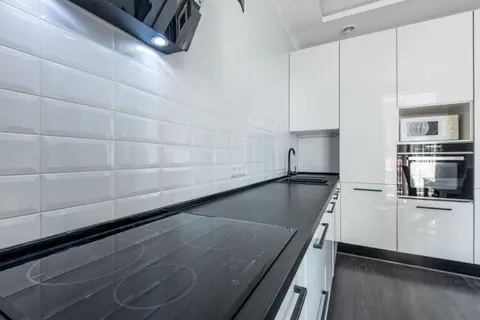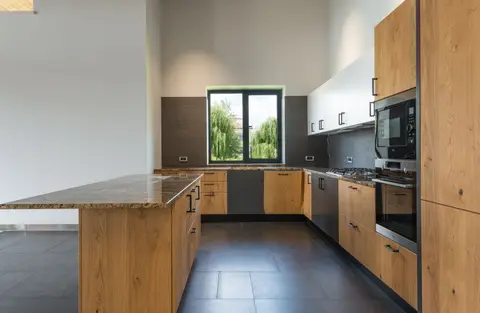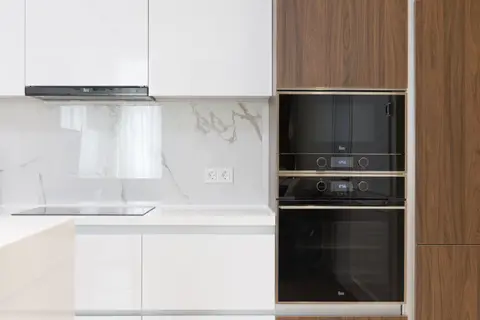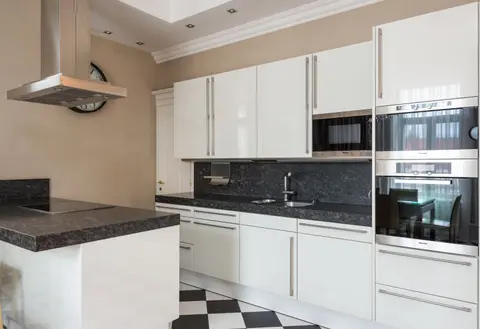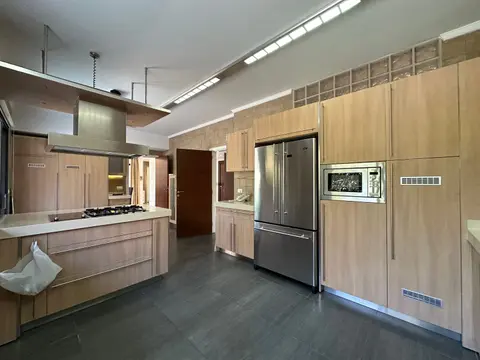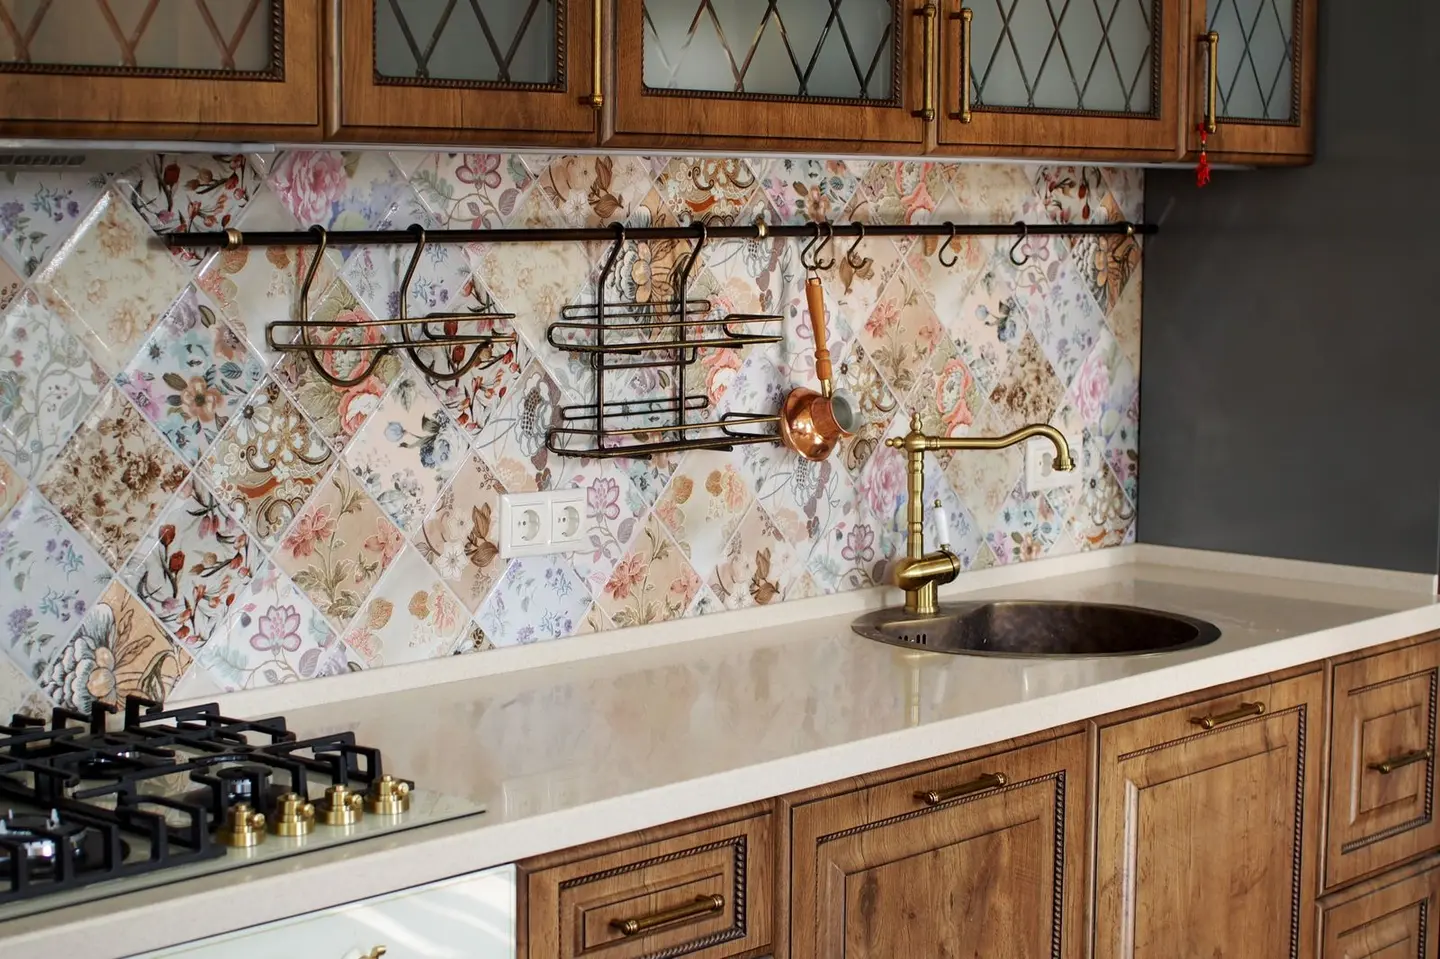
The area between your worktop and the units above is one of the most-touched surfaces in the kitchen, splashed with water, grease, and cooking debris every day. Getting the finishing detail right here is not just aesthetic; it protects your wall plaster from moisture damage. Three distinct solutions exist: a worktop upstand, wall tiles, or a panel splashback, and they differ significantly in cost, maintenance, and visual effect.
Worktop Upstands
An upstand is a narrow strip of the same (or complementary) material as the worktop, typically 15–20 mm thick and 100–150 mm tall, fitted tight to the back and side edges of the worktop and sealed with silicone where it meets the wall.
Why Use an Upstand?
- Waterproofs the vulnerable joint between worktop and wall without tiling the entire zone.
- Creates a clean, minimal look, particularly with stone or quartz.
- Much cheaper and faster than tiling.
- Allows for wall imperfections: the silicone joint accommodates up to 5 mm of variation.
Upstand Costs
| Material | Supply (per linear metre) | Fitted (per linear metre) |
|---|---|---|
| Matching quartz/granite upstand | £40–£100 | £80–£160 |
| Laminate upstand (matching worktop) | £15–£401 | £20–£60 |
| Solid oak timber upstand | £30–£60 | £50–£90 |
| Ceramic tile upstand (100 mm strip) | £10–£25 per tile | £40–£80 per lin m fitted |
Fitting is typically done by the same stonemason or joiner who fits the worktop; adding it at the same appointment keeps costs lower than a return visit.
Fitting an Upstand
The back of the worktop must be scribed to the wall so the gap is uniform. The upstand sits against the wall and is bonded with adhesive or mechanical fixings, then finished with a bead of neutral-cure silicone (not acid-cure, which can discolour stone). The silicone joint must be maintained over time, re-silicone every 5–10 years or sooner if it discolours or cracks.
Worktop Edge Profiles
The front edge of a worktop is shaped by the fabricator during CNC machining. The profile you choose affects the look and, to a small degree, the cost (more complex profiles take longer to machine).
| Profile | Description | Best for | Extra cost |
|---|---|---|---|
| Square (pencil) edge | Clean 90° corners, slightly eased | Contemporary kitchens | None |
| Bevelled edge | 45° chamfer on top corner | Modern/transitional | £5–£15 per lin m |
| Half bullnose | Single curved top | Family kitchens (no sharp edge) | £10–£20 per lin m |
| Full bullnose | Both top and bottom curved | Traditional kitchens | £15–£25 per lin m |
| Ogee | S-curve profile | Traditional/Shaker style | £20–£40 per lin m |
| Waterfall | Worktop material continues vertically to floor on island ends | Showpiece islands | No standard rate; significant material use |
For safety, particularly in households with young children or elderly residents, avoid sharp 90° profiles on islands where people walk. A half bullnose or 3 mm eased edge is a sensible default.
Tiled Splashbacks
Tiling the zone between worktop and wall units remains the most popular choice in UK kitchens. It gives maximum design flexibility and can extend higher than an upstand if desired.
Typical specification:
- Tile depth: wall tiles 6–10 mm; glass or large-format tiles 8–15 mm.
- Adhesive: flexible cement-based adhesive (EN 12004 Class C2 or better for kitchens) or dedicated kitchen tile adhesive.
- Grout: epoxy grout around the hob and sink for stain resistance; standard cement grout elsewhere.
Cost of tiling a kitchen splashback:
| Tile type | Tile cost (per m²) | Labour (per m²) | Total per m² fitted |
|---|---|---|---|
| Standard ceramic | £20–£60 | £30–£50 | £50–£110 |
| Porcelain | £40–£120 | £35–£60 | £75–£180 |
| Handmade/Metro tile | £50–£150 | £35–£60 | £85–£210 |
| Large format (600 × 300 mm+) | £60–£200 | £50–£80 | £110–£280 |
A typical kitchen splashback is 0.8–1.5 m², add hob and worktop perimeter together, then deduct windows. See our tiling guide for step-by-step fitting instructions.
Important: the joint between the last row of tiles and the worktop must be silicone, not grout. Grout is rigid and will crack as the worktop and wall move independently. Use a colour-matched silicone.
Panel Splashbacks
Glass, acrylic, and stainless-steel panel splashbacks are a single-piece alternative to tiling. They are especially popular behind induction hobs where a grout-free surface is easy to wipe down.
| Panel type | Supply cost (per m²) | Fitted cost (per m²) |
|---|---|---|
| Toughened glass (colour-painted) | £120–£350 | £180–£500 |
| Acrylic sheet | £30–£80 | £60–£130 |
| Stainless steel (brushed) | £80–£200 | £120–£280 |
| Mirrored glass | £150–£400 | £200–£550 |
Glass splashbacks are toughened to EN 12150 (minimum 6 mm, typically 8 mm) and must be ordered to exact size with cutouts pre-machined for sockets and switches. Allow 4–6 weeks lead time with most UK suppliers. Installation uses a structural silicone adhesive; no fixings pierce the glass.
Acrylic is cheaper but scratches more easily and is not recommended within 200 mm of a gas hob due to heat sensitivity.
Building Regulations note: Gas hob splashbacks must use non-combustible materials within the distances specified in BS 6172 and manufacturer installation instructions, typically 750 mm above the hob. Toughened glass and ceramic tile comply; painted MDF or acrylic do not.
Upstand vs Tiling vs Panel: Decision Guide
| Upstand | Tiled | Panel | |
|---|---|---|---|
| Cost | Lowest | Moderate | Moderate–high |
| Maintenance | Silicone only | Grout cleaning | Wipe clean |
| Lead time | Same day as worktop | 1–3 days to tile | 4–6 weeks (glass) |
| Visual impact | Minimal/clean | Textured/varied | Bold/seamless |
| Best behind hob | No | Yes (ceramic) | Yes (toughened glass) |
| DIY-friendly | Moderate | Yes | No (glass) |
The most practical all-round choice for most kitchens is a matching stone upstand at the back and ends, combined with tiling or a glass panel directly behind the hob. This balances cost with the right material performance in the most demanding zone.
References (1)
Figures in this note were checked against the sources below on 14 September 2026. Superscript numbers in the text point to them. Every source the site cites, by topic.
- 1costsupplier figureToolstation.RN-B02XNCA price, true at 2026-09. the retail price Toolstation publishes for the Wilsonart Omega Sleek White Quartz Square Edge Upstand 3000 x 100mm x 20mm, which is the supply figure the cost book records for this item
-
Wilsonart Omega Sleek White Quartz Square Edge Upstand 3000 x 100mm x 20mm, Toolstation, accessed 21 September 2026. Priced at 2026-09, so no calibration is needed. toolstation.com