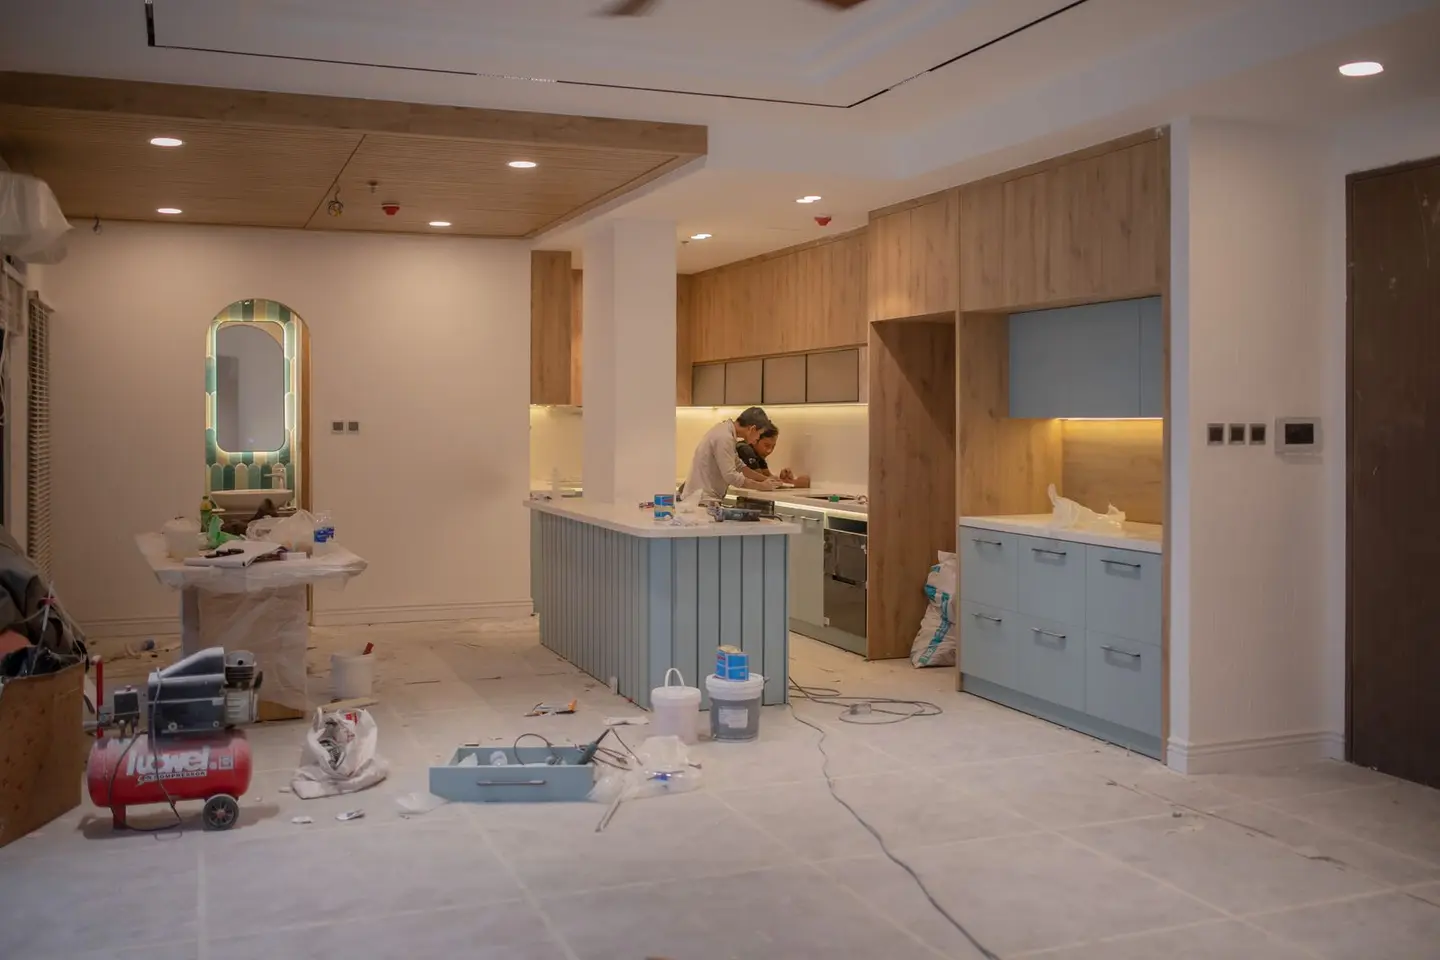
A kitchen renovation is one of the most disruptive projects in a home, and one of the most rewarding when done well. Unlike a bathroom where you can improvise with a shower at the gym, losing your kitchen means no cooking for weeks. Good planning is the difference between a project that runs smoothly and one that drags on with your family eating takeaways and navigating dust sheets.
This guide sets out the complete planning process: from deciding what you want to the final snag, covering layout principles, the correct order of trades, realistic costs and how long each stage takes.
Stage 1: Define the Brief and Budget Before Anything Else
Start with a written brief that separates must-haves from nice-to-haves:
- Does the layout need to change, or are the sink, cooker and fridge positions staying put?
- Are you opening the kitchen up to an adjoining room?
- What appliances are being replaced versus retained?
- What is the realistic total budget?
Getting the budget set before visiting showrooms prevents expensive scope creep. A mid-range kitchen renovation in a 12–20 m² room in 2026 should be budgeted at £12,000–£30,000 all-in. If you want to change the structure (remove a wall, create a kitchen-diner), add £3,000–£10,000. See our separate kitchen costs guide for a full breakdown.
Stage 2: Decide on the Layout
The Work Triangle
The work triangle, the path between sink, hob and fridge, should not total more than 7 m and each leg should be between 1.2 m and 2.7 m. Triangles with legs shorter than 1.2 m feel cramped; legs over 2.7 m mean you’re walking too far between tasks. Most standard UK kitchen layouts (galley, L-shape, U-shape) achieve this naturally.
Common Kitchen Layouts
| Layout | Best For | Minimum Room Width |
|---|---|---|
| Galley (parallel runs) | Narrow rooms, cooking efficiency | 2.4 m (1.2 m aisle minimum) |
| L-shape | Open-plan corners, kitchen-diners | 3.0 × 3.0 m |
| U-shape | Maximum storage, serious cooking | 3.5 × 3.5 m |
| Island + perimeter | Large open-plan spaces | 4.0 m wide minimum (1.0 m clearance each side of island) |
The minimum aisle width between facing base units or between a base unit and an island is 900 mm for one person, 1,200 mm where two people cook. Building Regulations Part M (accessibility) recommends 1,200 mm for wheelchair access; in open-plan settings this is worth planning for even if not currently required.1
Fixed Points: Where Plumbing and Electrics Live
The single biggest cost driver in layout planning is how far the fixed services move:
- Sink: drain pipes, water supply and waste outlets are the most expensive things to relocate. Moving the sink more than 1.5 m from its current position typically means running new pipework under the floor: budget £400–£1,200.
- Gas hob: the gas supply point should ideally be within 2 m of the new hob position. Moving it further requires a Gas Safe engineer to run a new branch: £350–£900.
- Electrical circuits: kitchens require a 32A ring circuit for the cooker, 30mA RCD protection on socket circuits, and a separate 16A circuit for a dishwasher or washing machine. If you’re altering the layout significantly, an electrician will often need to upgrade the consumer unit, budget £900–£1,800 for consumer unit replacement plus first-fix rewiring.
Stage 3: The Order of Work
Getting the sequence right is essential. Here is the standard order of work for a full kitchen strip and refit:
- Structural work first, remove walls, install RSJs, create openings, form new door positions. This is the most disruptive phase and should be completely finished before any finishes work begins.
- First-fix plumbing, rough-in new pipe positions, cap old supplies, extend soil pipe if required.
- First-fix electrics, run new circuits, install back-boxes, lay underfloor heating cables if specified.
- Plasterwork, skim any disturbed walls, allow to dry (minimum 4–6 weeks for fresh plaster before painting; or use a moisture meter).
- Flooring substrate, self-levelling compound where required to even the floor.
- Unit delivery and installation, base units first, then wall units, then tall units.
- Worktop fitting, stone worktops require a separate templating visit 1–2 days after unit installation, then 5–10 working days for cutting.
- Second-fix plumbing, connect sink, dishwasher, appliances.
- Second-fix electrics, fit sockets, switches, under-cabinet lighting, connect appliances.
- Tiling, splashback after worktops are fitted.
- Flooring, LVT or tiles after units are in place to avoid cutting around legs.
- Painting and decorating, walls, ceiling, skirting boards.
- Snag and final clean.
What Goes Wrong When the Order Is Ignored
The most common mistakes:
- Tiling before worktops: tiles must be cut to fit precisely around the worktop, so the worktop must be in situ first. Tiling first means cutting twice or having a visible gap.
- Flooring under units: units sitting on final floor finish means any future unit replacement requires lifting floor sections.
- Painting before tiling: grout is difficult to keep off painted walls; professional tilers work to the tile edge, not the decorator’s line.
- Electrical second-fix before plumber: a leak during appliance connection can damage completed electrical work.
Stage 4: Managing the Trades
A kitchen renovation typically involves: a structural engineer (if walls are being removed), a builder/demolition contractor, a plasterer, a plumber, an electrician, a kitchen fitter, a tiler and a decorator. On a small project, one contractor may cover several of these; on a larger project, you will be coordinating several self-employed specialists.
Main Contractor vs. Direct Labour
You have two options:
- Main contractor: you hire one person or company who subcontracts and manages the trades. They take a management margin (typically 15–25%) but you have a single point of contact and contractual responsibility. Good for complex projects or if you are not available to coordinate day-to-day.
- Direct labour: you hire each trade directly, acting as your own project manager. Saves the margin but requires availability, experience in sequencing, and personal relationships with reliable trades. Expect 1–2 h/week of your own time managing this.
Building Regulations
A kitchen renovation rarely needs planning permission. However, Building Regulations applications (Part P, electrics, Part L, insulation where external walls are disturbed) may be required:
- Part P: any new circuit or consumer unit change must either be carried out by a registered competent person (an electrician registered with NICEIC, NAPIT or equivalent) who self-certifies it, or be notified to building control before it starts. An unregistered contractor can still do the work but must submit for third-party inspection, add £200–£500 and 2–4 weeks to the process.2
- Structural alterations: removal of a load-bearing wall requires Building Regulations approval under Part A. A structural engineer’s calculations are needed; allow £500–£1,200 for calculations and £200–£700 for Building Control fees and inspections.2
Stage 5: Typical Timeline
| Activity | Duration |
|---|---|
| Design and choosing units | 2–6 weeks |
| Order lead time (retailer rigid-built) | 4–8 weeks |
| Order lead time (bespoke) | 8–16 weeks |
| Structural work (if applicable) | 3–10 days |
| First-fix plumbing and electrics | 2–3 days |
| Plaster dry-out | 4–6 weeks (or 1–2 weeks with dehumidifier) |
| Unit installation | 3–6 days |
| Worktop template + manufacture (stone) | 7–14 days |
| Second-fix and tiling | 3–5 days |
| Flooring, decorating, snag | 3–6 days |
| Total elapsed time | 10–18 weeks typical |
The plaster dry-out phase is the one most homeowners underestimate. You cannot paint over fresh plaster, and kitchen steam accelerates the problem if units are in use before walls are fully dry. Use a dehumidifier in the room during this phase to halve the waiting time.
Protecting Your Investment
Contracts and Payment Terms
For any job over £2,000 with a single contractor, use a written contract specifying scope, materials, start date, completion date and payment milestones. Standard payment terms: 25–30% on start, 50% at unit installation, final 20–25% on completion and snag sign-off. Never pay 100% upfront.
Warranties
- Unit carcases: most mid-range and premium manufacturers offer 10–25 year warranties on carcases. Read the exclusions carefully, damage from flooding or incorrect fitting usually voids them.
- Worktops: quartz worktops typically carry a 10-year warranty against manufacturing defects; stone requires periodic sealing to maintain it.
- Appliances: standard manufacturer warranty is 1–2 years; extended warranties are worth comparing against the cost of repair on a like-for-like basis.
Resale Value
A well-specified kitchen renovation in a property currently below the local average kitchen standard typically returns 60–100% of its cost in added sale value, but only up to the ceiling for the street. Installing a £50,000 kitchen in a £350,000 terraced house is unlikely to recover the outlay at sale. Match the specification to the value bracket of the property and the expectations of likely buyers.
References (2)
Figures in this note were checked against the sources below on 14 September 2026. Superscript numbers in the text point to them. Every source the site cites, by topic.
- 1technicalvery strongMinistry of Housing, Communities and Local Government.RN-5IVIKFParagraph 1645 of the M4(2) guidance requires a minimum 1,200 mm clear space in front of and between all kitchen units and appliances in living, kitchen and eating areas. Wall switches, socket outlets, stopcocks and controls must have their centre line between 450 mm and 1,200 mm above floor level (Diagram 1.5), consumer units are mounted with switches 1,350 to 1,450 mm above floor level, and boiler timer controls and thermostats between 900 mm and 1,200 mm. Communal approach routes and flights need a minimum clear width of 1,200 mm and every landing a minimum 1,200 mm clear of any door swing. Handrail guidance is measured 450 mm above the pitch line of the treads.
- 2technicalvery strongMinistry of Housing, Communities and Local Government (GOV.UK).RN-Z6AXUWThe full Approved Document A PDF, which carries the deemed-to-satisfy tables a domestic project is checked against. Section 2E covers foundations of plain concrete: paragraph 2E3 gives the recommended minimum widths of strip foundations in Table 10, keyed to ground type and total load of loadbearing walling per linear metre. Table 10 sets, for rock (not inferior to sandstone, limestone or firm chalk, requiring at least a pneumatic or mechanically operated pick to excavate), a width equal to the width of the wall at every load. For medium dense gravel or sand (requires a pick to excavate, a 50mm square wooden peg hard to drive beyond 150mm) and for stiff clay or stiff sandy clay (can be indented slightly by the thumb), the minimum widths are 250mm at 20 kN per linear metre, 300mm at 30, 400mm at 40, 500mm at 50, 600mm at 60 and 650mm at 70. Firm clay and firm sandy clay (thumb makes an impression easily) start at 300mm. The document also covers minimum depth of strip foundations, wall thickness rules for residential buildings up to three storeys (paragraph 2C10 covers internal loadbearing walls in brickwork or blockwork), buttressing, lateral support by floors and at roof level, interruption of lateral support, wall cladding in Section 3, and Section 5 on reducing sensitivity to disproportionate collapse with the building consequence classes.
-
Approved Document M, Access to and use of buildings, Volume 1: Dwellings, 2015 edition incorporating 2016 amendments, Ministry of Housing, Communities and Local Government, accessed 14 September 2026. assets.publishing.service.gov.uk
-
Approved Document A, Structure, 2004 edition incorporating 2004, 2010 and 2013 amendments, Ministry of Housing, Communities and Local Government, accessed 14 September 2026. assets.publishing.service.gov.uk