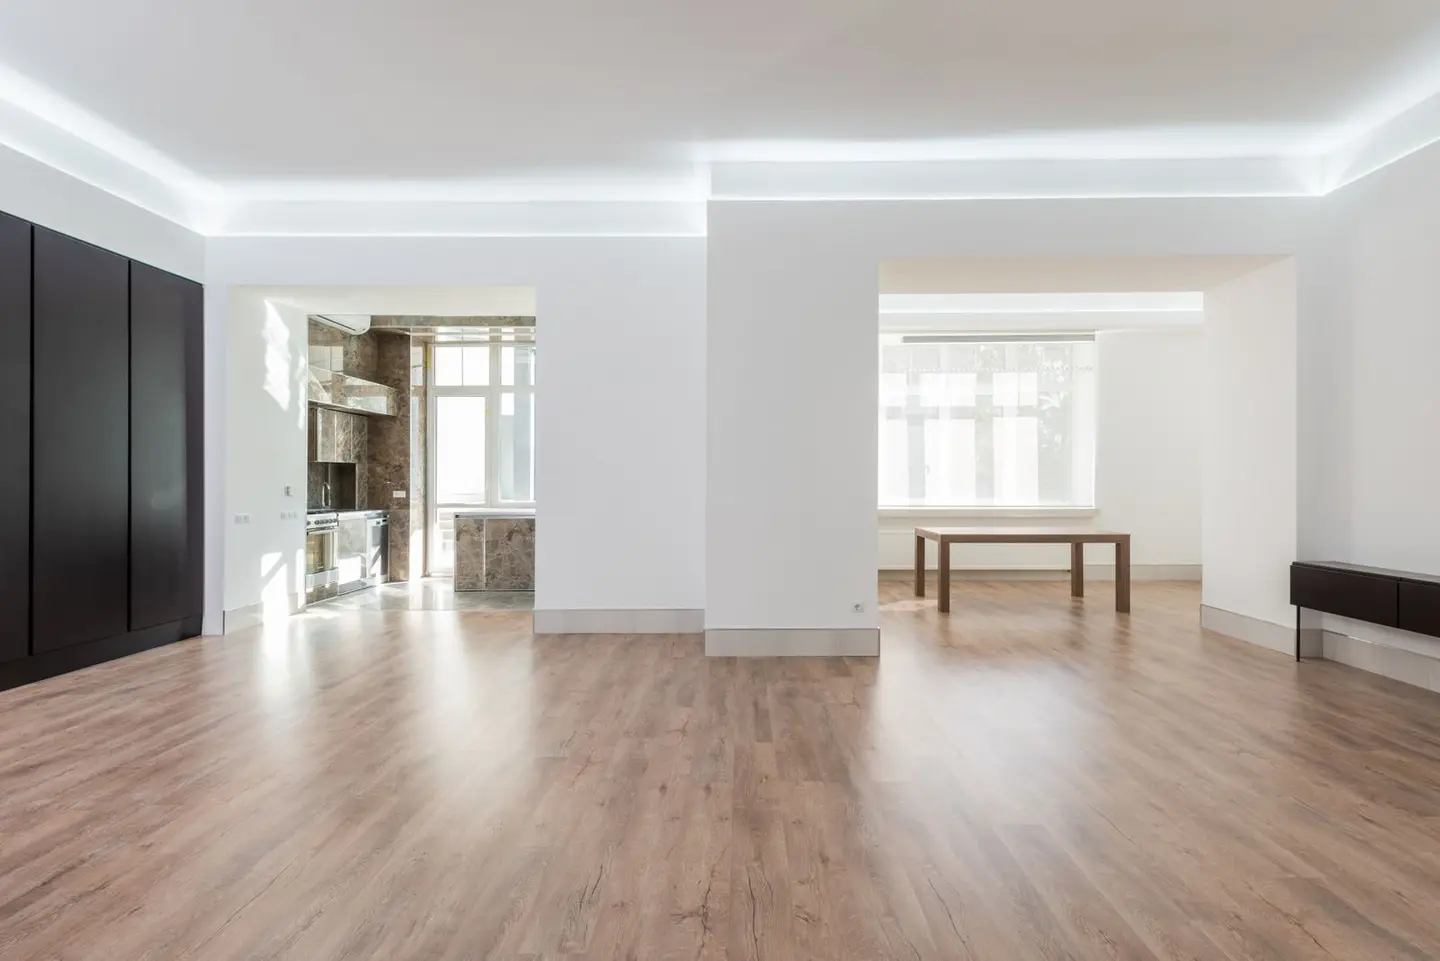
Vinyl and luxury vinyl tile (LVT) flooring are among the most popular choices in UK homes right now, and with good reason. Both are waterproof, warmer underfoot than ceramic tile, and far cheaper to fit than solid wood. A careful DIYer can achieve genuinely professional results in a day, provided the subfloor is prepared properly.
This guide covers sheet vinyl, self-adhesive tiles, and click-fit LVT, with realistic cost figures and the common mistakes to avoid.
Types of Vinyl Flooring
There are three main formats you’ll encounter in UK DIY stores and trade suppliers:
| Type | Thickness | Wear Layer | Typical Cost (material only) | Best For |
|---|---|---|---|---|
| Sheet vinyl | 2–4 mm | 0.15–0.3 mm | £5–£18 per m²1 | Bathrooms, kitchens, continuous rooms |
| Self-adhesive vinyl tiles | 1.5–3 mm | 0.2 mm | £6–£15 per m² | Small areas, patchy repairs |
| Click LVT (rigid core) | 4–8 mm | 0.3–0.6 mm | £12–£35 per m²2 | Living rooms, bedrooms, open-plan |
Wear layer thickness matters. Around 0.3 mm suits most domestic rooms; for high-traffic areas or rental properties, go to 0.5–0.6 mm. Thin wear layers (0.15–0.2 mm, typical of budget sheet vinyl) suit lighter-use rooms and show wear sooner.
Tools and Materials
Before you start, gather:
- Tape measure and chalk line
- Utility knife with plenty of spare blades (they blunt quickly on vinyl)
- Straight edge or steel rule (at least 1 m)
- Notched adhesive trowel (for glue-down LVT)
- Rubber mallet and tapping block (for click LVT)
- Scribe or compass (for scribing around irregular edges)
- Underlay (if using click LVT without pre-attached pad)
- Floor levelling compound (if subfloor is uneven)
- Threshold strips and silicone sealant
Fitting typically adds £8–£15 per m² if you hire a flooring fitter, though many fitters set a minimum charge for small rooms, and subfloor levelling or ply-lining is extra.
Subfloor Preparation: The Most Critical Step
Most vinyl flooring failures trace back to poor subfloor prep. Vinyl telegraphs every imperfection beneath it, and any contamination will cause adhesive bond failure or surface cracking.
Concrete Subfloor
- Check moisture with a hygrometer or a moisture meter before you start; a polythene sheet taped down for 48 hours shows gross damp but is not a reliable pass test. Makers set their own limits: Quick-Step, for example, asks for less than 2.5% CM on a cement screed and 0.5% CM on an anhydrite screed.3
- Grind down any high spots; fill low spots and cracks with a self-levelling compound such as a latex floor leveller (allow 24 hours to cure). As a guide, Quick-Step asks for any unevenness of more than 1 mm over 20 cm, or 4 mm over 2 m, to be levelled out.3
- Sweep and vacuum thoroughly, then prime the concrete if using adhesive.
Floorboards
Old suspended timber floors are trickier. Squeaking boards must be screwed down (not just nailed), gaps filled with flexible filler, and a layer of 6 mm hardboard or 9 mm plywood laid over the top. Fix the hardboard every 150 mm in a brick-bond pattern. Missing this step and you will see every board edge through your new floor within months.
Step-by-Step: Click LVT
Click LVT is the easiest format for a DIYer. It floats over the subfloor and does not require adhesive.
- Acclimatise. Leave planks flat in the room for 24–48 hours. Temperature should typically be 15–25°C during fitting and for 48 hours afterwards, but follow the maker’s range.
- Underlay. Lay a 1–2 mm foam or cork underlay if the LVT doesn’t have pre-attached padding. Butt edges, don’t overlap. Many rigid core LVT makers limit underlay to about 1.5 mm, and a thicker one can void the warranty.
- Plan the layout. Measure the room width; divide by plank width to find how many rows you need. If the last row would be narrower than 50 mm, cut the first row narrower to even it up. Snap a chalk line parallel to the longest straight wall.
- First row. Click planks together end to end along the chalk line, maintaining the expansion gap the maker specifies at the wall (commonly 5–10 mm). Use spacers. The tongue should face the room.
- Staggering joints. Each row must be offset by at least 300 mm, most fitters stagger by a third of plank length. Cut the first plank of each subsequent row from the offcut of the previous.
- Angle and click. Hold the next row at about 30°, engage the long-side click joint, then lower it flat. Tap gently with a rubber mallet and tapping block to seat it.
- Last row. Scribe and cut to fit, leaving the same expansion gap. Pull bars help to close the final joint.
- Finishing. Fit skirting or beading over the expansion gap. Never use silicone to bridge the gap to the skirting, the floor must float freely.
Step-by-Step: Sheet Vinyl
Sheet vinyl requires more care around cuts but is often faster in simple rooms.
- Acclimatise the roll in the room for 24 hours.
- Make a cardboard template of the room, noting all alcoves, door frames, and pipe positions.
- Roll the vinyl face-down and transfer the template; cut 50 mm oversized all round.
- Lay loosely; press into corners and scribe around architraves with a compass set to the largest gap.
- Cut carefully with a sharp knife against a steel rule.
- In bathrooms and kitchens, apply pressure-sensitive adhesive around the perimeter (300 mm in from each edge) and to seams; press down firmly and use a roller.
- Fit threshold strips at doorways.
Common Mistakes
- Fitting over existing cushion vinyl: most makers advise against laying over a soft cushioned floor, which lets the new floor move. Strip back where possible.
- Skipping the expansion gap: LVT expands and contracts with temperature, and across a large room the movement adds up. Without a gap, it can buckle.
- Using the wrong adhesive: check whether your LVT is designed for full-spread adhesive, perimeter only, or is a pure float. Gluing a floating floor by mistake makes it unmovable if it buckles.
- Fitting in a cold room: vinyl stiffens in the cold, click joints are harder to engage and planks can crack; warm the room to the maker’s fitting temperature first.
Underfloor Heating Compatibility
Most rigid-core LVT is compatible with underfloor heating (UFH), but check the specific product. Most flooring manufacturers set a maximum floor surface temperature of 27°C.4 Many also ask for the heating to be turned down before fitting and brought back up gradually afterwards. Sheet vinyl can also go over UFH within the maker’s temperature limit.4
Building Regulations and Standards
Domestic flooring changes don’t normally require building regulations approval. However, if you are:
- Fitting flooring in a new-build or extension, the U-values of the floor assembly may be checked.
- Converting a room to a wet room, the floor has to be fully watertight: wet room vinyl is normally a safety sheet, heat-welded at the seams and turned up the walls as part of the maker’s system.
- Landlord or HMO operator, falls on level surfaces and falls associated with baths and showers are hazards a council assesses under the Housing Health and Safety Rating System, so rented floors should be sound, even and not slippery when wet.5
Cost Summary
| Scope | DIY (materials only) | Supply & Fit (professional) |
|---|---|---|
| Kitchen (12 m²), click LVT mid-range | £180–£420 | £280–£600 |
| Bathroom (5 m²), sheet vinyl | £50–£120 | £180–£350 |
| Living room (20 m²), quality rigid LVT | £400–£700 | £560–£1,000 |
The supply-and-fit figures add £8–£15 per m² of fitting to the material cost; a small room such as a bathroom often costs more than that because of a fitter’s minimum charge.
Hiring a professional is worth it for complex rooms with lots of pipe boxing, doorways, and alcoves. For a straightforward rectangular room, LVT is a genuinely achievable weekend project.
References (5)
Figures in this note were checked against the sources below on 30 September 2026. Superscript numbers in the text point to them. Every source the site cites, by topic.
- 1costsupplier figureFlooring Superstore.RN-HMVVBXA price, true at 2026-09. the retail price Flooring Superstore publishes for Imperia Oxford Oak Vinyl Flooring, which is the supply figure the cost book records for this item
- 2costsupplier figureWickes.RN-63ATNWA price, true at 2026-09. Wickes's published price for the item the cost register files as "lVT and SPC rigid vinyl flooring, supply only", which is the figure a cost footnote on this page points at.
- 3technicalsupplier figureQuick-Step (Unilin), guidance.RN-EIVB3YA vinyl flooring maker's subfloor preparation guidance. It sets moisture limits of 2.5% CM for cement screed and 0.5% CM for anhydrite, lower with underfloor heating.
- 4technicalsupplier figureNu-Heat, guidance.RN-QZYZ1RAn underfloor heating maker's guidance on vinyl and lino over UFH. It says to check the flooring maker's maximum surface temperature, which is 27°C for most manufacturers.
- 5technicalvery strongThe National Archives (legislation.gov.uk), guidance.RN-LA8DJZSchedule 1 to the HHSRS Regulations, as amended in 2026, lists falls on the level, including falls on any level surface and falls at baths and showers, among the hazards councils assess in rented homes.
-
Imperia Oxford Oak Vinyl Flooring, Flooring Superstore, accessed 15 September 2026. Priced at 2026-09, so no calibration is needed. flooringsuperstore.com
-
William Stone Silver SPC Flooring with Integrated Underlay - 1.86m2, Wickes, accessed 1 October 2026. Priced at 2026-09, so no calibration is needed. wickes.co.uk
-
How to prepare the subfloor for your vinyl floor?, Quick-Step (Unilin), accessed 30 September 2026. quick-step.co.uk
-
Vinyl and linoleum floor coverings with underfloor heating, Nu-Heat, accessed 30 September 2026. nu-heat.co.uk
-
The Housing Health and Safety Rating System (England) Regulations 2005, Schedule 1: Matters and circumstances, legislation.gov.uk (The National Archives), accessed 30 September 2026. legislation.gov.uk