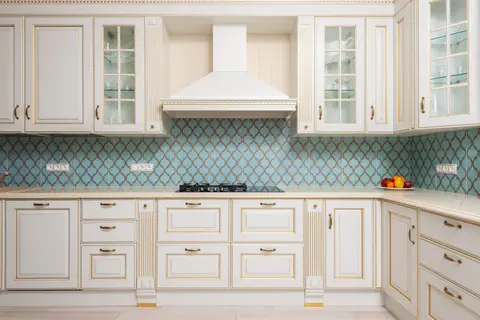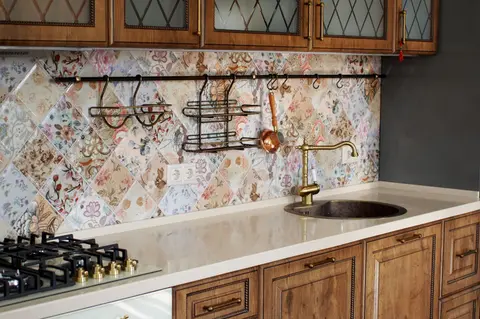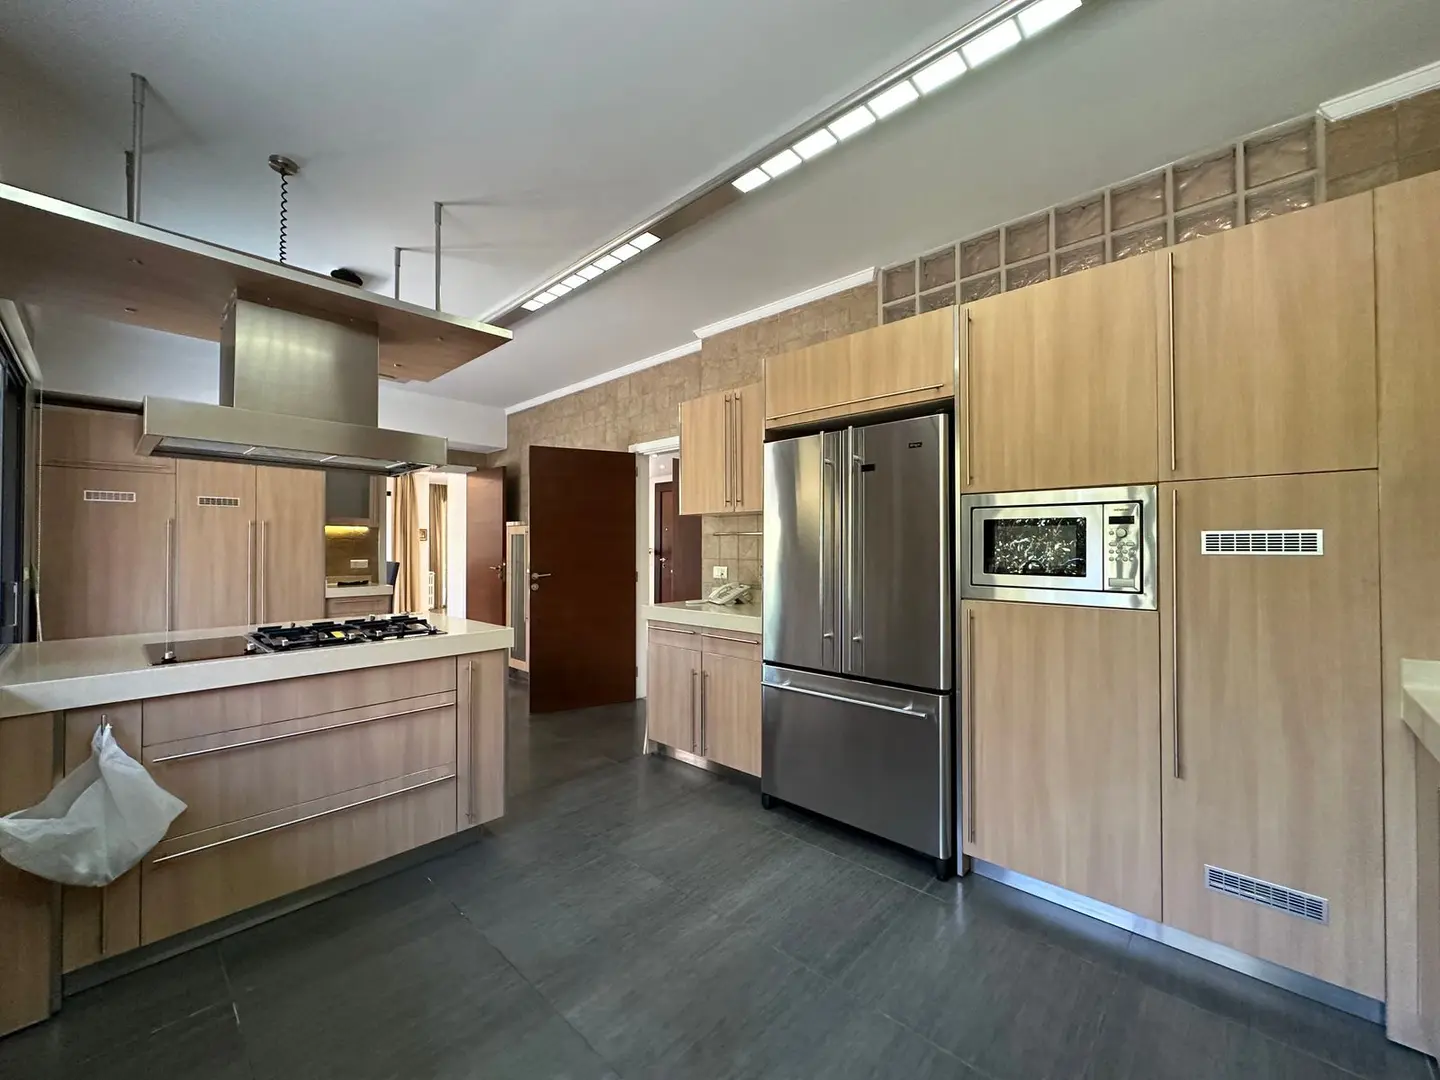
Kitchen lighting is one of the most underplanned elements of a kitchen renovation. A single central ceiling rose or a row of downlights switched as one circuit might look fine on a show home visit but fails in everyday use, you end up working in your own shadow at the worktop, the dining table is harshly lit when you want it subdued, and the cooker nook is a murky cave. Good kitchen lighting uses multiple independently switched circuits at different levels, serving different purposes.
The simplest upgrade, adding under-cabinet LED strips, transforms a kitchen for as little as £80–£200 in materials and a half-day’s electrical work.
The Three Layers of Kitchen Lighting
1. Ambient (General) Lighting
The background fill light that lets you navigate the room safely. Typically recessed ceiling downlights or a central fitting. For a 15 m² kitchen, aim for 150–200 W equivalent in LED downlights (roughly 1,500–2,000 lumens total), more is better in a kitchen than a living room because surfaces need to be clearly visible during food preparation.
Colour temperature matters: 3,000–4,000 K (warm white to cool white) suits kitchens. Avoid very warm 2,700 K in purely functional areas, it can make food colours harder to judge. Full cool white (5,000–6,500 K) is unpleasant in a domestic kitchen.
2. Task Lighting
Direct, shadow-free light at the point of work, primarily the worktop, sink, and hob. Under-cabinet lighting is the standard solution for worktops and is the most important element in any kitchen lighting scheme. Without it, wall-mounted cabinets cast shadows on the preparation surface below, regardless of how many downlights are in the ceiling.
Options for under-cabinet lighting:
- LED strip lights: flexible PCB strips with integrated LEDs, typically 12V DC via a driver. Available as warm white, cool white, or colour-changing. Diffuser channels (aluminium extrusions with frosted diffusers) eliminate visible LED hot-spots and give a continuous illuminated strip. Cost: £15–£35/m for quality strip + £20–£50 for the driver.
- LED puck lights: round, self-contained LED discs spaced along the underside of cabinets. Less even distribution than strip lights but simpler to retrofit.
- Linear LED battens: plug-in or hardwired; used under floating shelves and tall cabinets.
For the hob, most modern extractor hoods incorporate halogen or LED task lighting, check the lux output before specifying; minimum 300 lux at hob level is a reasonable target.
3. Accent and Feature Lighting
Adds visual depth and interest. In kitchens, this includes:
- Plinth lighting: LED strip under base unit plinths, giving a floating effect
- Pelmet lighting: LED strip above wall cabinets illuminating the ceiling
- Glass cabinet lighting: internal LED lighting for open or glass-fronted cabinets
- Island pendants: decorative pendants over a kitchen island serve partly as task light and partly as a feature
Accent lighting should be on its own dimmer circuit, independent of the task and ambient circuits.
Designing the Circuit Layout
A good kitchen lighting scheme has at least three independently switched (ideally dimmable) circuits:
| Circuit | What it covers | Switch type |
|---|---|---|
| Circuit 1 – Ambient | Recessed downlights (main ceiling) | Dimmer switch |
| Circuit 2 – Task | Under-cabinet LEDs, hob hood (if switched from wall) | On/off or dimmer |
| Circuit 3 – Feature/Accent | Plinth lights, pelmet, island pendants | Dimmer switch |
Three circuits means you can have bright task lighting at the worktop while the ambient is dimmed for a relaxed dining atmosphere, or full ambient for cleaning without the accent lighting contributing glare.
For an island, consider a separate pendant circuit on a dimmer to allow independent control.
Dimmers and LED compatibility: not all LED drivers and bulbs are dimmer-compatible. Always check the dimmer manufacturer’s lamp compatibility list before purchasing. Trailing-edge (capacitive) dimmers are generally more compatible with LED loads than older leading-edge (inductive/resistive) dimmers. Quality dimmers from manufacturers such as Varilight, Lutron, or Schneider typically list compatible LED lamps.
Recessed Downlight Specifications
| Spec | What to look for |
|---|---|
| Lumen output per fitting | 400–700 lm for a kitchen (more than living room fittings) |
| Colour rendering index (CRI) | ≥90 Ra, important for food colour accuracy |
| Colour temperature | 3,000–4,000 K |
| Beam angle | 38–60° for general ambient; 25° for accent/feature |
| IP rating | IP44 minimum within 0.5 m of a sink; IP65 for over the sink |
| Fire rating | Fire-rated downlights (with intumescent collar) required in ceilings above habitable rooms |
Zone Regulations Near Sinks
Under BS 7671 (IET Wiring Regulations, 18th Edition), specific rules apply to electrical installations in kitchen zones:
- Within 300 mm radius of a tap, use IP44 rated fittings minimum
- General kitchen circuits must have RCD protection (this is standard in any post-2008 consumer unit)
- Sockets must not be installed within 300 mm of a sink basin edge
Under-cabinet lighting drivers hidden inside cabinets must be accessible for replacement and not installed in enclosed spaces without ventilation.
Cost Guide
| Element | Supply cost | Installed cost |
|---|---|---|
| Recessed LED downlight (per fitting) | £15–£60 | £35–£80 per fitting (incl. wiring) |
| LED under-cabinet strip + diffuser (per m) | £25–£55 | £50–£100/m (incl. driver and wiring) |
| Pendant over island (per pendant) | £40–£400+ | £60–£120 per pendant |
| Single new lighting circuit | - | £200–£400 |
| Dimmer switch (per switch) | £15–£50 | £40–£80 (fitting incl.) |
| Full kitchen lighting scheme (materials) | £300–£900 | £600–£1,800 (all circuits, all fittings) |
Practical Tips
Plan before plastering: if you are renovating from scratch, have the lighting layout agreed before first fix electrical. Repositioning downlights after a ceiling is plastered involves redecoration. Agree the exact position of pendants over an island relative to the island dimensions, pendants look best when their centres align with the island’s centreline, spaced 600–800 mm apart.
Lux check: a typical worktop at 900 mm height should achieve at least 300 lux for food preparation (Building Regs Part L guidance for task areas). Under-cabinet LEDs at 500 mm centres, 15 W/m equivalent, will typically achieve this; verify with a free lux meter app before finalising positions.1
Avoid multiple contractors: coordinating kitchen fitters, electricians, and plasterers on lighting positions is a known source of errors. Appoint one electrician for the project and have them attend the kitchen fitter’s layout meeting.
Colour consistency: if mixing fittings from different manufacturers, check that the colour temperatures match. A 3,000 K downlight next to a 3,500 K under-cabinet strip looks mismatched. Specify the same colour temperature across the scheme.
References (1)
Figures in this note were checked against the sources below on 14 September 2026. Superscript numbers in the text point to them. Every source the site cites, by topic.
- 1technicalvery strongMinistry of Housing, Communities and Local Government.RN-L0FCJXThe in-force U-value tables a DIY insulation or door note must quote, with the exact numbers. Table 4.2, limiting U-values for new fabric elements in existing dwellings, sets roof 0.15, wall 0.18, floor 0.18, swimming pool basin 0.25, window 1.4 or Window Energy Rating Band B minimum, rooflight 2.2, doors with more than 60 per cent of the internal face glazed 1.4 or Doorset Energy Rating Band C minimum, and other doors 1.4 or Doorset Energy Rating Band B minimum. Table 4.3, for existing elements, gives a roof threshold of 0.35 and an improved value of 0.16, which is the figure a loft insulation note needs: paragraph 4.12 says a retained element whose U-value is higher than the column (a) threshold, for example through a loft or garage conversion, should be upgraded to the column (b) value. Paragraph 4.13 allows a lesser upgrade only where the improved value is not technically or functionally feasible or would not achieve a simple payback of 15 years or less. Paragraph 4.8 requires a replacement element to be no worse than the one it replaces as well as meeting Table 4.2. Paragraph 4.10 gives the heritage exception: where character must be maintained, a centre pane U-value of no more than 1.2 or low-emissivity secondary glazing. Note 9 records that the timber window concession of 1.6 or Band C ended on 14 June 2023. The 2021 edition came into force on 15 June 2022; a 2026 edition exists at https://assets.publishing.service.gov.uk/media/69c122a6cfa346b9d4704a55/ADL1_2026.pdf.
-
Approved Document L, Conservation of fuel and power, Volume 1: Dwellings, 2021 edition incorporating 2023 amendments, Ministry of Housing, Communities and Local Government, accessed 14 September 2026. assets.publishing.service.gov.uk